

These two free-to-use tools are powerful on their own, but when they work together it’s truly magical.
After spending a few years switching over to Blender (from C4D) and getting comfortable, I started to become concerned that I’d need to drop all of that knowledge and fully switch over to Unreal. What I quickly learned was that Unreal isn’t a Blender replacement, it’s a Blender enhancement. Your Blender knowledge is still every bit as useful, don’t worry. Here’s how to use the two together.
One thing that I want to make clear from the get-go is that I think Unreal is the tool you want to use when your shot has a considerable amount of movement. If you’re just going for a still render, I’d still recommend a good old-fashioned cycles render. There is a decent amount of legwork that is needed to get a lot of aspects of an Unreal scene working the way you want, especially if there are a bunch of blender created elements inside, but if you want to move the camera a lot it’s totally worth it.
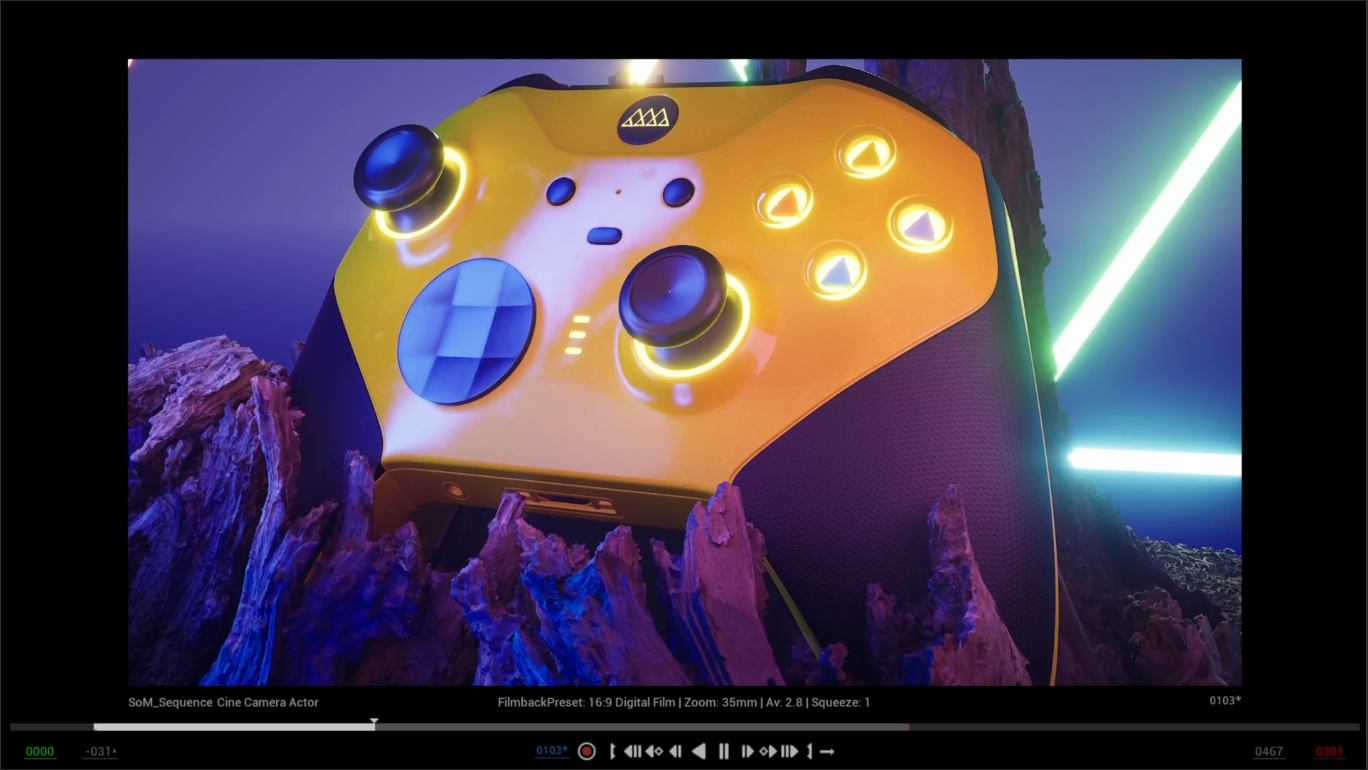
The instant visual feedback of a real-time renderer is just so valuable when it comes to crafting a shot and scene. As a cinematographer myself, it drives me crazy trying to compose a shot with all of the render intensive elements turned off.
The questions that you need to start answering for yourself are “Which things do I like to do in Blender and which do I do in Unreal?”, and that will be different for everybody. However, here are my tips for using the two tools together.
Modeling
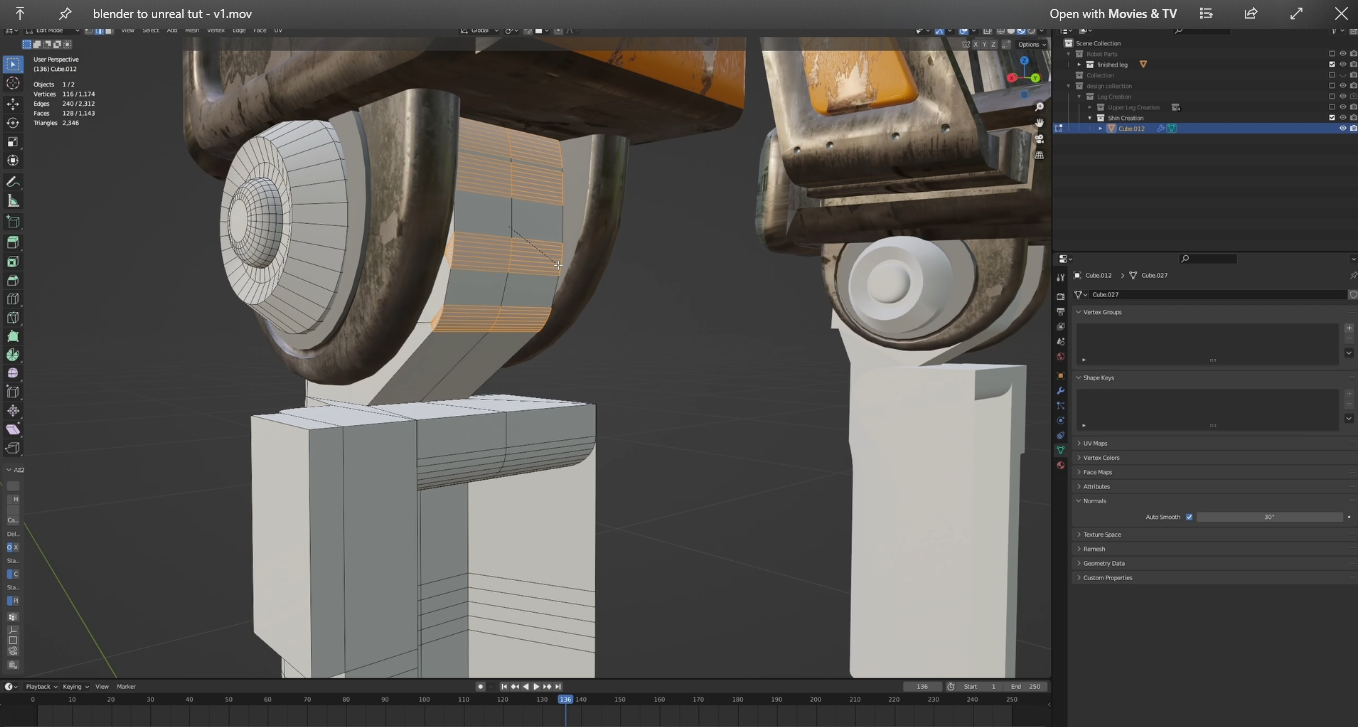
I wouldn’t consider modeling to be a part of the Unreal side of the workflow in general. Modeling in other DCC’s like Blender or Cinema 4D just makes way more sense in just about every way. There are some modeling tools in Unreal but I just feel like it’s not really meant for that.
The only real modeling tasks I would do in Unreal are things that involve primarily primitives or landscape modeling. The landscape modeling tools are pretty good and powerful, but that’s mostly the extent of it.
Scene Layout
This one took a little while to get used to.
When it comes to scene layout, like the overall blocking and placement of objects in the scene (even including lighting and camera placement), I definitely prefer to do all of this in Unreal as opposed to Blender. This is as a result of one major limitation.
When you import your geometry via .fbx (or any other file type for that matter), your object will come in with an origin point set at the world origin point from Blender. Not from Unreal. This means that you theoretically could set up your whole scene in Blender, and import one giant .fbx file.

However, this would mean that every single object no matter the placement would share the same origin point. So moving any one specific object could be a giant headache, as it might be a large distance away from the world origin point.
I think it makes way more sense to make one object at a time in Blender, and just sent it over to Unreal when the time is right. This way you can set each object up in Blender with an appropriate origin point.
Materials

Another limitation of the .fbx workflow with Unreal engine is that a lot of your various nodes from the shader editor won’t translate. Anything beyond a basic PBR style node (diffuse, metallic, roughness, etc.) will not come across with your textures.
So, basically, if you’re going to do any sort of specific texturing with intense node-groups and shader setups, you’re going to want to do a basic version of it in Blender and then beef all of that up in Unreal. Even things as simple as ColorRamp nodes and the like will not work or come across.
However, what will come across will be UV’s. So you definitely want to unwrap all of your geometry in Blender and make sure you have your UV maps set up before heading to Unreal.
For a great tutorial on baking textures in Blender, check out this video from Kaizen Tutorials.
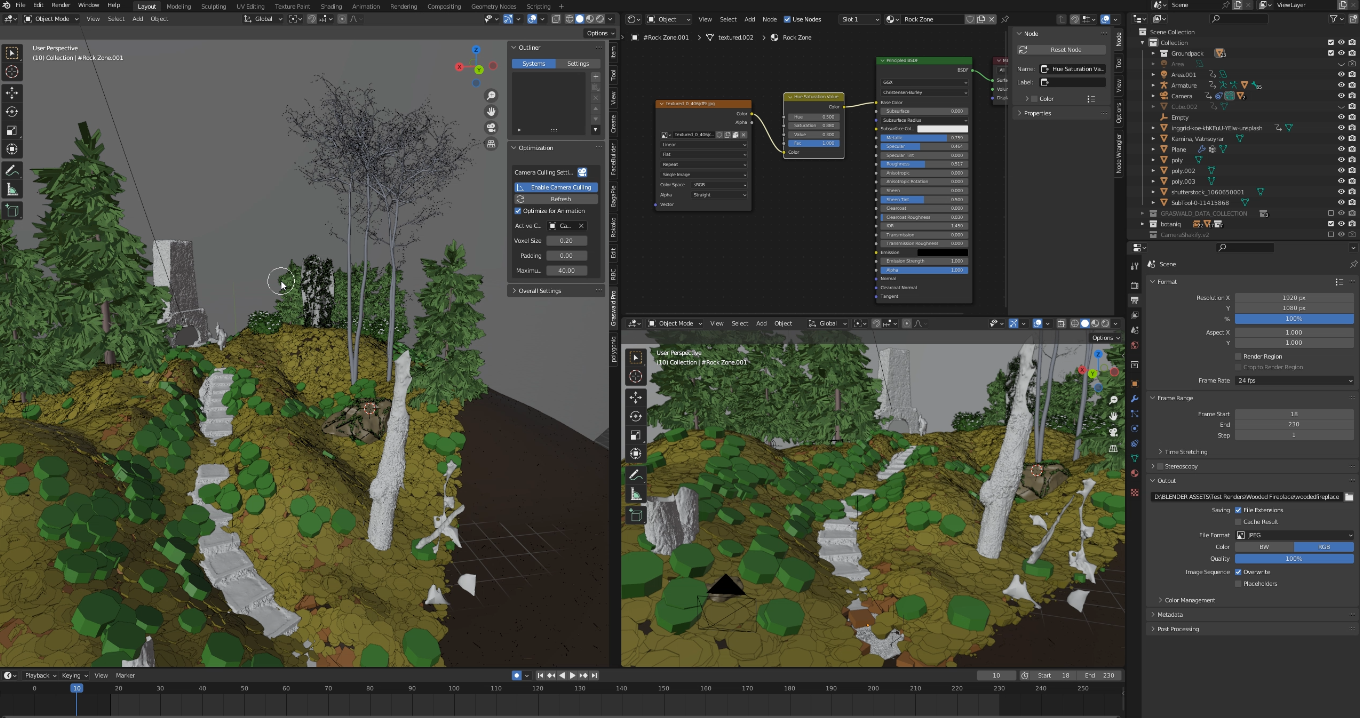
Foliage
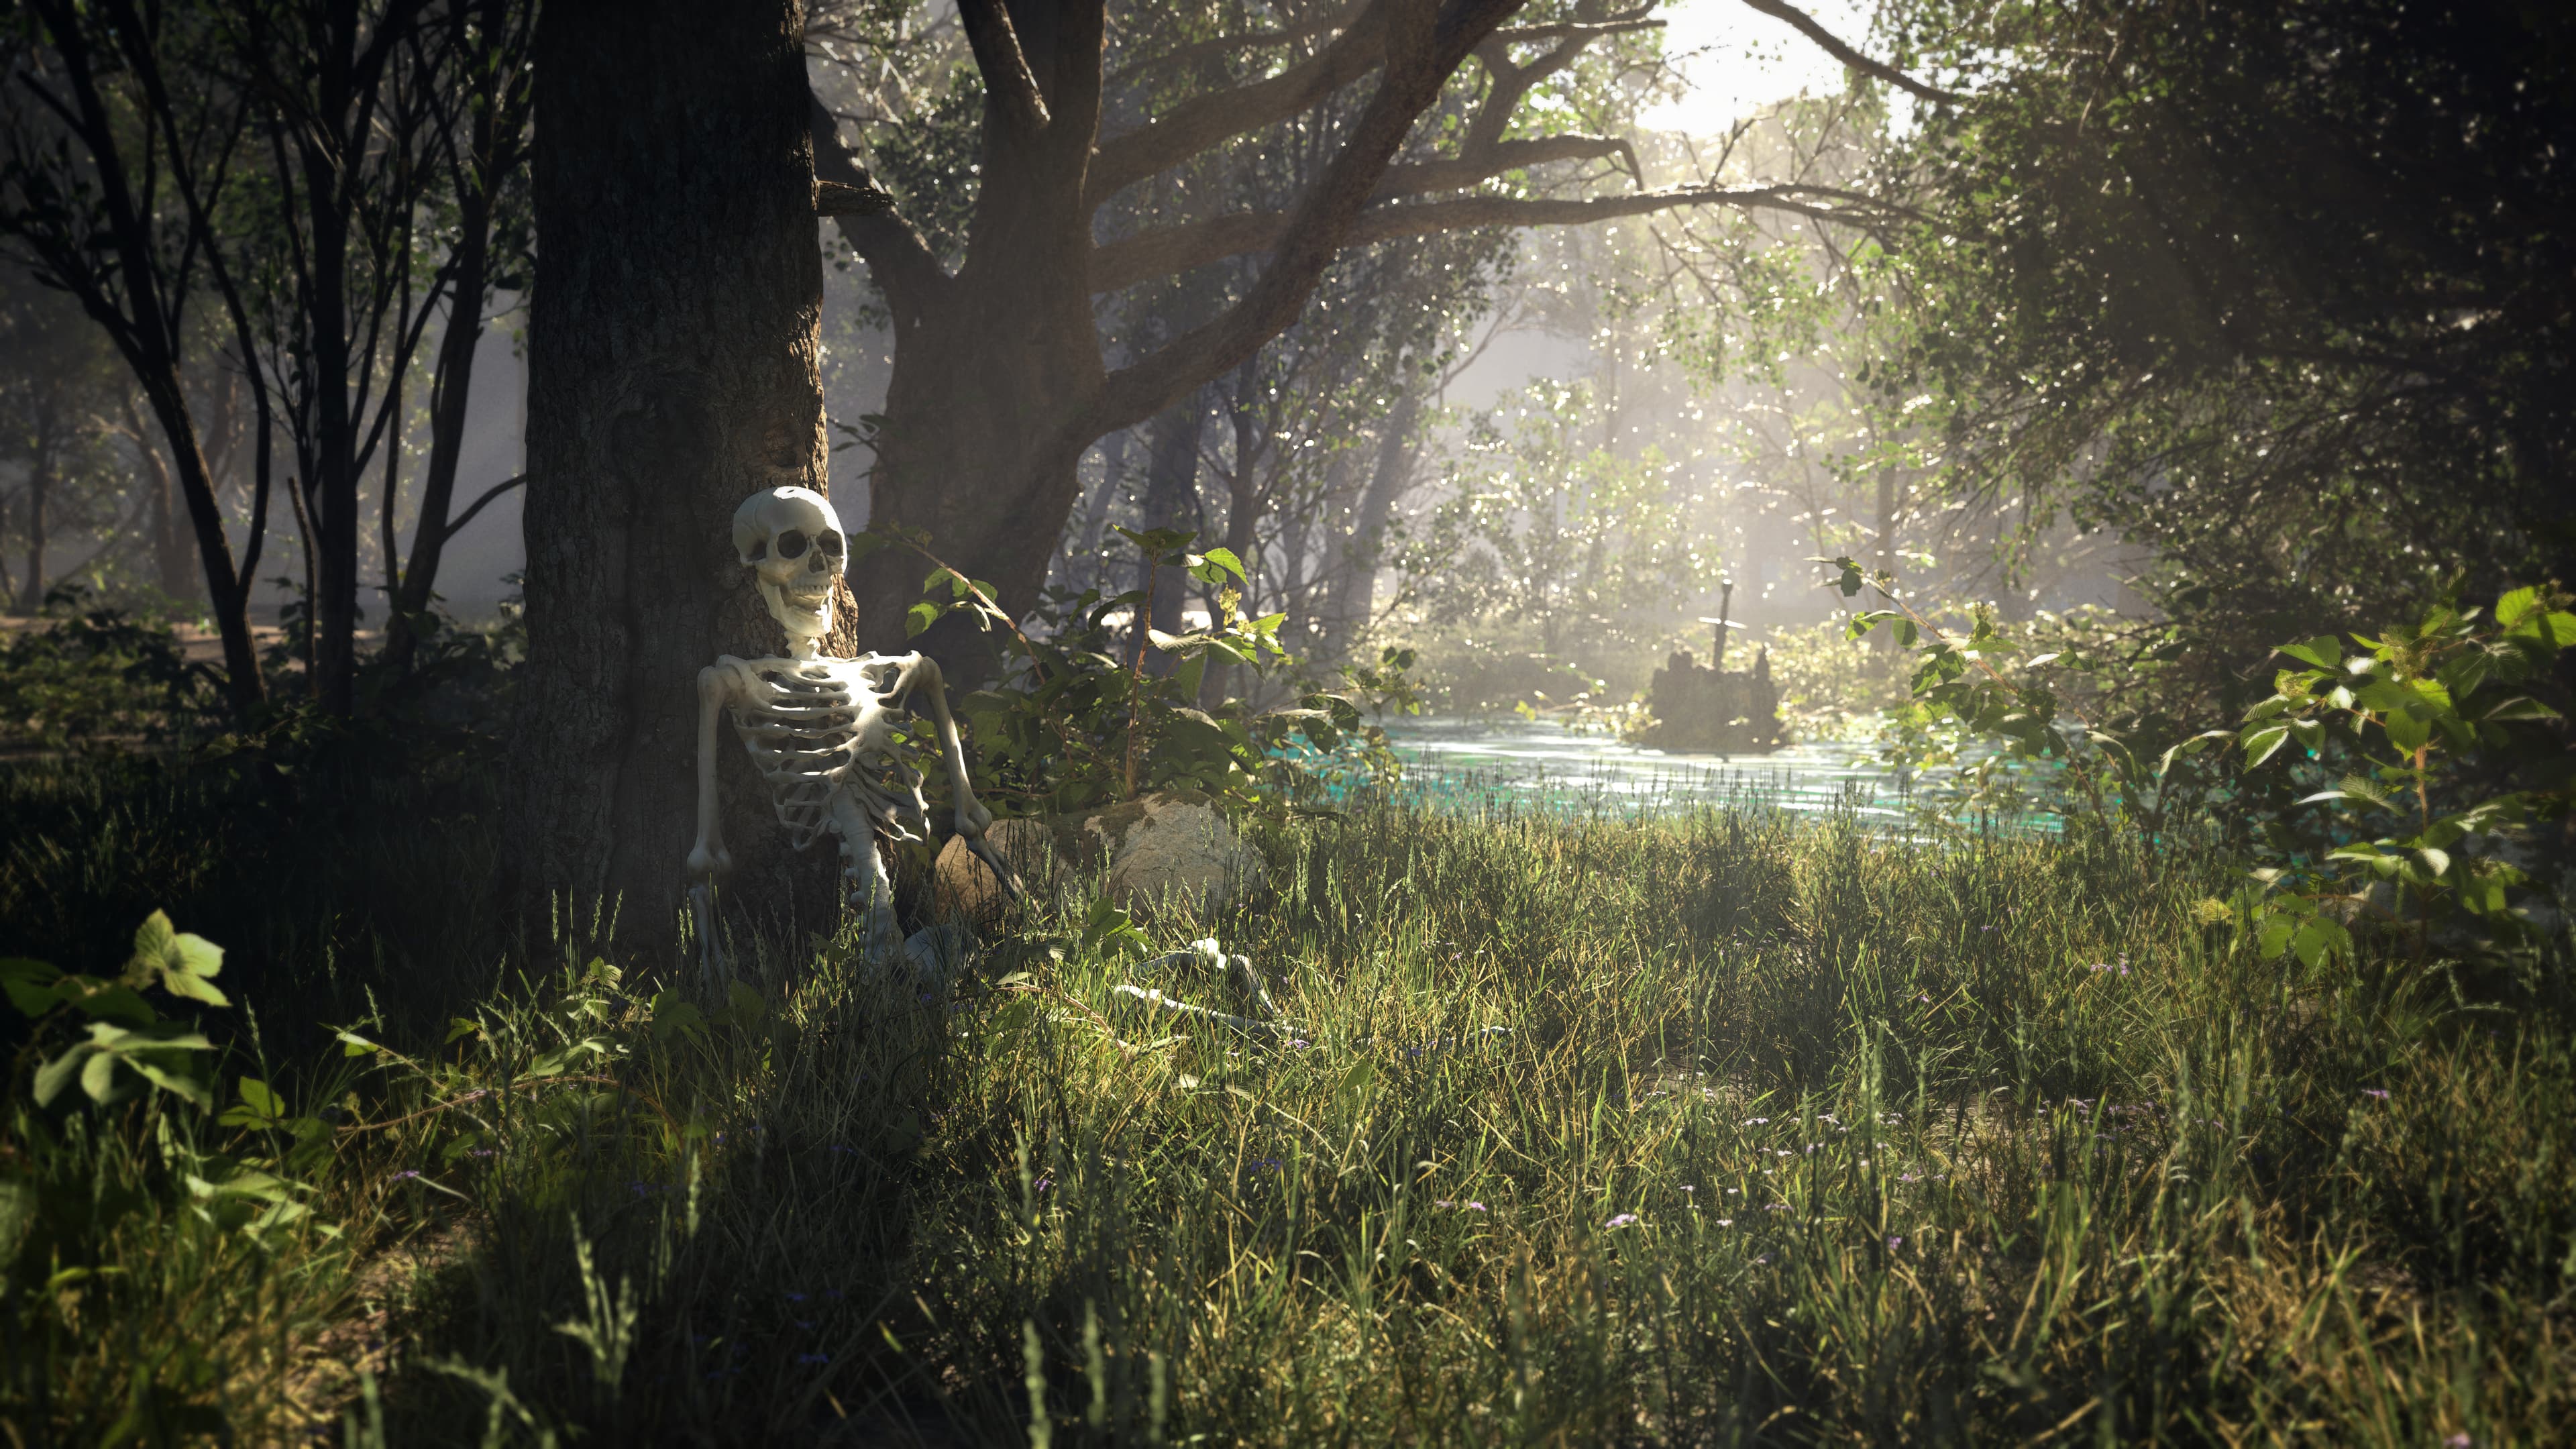
I’ll make this pretty simple, if you have any sort of foliage in your scene, you definitely want to consider doing your rendering in Unreal. Now that foliage is nanite enabled (as of the 5.1 release), you can add insane amounts of foliage to your scenes without the insane render times.
There are few things as creatively invigorating as just simply painting plants onto geometry as though you were using a paintbrush, covering hills and plains with pure wavy photoreal grass, and then to still see 60fps up in the corner for the render speed. Magic.
So Why Is This Better?


So if it’s so difficult to get objects and textures across to Unreal, why even go through all the hassle? Well, for starters, render times! I recently had a blender scene that was taking 10 minutes per frame to render. I rebuilt everything in unreal, and suddenly I had render times of something like 15 seconds or less per frame. That’s in 4k resolution with maxed out settings.
The visual feedback and speed of working in real-time just can’t be overstated. As someone who is used to moving an object and then being required to sit and wait a beat or two before seeing the change, being able to quickly see how things look at such a fast pace is just truly freeing.
I think Unreal is the way of the future in a whole lot of ways, and industries for that matter. So, I would highly recommend beginning to get comfortable with it.
Images via Am I A Filmmaker?
