

Get your scene out of Cinema 4D and into Unreal Engine without losing all the hard work you’ve already done.
One of the biggest things that holds people back from learning Unreal Engine is the fear that you’ll be wasting all that time and hard work you’ve spent learning Cinema 4D. However, that isn’t the case at all. Your C4D knowledge will be paramount when it comes to working in Unreal Engine. The two go hand in hand.
Unreal Engine currently has quite a few different limitations when it comes to modeling, UV texturing, and in most cases even rigging. In a lot of ways, Unreal should be looked at as a really awesome real-time (or path-traced if you choose to go that route) render engine with some added functionality and bells and whistles. This means you’ll want to do a whole lot of your work in your DCC of choice, and send all of your assets into Unreal, rather than doing everything inside.
However, sometimes that’s a bit easier said than done, and there are some little quirks that you’ll need to know about. In the above video, Jonathan Winbush gives you the run-down on all of the appropriate ways to get your scene from Cinema 4D into Unreal, while still holding on to all the important stuff.
The New Cineware Plugin
.png)
Before doing anything, you’ll want to make sure you’ve installed the new Cineware plugin from Maxon, which will make everything so much easier.
The plugin will allow you natively export certain things from your Cinema 4D scene into Unreal Engine. You can import your C4D project directly into your content browser inside of Unreal. This will really only apply to things like cameras, lights, and certain objects like nulls.
This will allow you to retain your camera animation and things like that. If nothing else, sometimes it’s incredibly useful to have the position data from certain objects in your scene. The Cineware Plugin will help you with that.


Download the C4D and Unreal project files for this tutorial!
Materials In A Material World
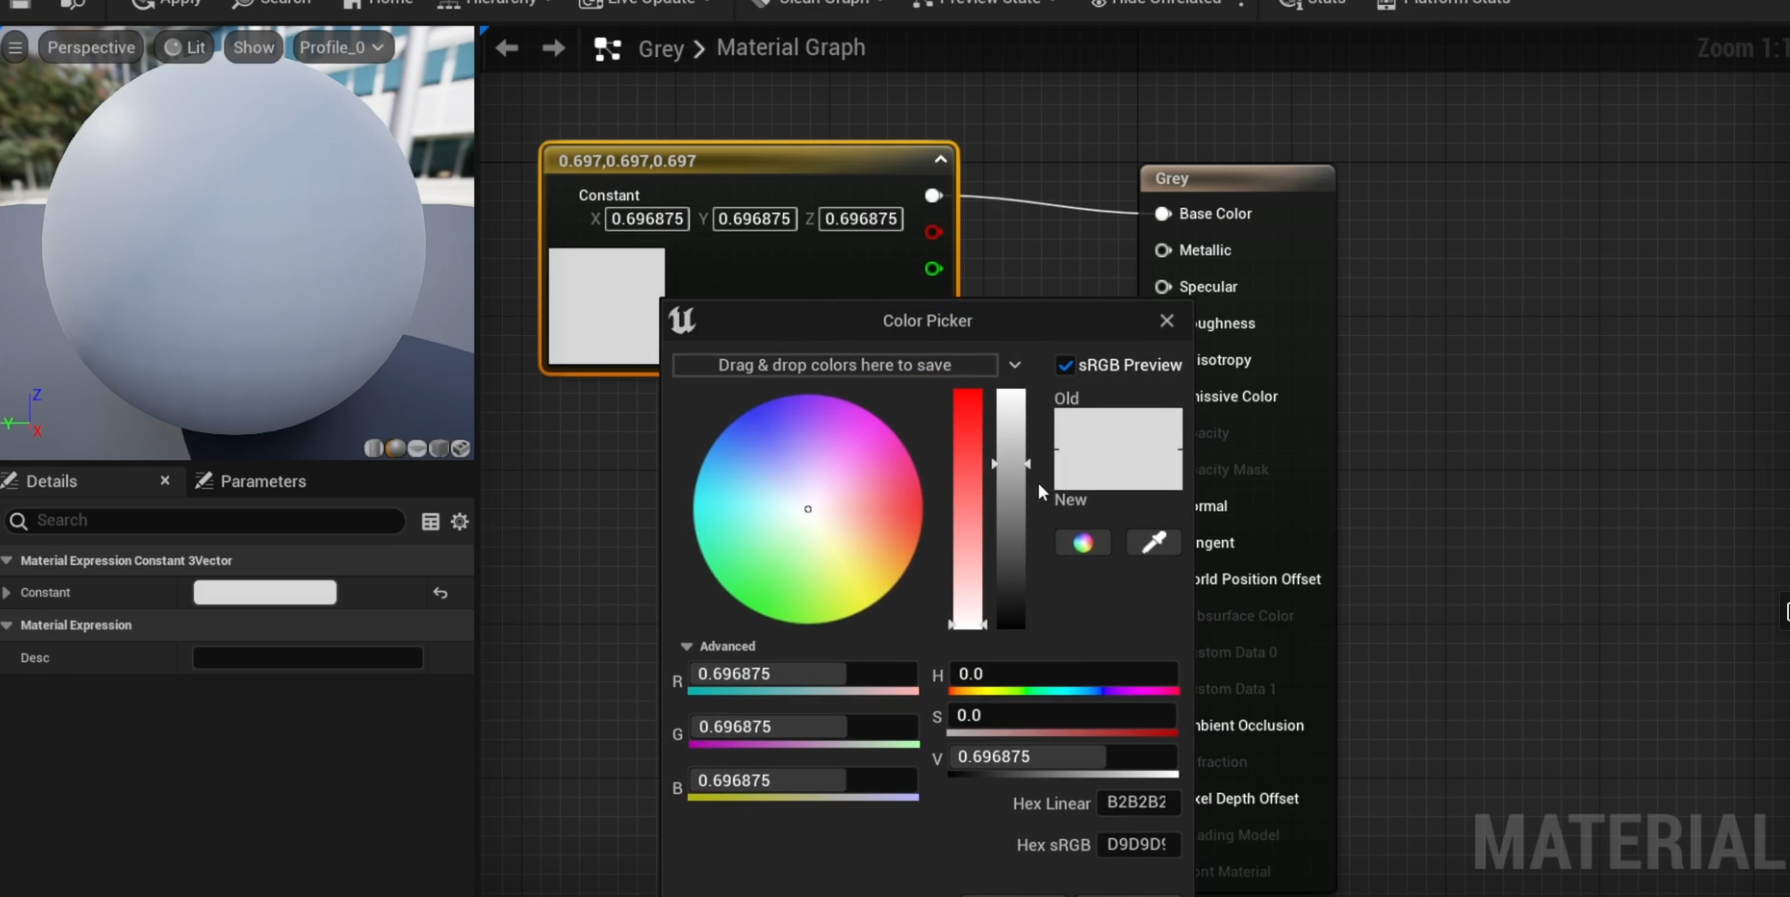
One of the biggest things to keep in mind as you work in Cinema 4D with the intent to head into unreal is that a lot of your material data will not apply.
This applies even more so if you’re working with complex redshift materials or node groups inside of Cinema, you’ll need to find ways to either bake a lot of those things into an image texture of its own, or just plan to re-do a lot of it in Unreal.
It’s also important to set things up in your DCC in such a way that you’ll know where everything is and what needs to be changed out. This includes leaving labeled and separated materials for your various textured elements.
For example, if you’re going to be creating a television screen, you want to make sure and create and label a separate material for both the screen and the television itself. Labeling all of this stuff super clearly will help you a lot once you get into Unreal.
Simulations For Baking
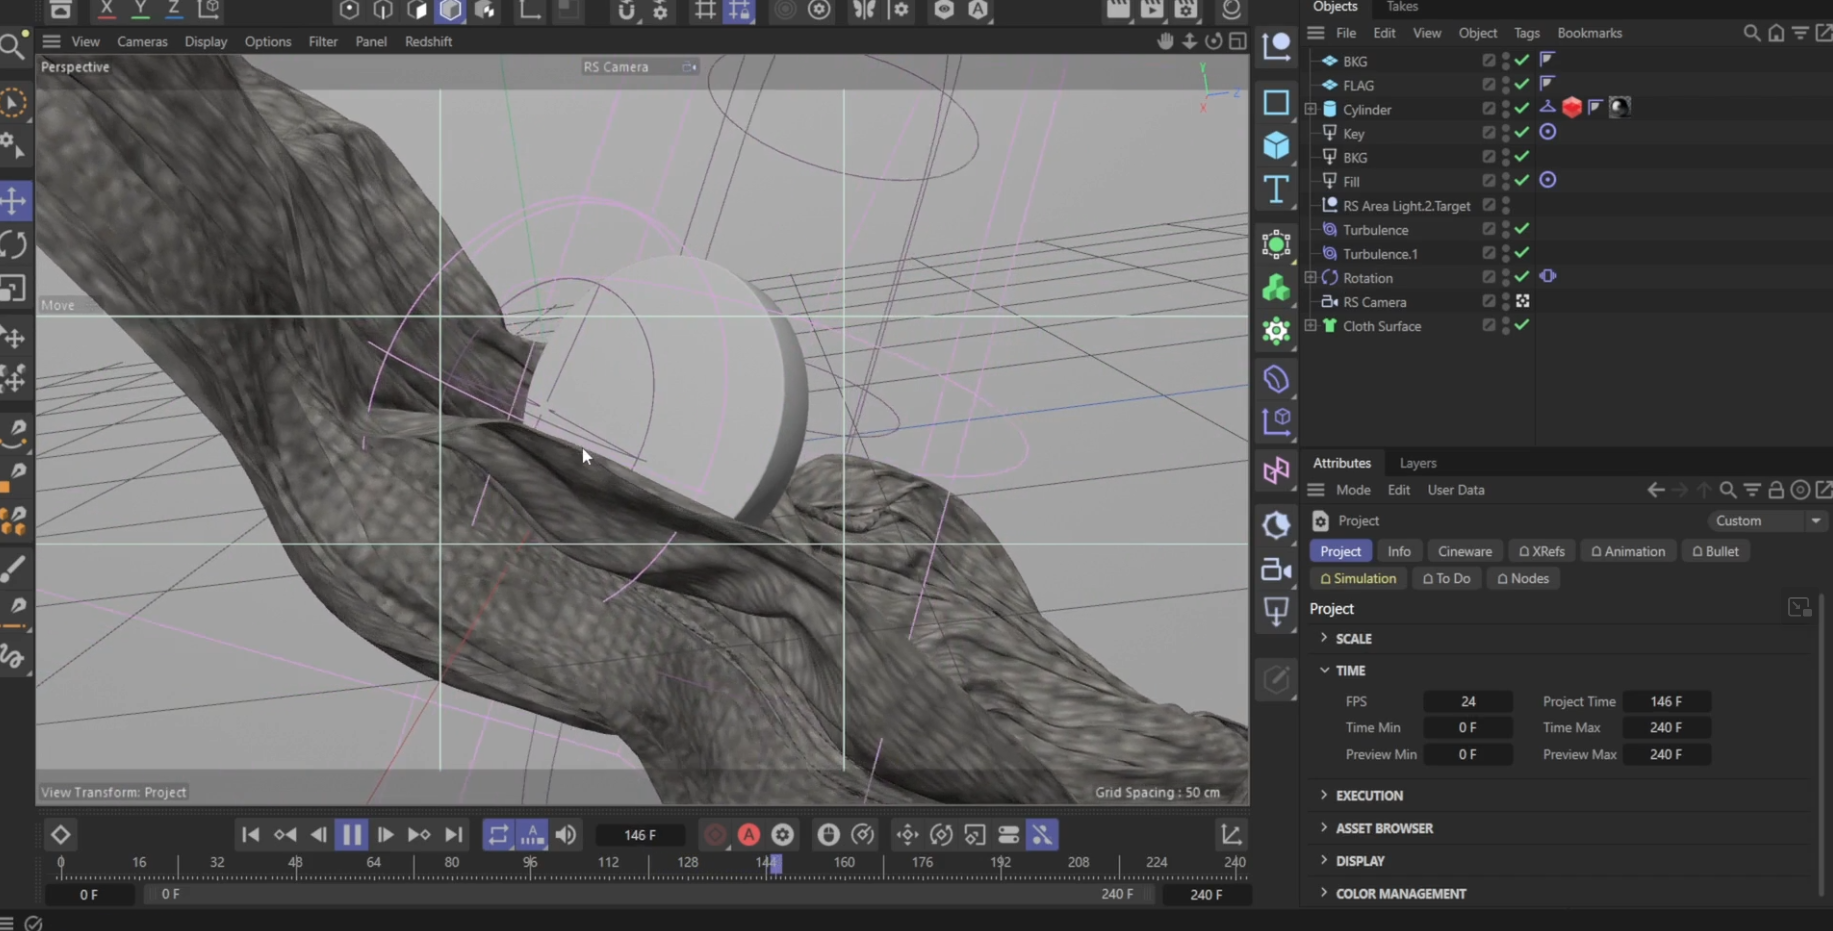
You may like to do a lot of complex simulation work inside of Cinema 4D, and you may be wondering if it’s possible to still access a lot of that inside of Unreal.
Good news, it’s actually really easy. All you’ll need to do is cache and bake all of your simulation data into an Alembic (.abc) or FBX (.fbx) file, and once you import that into Unreal your beautiful simulations will be in-tact.
Why Deal With Any Of It?
You may be wondering what the point of doing all of this back and forth is, when you can just render everything in Redshift or Octane.
Well, in all honesty, you have no idea what you’re missing out on. Real-time rendering is a sight to behold. You can often get identical looks to your usual render engine of choice, but you’ll be rendering each frame in a remarkable fraction of the time.
The lovely render speeds don’t even take into account the whole fact that you can add nearly infinite foliage (as of 5.1) or geometry into the scene with the nanite technology in Unreal. With Unreal, you can pack insane amounts of detail into your scene without adding a ton to your render times. Once you try it, I’d venture to say that you won’t look back often.
Just learn to parse out which parts you want to do in which piece of software, this will help you avoid doing duplicate work. Before long, you’ll be unstoppable in Unreal.