

Blender isn’t as intimidating as it may seem. In fact, we’ll show you how to make your first character all in one video, even if you’ve never opened Blender before.
Blender is a whole lot of fun to use, but when it's your first time to open it up you might be staring at the screen blankly with no idea what to press or what to do next. Don’t worry, this is common. Blender in general has gotten much more user friendly over the years but for those who have never used it, it can still look a bit confusing.
Don’t worry though, there’s help out there! For example, this video by Eve (AKA Eve Paints) is a truly fantastic beginner-friendly video that will have you making your very own blender character on your very first opening of the software. So go ahead, lay down the first brushstroke on your blender tapestry.
Inside of blender, working from reference imagery is super intuitive and easy. So, in this example, Eve uses a reference illustration (which is downloadable below) that she easily models from.
In my opinion, this is how you quickly get great at modeling in blender (or any CG software for that matter). Modeling from reference imagery is honestly probably my biggest piece of advice for quickly leveling up in modeling. Modeling from memory just doesn’t work, no matter how advanced you are. It really helps to have something to look at as you go.

Free References to Practice Creating a 3D Character!
Roughing In The Shape

Using the tab key to go into edit mode (with your object selected) will allow you to select various vertices and edges and faces (depending on which you want) and match your shape to your reference illustration. It’s helpful to have an illustration for reference for each angle of your character (if you can get a side angle it helps).
Selecting and using the G key to move things around, the R key to rotate, and the S key to scale, you can rough in the shape to match your reference. A helpful tip here is that if you hit one of those aforementioned keys, and then immediately press X, Y, or Z afterwards, you can constrain that change to a particular axis. This is very helpful.
Making The Eye Sockets
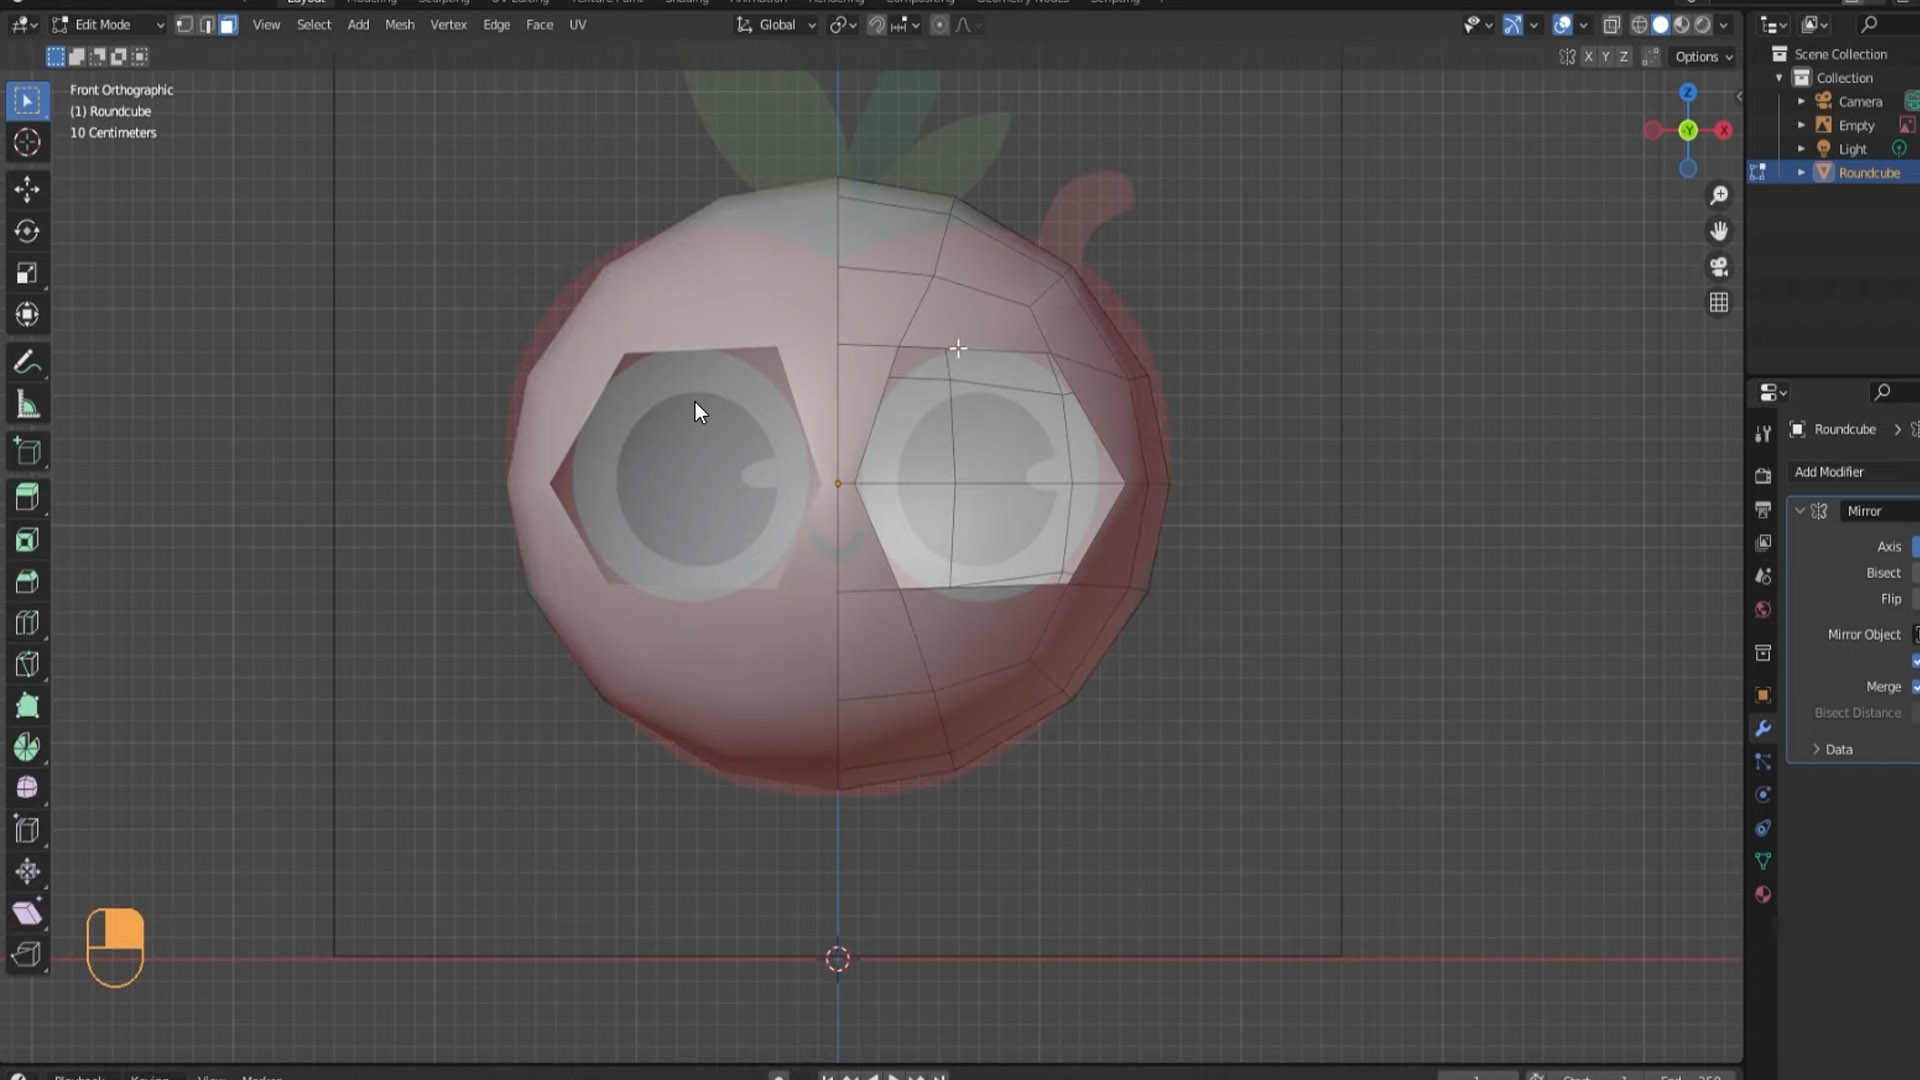
In the video, Eve keeps things low poly initially on purpose (more on that later), but for now this makes it much easier to customize and make changes to the geometry on a smaller scale.
In this case, to make the eye sockets for the character, all she has to do is delete a few faces, and edit the edges around to match the desired eye sockets for the character. If you had done a whole bunch of subdividing beforehand, this would be much more cumbersome and you’d risk ending up with less than desirable topology.
Subdivision Surface Modifier / Mirror Modifier
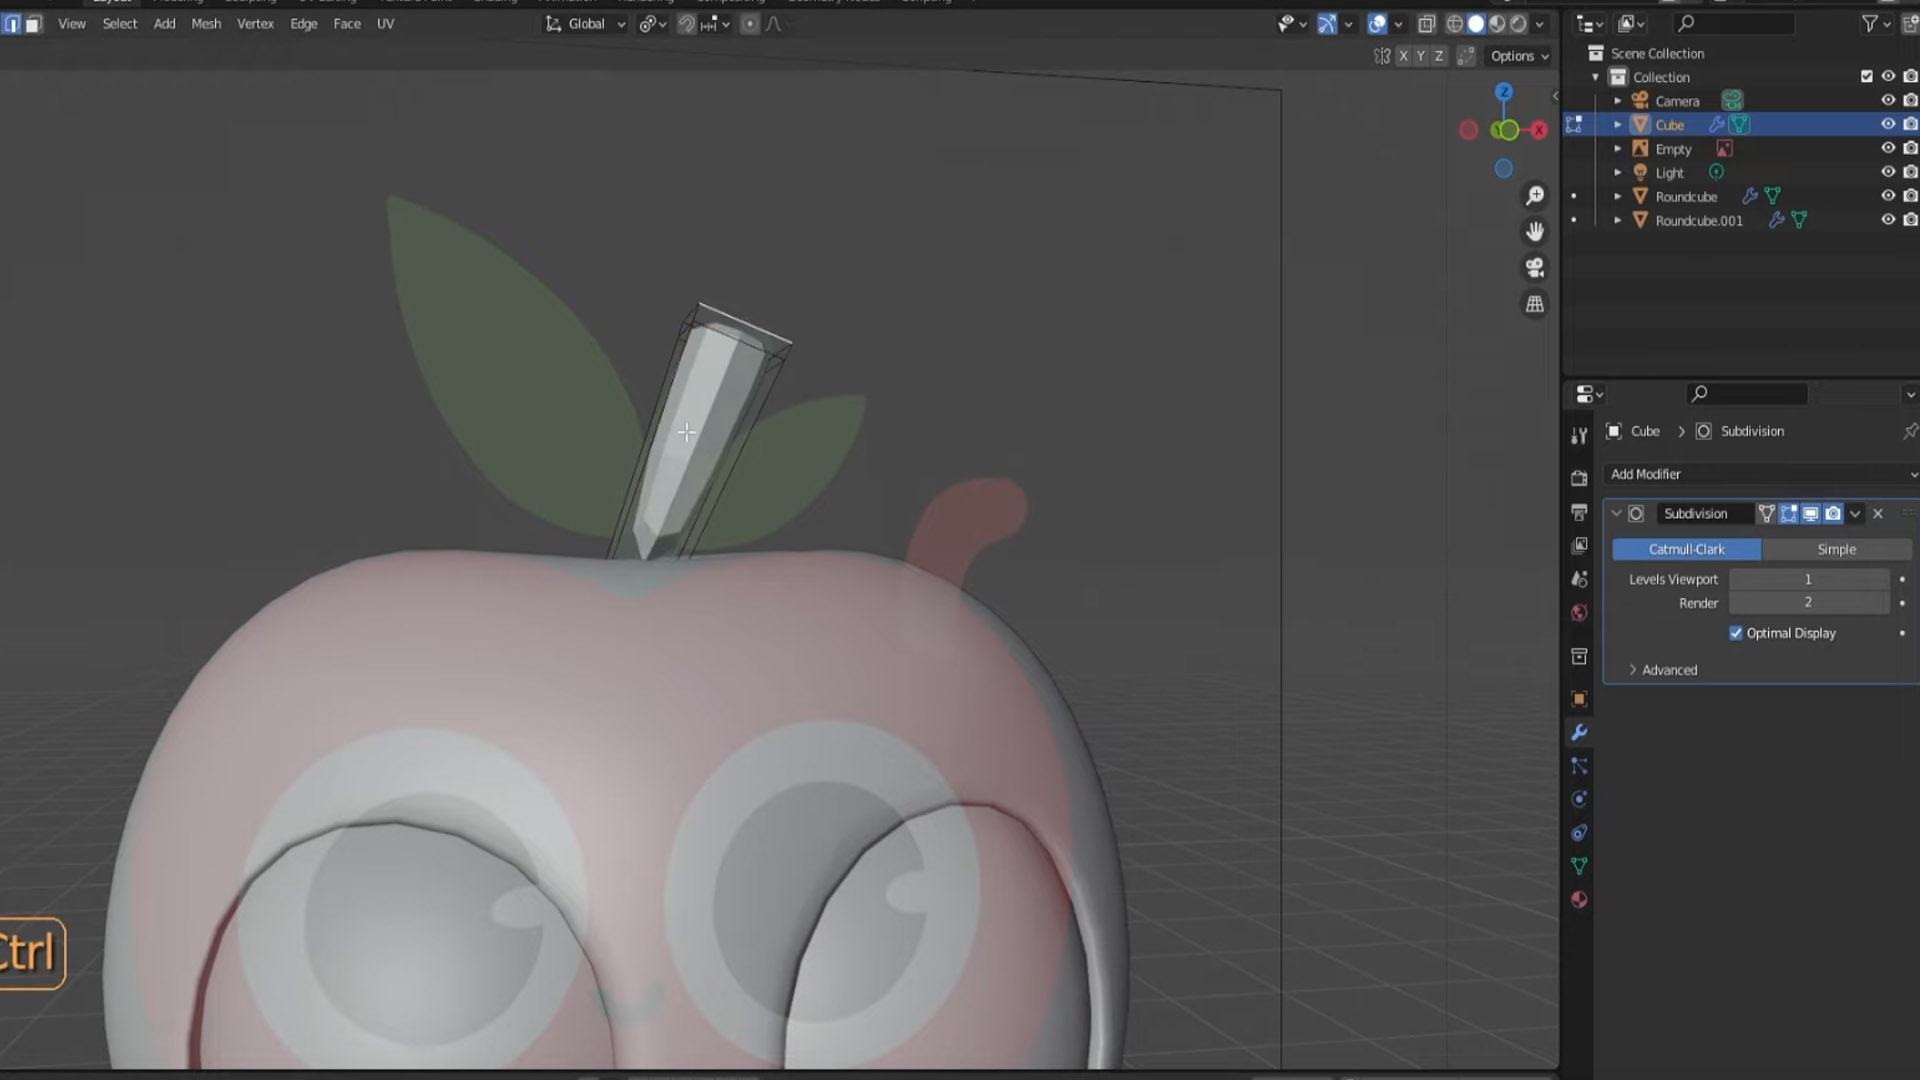
As you model in a low-poly fashion you might wonder “How am I going to make this look smooth and not weird and bumpy?”, the answer is the Subdivision Surface modifier.
If you’ve never modeled before, this is standard practice. Any time you’re trying to model smooth surfaces it’s always much easier to model in low-poly and then you drop in a Subdivision Surface (sometimes called sub-surf) modifier, and it will take your existing topology and smooth it out and add polygons.
The other thing you’ll definitely want to make use of as you model, particularly if you are modeling a symmetrical character, is the mirror modifier. This will make what you make on one side of an axis, and copy it exactly over to the other side. Any changes or reshaping you do will be copied over real-time to the other side of the axis. This obviously makes modeling a symmetrical character not only easier, just possible in general.