
All-Access Pass
Unlimited access to 50+ courses, unlimited critique, live events, and 24/7 community. Join School of Motion All-Access today.

Photoshop is one of the most popular design programs out there, but how well do you really know those top menus?
Typography in Photoshop can be… less than fun, to put it nicely. But type is a necessity! There’s no way around it. And even if there are better Adobe programs for handling it, there are going to be many instances where you’ll have to deal with typography in Photoshop.
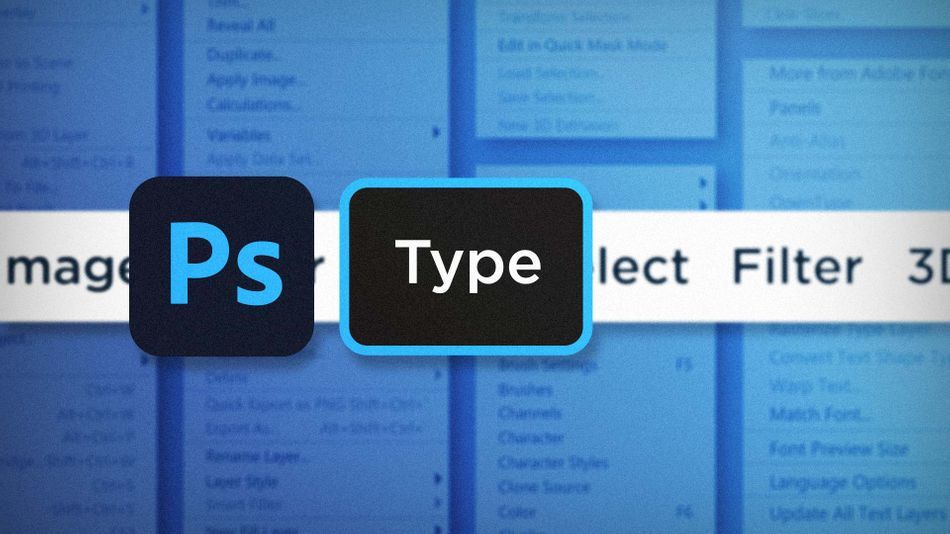
You can’t get by with just the Type tool. Not even the Character panel is going to give you complete control over your typography. You’ve gotta look beyond those tools and panels and dig into the Type Menu. In this article, we’re going to take a look at three important—and useful—commands and tools:
- Anti-Aliasing
- Glyphs
- Converting to Paragraph Text
Anti-Aliasing in Photoshop
Photoshop is great at making type look really weird for seemingly no reason. It can be incredibly frustrating if you don’t know how to adjust how type is rendered, which is why Anti-Alias is first on my list for the Type Menu.
Anti-Aliasing is a way to soften the pixels around the edges of shapes. Without it, things look very pixelated and harsh. Select a text layer and head to Type > Anti-Aliasing. There are lots of options here, but your safest bet is to go with Sharp. If it’s set to none, you can see just how much worse the type is rendered.

Glyphs Panel in Photoshop
This one is actually a panel, not a command, but it’s buried in the Type menu so it’s really great to know about. Fonts (or typefaces) are designed with WAY more characters than you can type out on your keyboard. These special characters, or glyphs, are accessible through the Glyphs Panel. Open it up under Type > Panels > Glyphs Panels.
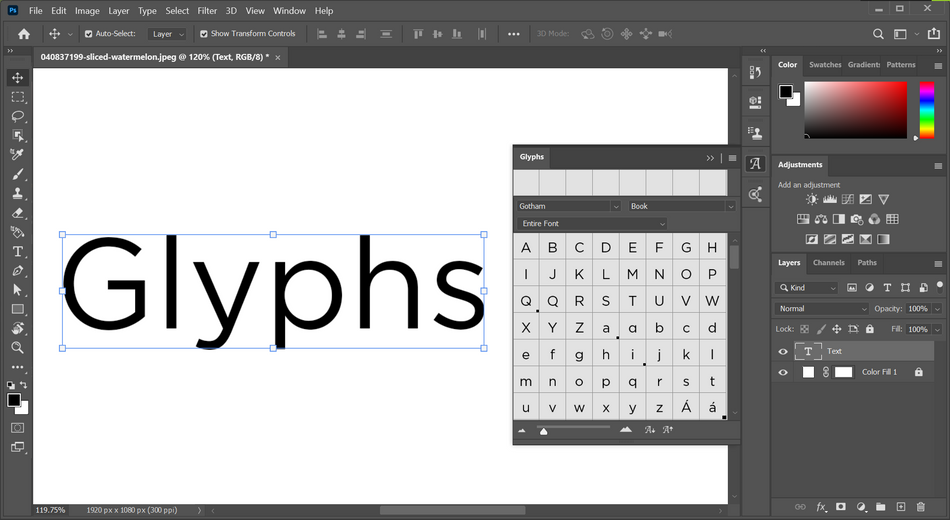
With a text layer in edit mode, the panel will automatically populate with all of the available glyphs for that font. Scroll through the list to find the specific glyph you’re after and double click it to insert it into your text layer.
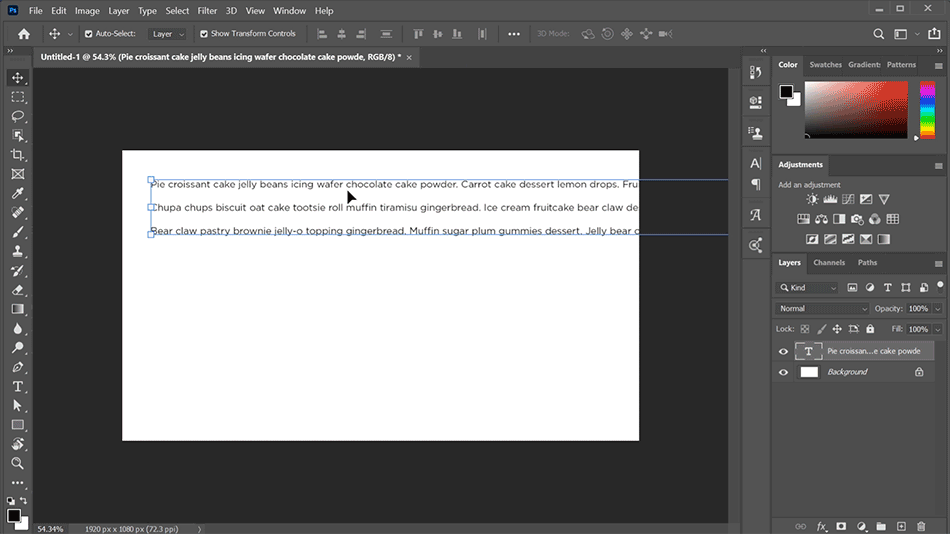
Convert To Paragraph Text in Photoshop
Sometimes in Photoshop you’ll create a text layer and start typing. Eventually your text layer will start running off the edge of the canvas, and you start manually entering line breaks. Then you’ll decide to resize the text, change the font, and suddenly, none of your line breaks align with the document anymore. Should’ve made a text box. Ugh. Don’t fret! Convert To Paragraph Text does exactly what you need.
Select your standard text layer, then go up to Type > Convert To Paragraph Text. You can now double click on the text and resize the bounding box to whatever boundaries you need. No copying or pasting necessary.
Typography can be tedious at times, and it’s super frustrating when you don’t know how to solve an issue. But now that you’ve had a glimpse of the Type menu, you can clean up the edges of your type with Anti-Aliasing, insert any special characters into your type layers, and easily convert a line of text into a paragraph text box. Be sure to dig through the rest of the commands in the Type menu, there’s bound to be more to help your typography workflow in Photoshop.
Ready to learn more?
If this article only roused your appetite for Photoshop knowledge, it seems like you'll need a five-course shmorgesborg to bed it back down. That's why we developed Photoshop & Illustrator Unleashed!
Photoshop and Illustrator are two very essential programs that every Motion Designer needs to know. By the end of this course, you'll be able to create your own artwork from scratch with tools and workflows used by professional designers every day.
ENROLL NOW!
Acidbite ➔
50% off everything

ActionVFX ➔
30% off all plans and credit packs - starts 11/26

Adobe ➔
50% off all apps and plans through 11/29

aescripts ➔
25% off everything through 12/6
Affinity ➔
50% off all products

Battleaxe ➔
30% off from 11/29-12/7
Boom Library ➔
30% off Boom One, their 48,000+ file audio library
BorisFX ➔
25% off everything, 11/25-12/1

Cavalry ➔
33% off pro subscriptions (11/29 - 12/4)

FXFactory ➔
25% off with code BLACKFRIDAY until 12/3

Goodboyninja ➔
20% off everything

Happy Editing ➔
50% off with code BLACKFRIDAY

Huion ➔
Up to 50% off affordable, high-quality pen display tablets

Insydium ➔
50% off through 12/4
JangaFX ➔
30% off an indie annual license
Kitbash 3D ➔
$200 off Cargo Pro, their entire library
Knights of the Editing Table ➔
Up to 20% off Premiere Pro Extensions
Maxon ➔
25% off Maxon One, ZBrush, & Redshift - Annual Subscriptions (11/29 - 12/8)
Mode Designs ➔
Deals on premium keyboards and accessories
Motion Array ➔
10% off the Everything plan
Motion Hatch ➔
Perfect Your Pricing Toolkit - 50% off (11/29 - 12/2)

MotionVFX ➔
30% off Design/CineStudio, and PPro Resolve packs with code: BW30

Rocket Lasso ➔
50% off all plug-ins (11/29 - 12/2)

Rokoko ➔
45% off the indie creator bundle with code: RKK_SchoolOfMotion (revenue must be under $100K a year)

Shapefest ➔
80% off a Shapefest Pro annual subscription for life (11/29 - 12/2)

The Pixel Lab ➔
30% off everything
Toolfarm ➔
Various plugins and tools on sale

True Grit Texture ➔
50-70% off (starts Wednesday, runs for about a week)

Vincent Schwenk ➔
50% discount with code RENDERSALE

Wacom ➔
Up to $120 off new tablets + deals on refurbished items


All-Access Pass
Unlimited access to 50+ courses, unlimited critique, live events, and 24/7 community. Join School of Motion All-Access today.