
Add Video Editing to Your Toolkit
Learn Premiere Pro from a motion designer's perspective. Enroll in All-Access to unlock Premiere for Motion Designers and 50+ other courses.
Just how well do you know the top menus in Adobe Premiere Pro?
When was the last time you took a tour of Premiere Pro’s top menu? I would bet that whenever you jump into Premiere that you’re pretty comfortable in the way you work.
Chris Salters here from Better Editor. You might think you know a lot about Adobe's editing app, but I'll bet there are some hidden gems staring you in the face. This is it my friends, the end to our journey covering Adobe Premiere’s top menu. Let’s wrap things up looking at the Window menu.
It’s unassuming, but the Window menu does more than load up workspaces and windows. Maximizing frames help you see clearer and I’ve got a sweet trick with the media browser that’s going to knock some socks off. So pull up those knee-highs and get after it.
Workspaces in Adobe Premiere Pro
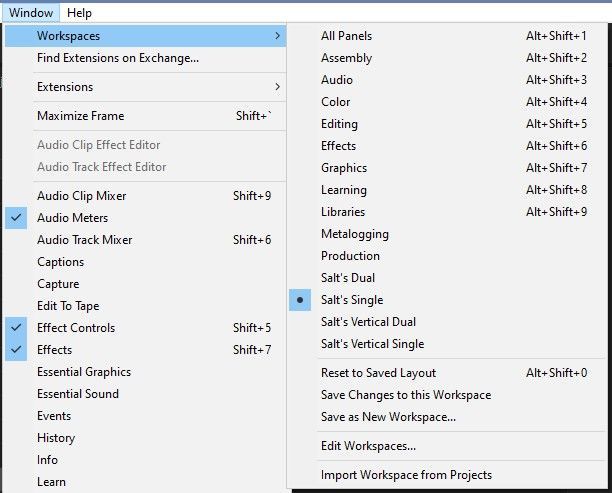
One size does not fit all, and that’s true with editing styles. A window layout you love, your buddy may hate. Well...hate’s a strong word, so your friend should probably simmer down a bit. My point is that like in After Effects, Premiere Pro allows you to customize its layout based on how you edit. Adobe provides some great default options to start you on your way, such as Editing, Color, Audio, Graphics, Productions, and more.
drag_handle
You’ll probably find that these defaults are really just good starting points. Customize your own workspace by clicking and dragging and snapping window panels around the screen to where they work best for you. Open different Window Panels through the Window menu. After you have things situated the way you like, head over to Window > Save as New Workspace to save it and give it a name.
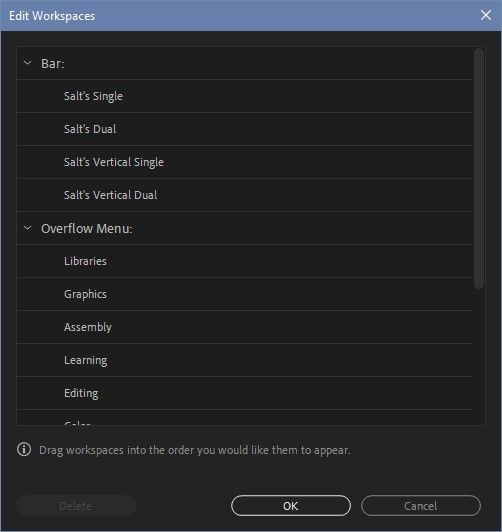
Maybe you’re like me and would rather not see all of the default workspaces Premiere offers or you need to remove an old one. If so, Workspaces > Edit Workspaces is the place to go. Premiere’s default workspaces can’t be removed, but they can be hidden from the top bar.
This should help if you’re looking for some in-depth info on the Premiere Pro workspace.
Maximize Frame in Adobe Premiere Pro

drag_handle
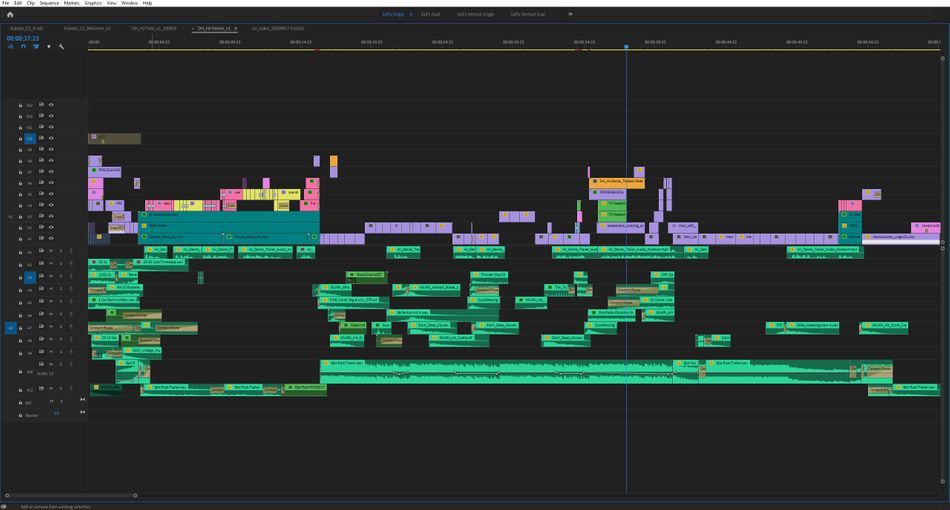
If you regularly edit on a laptop, you’ll love this feature. Maximize Frame is aptly named because it enlarges the active window frame. With the default hotkey (shift+`), it’s extremely convenient to activate.
attachment
drag_handle
Use this for viewing the Program Monitor in almost full screen, tweaking keyframes in effects controls, or editing audio in a timeline. When finished, just hit the hotkey again to go back to the full Workspace.
Media Browser in Adobe Premiere Pro
attachmentwarning
drag_handle
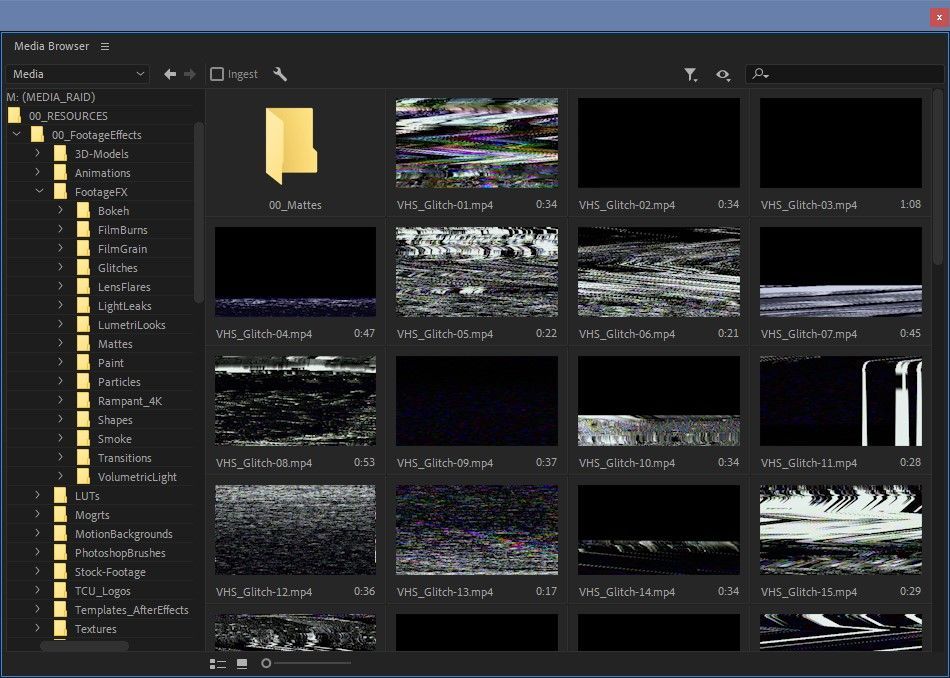
I won’t dive into all of the various options of Window Panels, but one worth taking a closer look at is Premiere’s Media Browser. It may not be the most exciting Panel in the group (looking at you Effects), but it has the power to help you in Premiere Pro and After Effects.
The Media Browser obviously lets you search, preview, and import footage from directly inside of Premiere Pro. Some video codecs—such as .R3D footage—must actually be imported through the Media Browser to work correctly within Premiere.
So how does this help After Effects users? When searching for footage and compositing effects, for starters. I personally find Premiere’s media browser to work better than After Effects’ media browser and that it also has smoother operation than Adobe Bridge. So try searching for and previewing media with Premiere’s Media Browser.
After finding the clip(s) you’re looking for, pull them into the Project Window. With the clip(s) selected in the Project Panel, copy them (ctrl+c or cmd+c), then jump over to After Effects, and hit paste (ctrl+v or cmd+v) in After Effects’ Project Panel. Through Adobe’s magic pipeline, everything is now in your AE project ready to get bedazzled.
What’s really cool is this trick isn’t just limited to media. Here’s more on copying and pasting between Premiere and After Effects.
That’s a wrap! I hope you’ve enjoyed this tour through Premiere’s top menu and more importantly, learned something that helps you edit better. If you want to see more tips and tricks like these or want to become a smarter, faster, better editor, then be sure to follow the Better Editor blog and YouTube channel.
What can you do with these new editing skills?
If you're eager to take your newfound powers on the road, might we suggest using them to polish up your demo reel? The Demo Reel is one of the most important—and often frustrating—parts of a motion designer's career. We believe this so much we actually put together an entire course about it: Demo Reel Dash!
With Demo Reel Dash, you’ll learn how to make and market your own brand of magic by spotlighting your best work. By the end of the course you’ll have a brand new demo reel, and a campaign custom-built to showcase yourself to an audience aligned to your career goals.
ENROLL NOW!
Acidbite ➔
50% off everything

ActionVFX ➔
30% off all plans and credit packs - starts 11/26

Adobe ➔
50% off all apps and plans through 11/29

aescripts ➔
25% off everything through 12/6
Affinity ➔
50% off all products

Battleaxe ➔
30% off from 11/29-12/7
Boom Library ➔
30% off Boom One, their 48,000+ file audio library
BorisFX ➔
25% off everything, 11/25-12/1

Cavalry ➔
33% off pro subscriptions (11/29 - 12/4)

FXFactory ➔
25% off with code BLACKFRIDAY until 12/3

Goodboyninja ➔
20% off everything

Happy Editing ➔
50% off with code BLACKFRIDAY

Huion ➔
Up to 50% off affordable, high-quality pen display tablets

Insydium ➔
50% off through 12/4
JangaFX ➔
30% off an indie annual license
Kitbash 3D ➔
$200 off Cargo Pro, their entire library
Knights of the Editing Table ➔
Up to 20% off Premiere Pro Extensions
Maxon ➔
25% off Maxon One, ZBrush, & Redshift - Annual Subscriptions (11/29 - 12/8)
Mode Designs ➔
Deals on premium keyboards and accessories
Motion Array ➔
10% off the Everything plan
Motion Hatch ➔
Perfect Your Pricing Toolkit - 50% off (11/29 - 12/2)

MotionVFX ➔
30% off Design/CineStudio, and PPro Resolve packs with code: BW30

Rocket Lasso ➔
50% off all plug-ins (11/29 - 12/2)

Rokoko ➔
45% off the indie creator bundle with code: RKK_SchoolOfMotion (revenue must be under $100K a year)

Shapefest ➔
80% off a Shapefest Pro annual subscription for life (11/29 - 12/2)

The Pixel Lab ➔
30% off everything
Toolfarm ➔
Various plugins and tools on sale

True Grit Texture ➔
50-70% off (starts Wednesday, runs for about a week)

Vincent Schwenk ➔
50% discount with code RENDERSALE

Wacom ➔
Up to $120 off new tablets + deals on refurbished items


Add Video Editing to Your Toolkit
Learn Premiere Pro from a motion designer's perspective. Enroll in All-Access to unlock Premiere for Motion Designers and 50+ other courses.


