
All-Access Pass
Unlimited access to 50+ courses, unlimited critique, live events, and 24/7 community. Join School of Motion All-Access today.

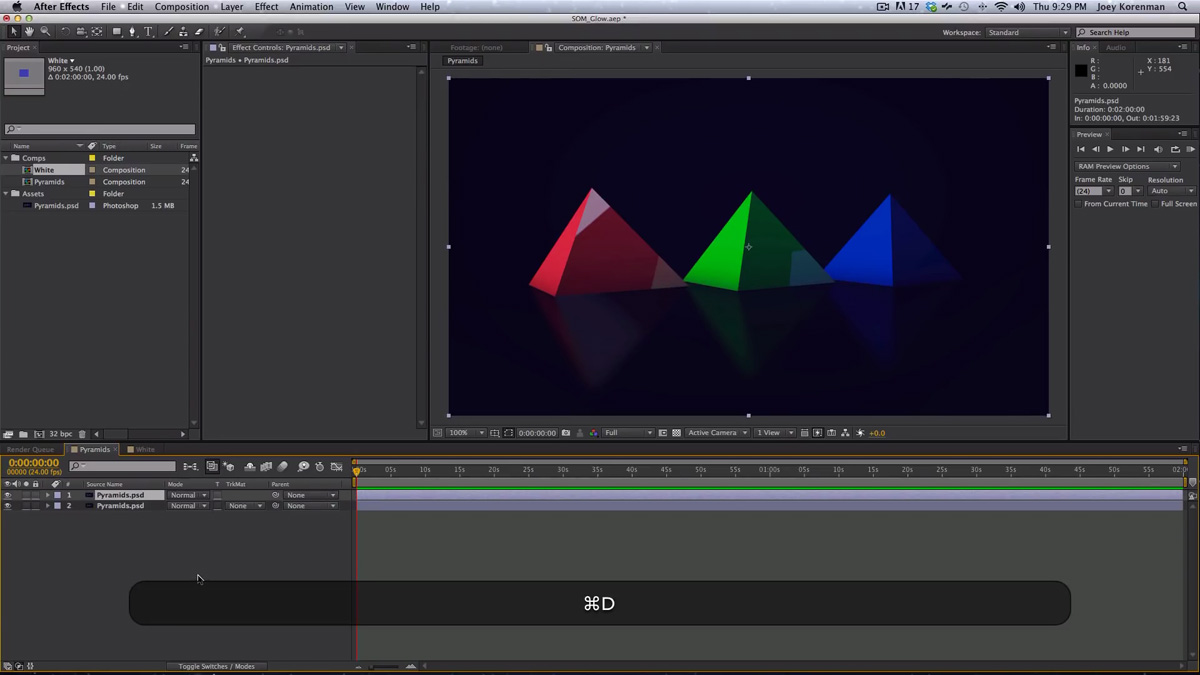
In this tutorial we'll learn how to create a better glow in After Effects.
The built in “Glow” effect in After Effects has a whole bunch of limitations that make it a pain to use when you want to really dial in a look. In this tutorial, Joey will show you how to build a way better glow effect than what After Effects has to offer you right out of the box. By the end of this lesson you'll be able to build your own glows from scratch. While this may sound difficult you’ll see that it’s really simple and powerful once you get the hang of it.
Understanding the Power of Glows
Before we jump into the practical aspects of creating custom glow effects, it's essential to understand what a glow really is. At its core, a glow is a blurred version of an image, with the blurred copy added over the original image. This simple concept forms the basis of our approach to creating glows that allow for extensive control. Simple enough, eh. Let's dive in.
The Limitations of the Default Glow Effect in After Effects
Let's kick it off by discussing the limitations of After Effects' default glow effect, which can make it frustrating for many users:
❌ Lack of Control
Adjusting the glow's settings in the default effect isn't always intuitive, and it can be challenging to achieve the desired look without a lot of trial and error.
❌ Threshold Issues
Managing the threshold and intensity settings can become a constant back-and-forth process, making it difficult to target specific areas for the glow.
❌ Limited Customization
Making specific elements within an image glow more than others can be tricky, and you might need to resort to using multiple layers or adjustment layers, which can be cumbersome.
❌ Color Manipulation
Adjusting the color and saturation of the glow isn't straightforward with the default effect.
❌ Animation Challenges
Animating the default glow can be problematic, as it may result in unwanted artifacts and a black halo around the glowing area.
Building Custom Glow Effects in AE
With that out of the way, let's explore the technique to create custom glow effects in After Effects that offer far more control and versatility.
Step 1: Starting with a Duplicate Layer
Begin by duplicating the layer you want to add the glow effect to. This duplicate will serve as the base for our custom glow.
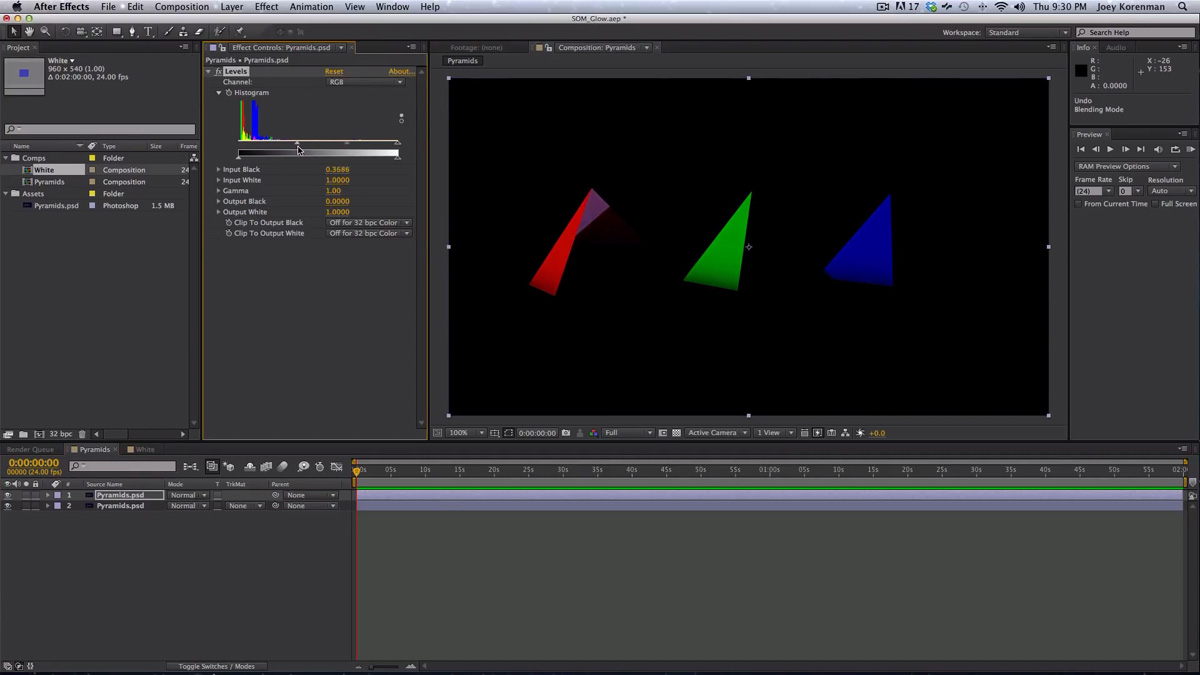
Step 2: Applying Levels Effect
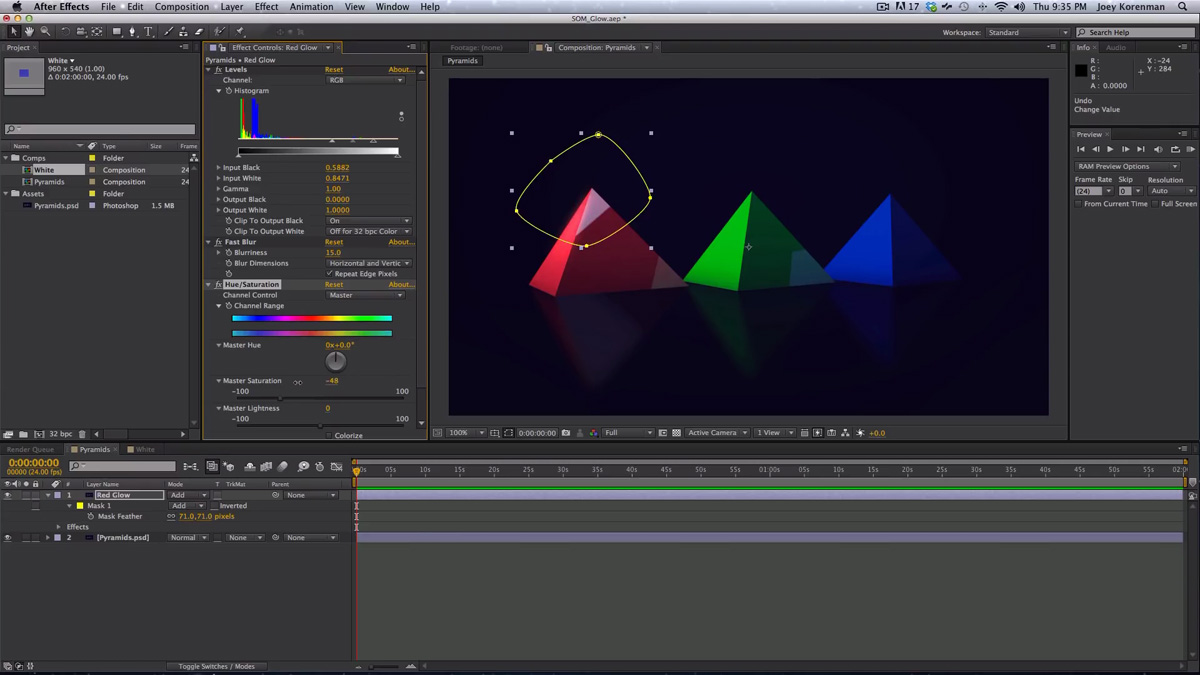
Add a "Levels" effect to the duplicate layer. This step allows you to control which parts of the image will glow. In the example in the video tutorial, we use the Levels effect to crush the blacks.
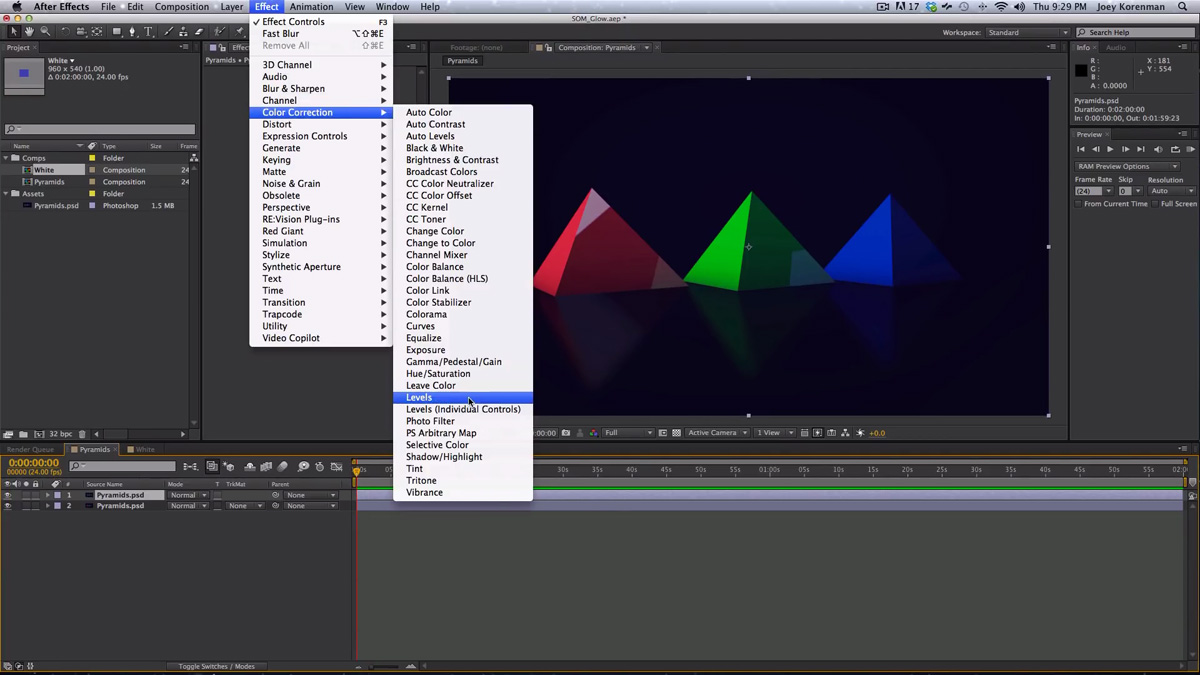
Step 3: Adjusting Levels
Use the levels effect to crush the black levels, eliminating the parts of the image you don't want to glow. This will be your threshold setting.
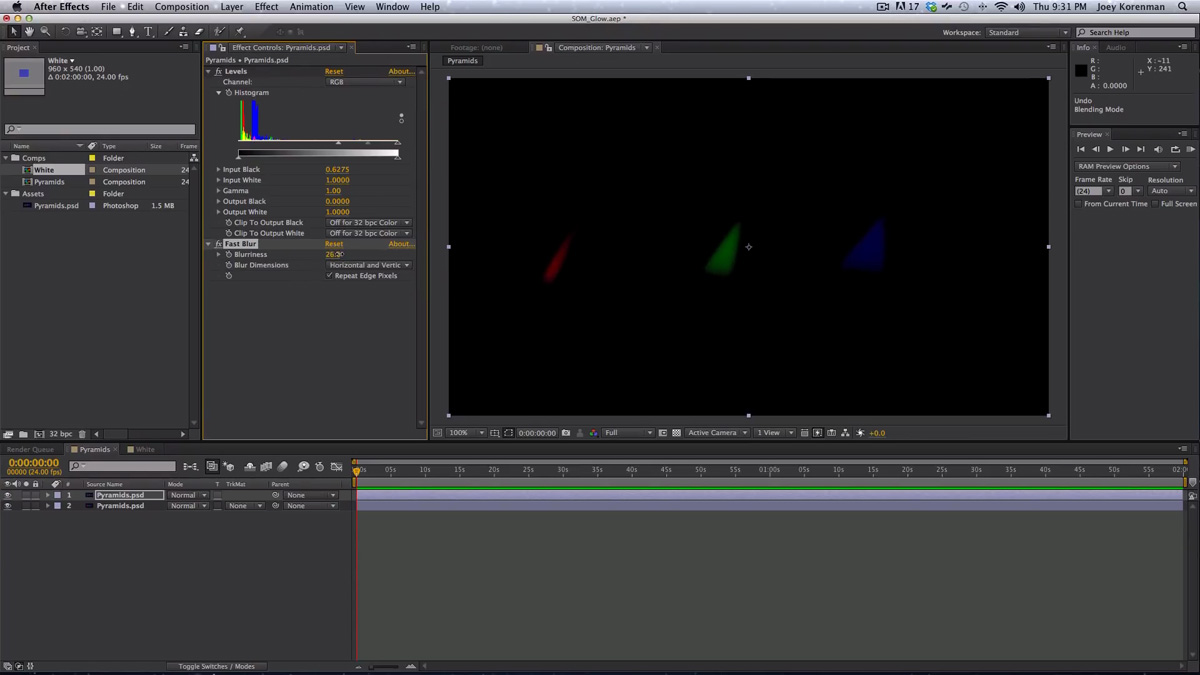
Step 4: Applying Fast Blur
Next, add a "Fast Blur" effect to the duplicate layer. Adjust the blur radius as needed to achieve the desired glow.
Step 5: Tweak Saturation
To prevent oversaturation in the glow, consider de-saturating the duplicate layer using a "Hue/Saturation" effect. This ensures your glow doesn't overpower the original colors.
Step 6: Masking for Precision
If you want to target specific areas for the glow, create a mask on the duplicate layer. This allows you to control the shape and intensity of the glow precisely.
Step 7: Handling the 32-Bit Mode
One common issue in this technique is the impact on brightness when working in 32-bit mode. To resolve this, you can clip the blacks by enabling "Clip to Output Black" in the Levels effect. This prevents darkening of the image due to negative values.
Step 8: Customizing Glow Colors
One of the incredible advantages of this method is the ability to customize the color of your glow. You can change the hue and saturation of the glow to create unique and visually appealing effects.
Automating Custom Glow Effects in After Effects
To make the process more efficient and apply the same custom glow to multiple layers, we can use the "CC Composite" effect. Here's how:
Step 1: Add CC Composite Effect in AE
Apply the "CC Composite" effect to the duplicate layer.
Step 2: Set Composite Mode in AE
Adjust the "Composite Original" setting within the "CC Composite" effect. Change it to "Add" or another mode that suits your project.
Step 3: Pre-Effect Adjustments
You can add any effects you want to the duplicate layer before the "CC Composite" effect, and they will only affect the image pre-glow.
Get that glow in AE
Creating custom glow effects in After Effects using this technique gives you unparalleled control and allows you to achieve unique and stunning results. Whether you're working on motion graphics or compositing, this approach empowers you to craft the perfect glow for your project.
So, if you've learned something valuable from this tutorial, please share it to help others discover these creative possibilities in After Effects. Don't forget to sign up for a free student account to access the project files used in this tutorial and other valuable resources.
Thanks for watching, and I look forward to seeing you in our next tutorial. Happy creating!
ENROLL NOW!
Acidbite ➔
50% off everything

ActionVFX ➔
30% off all plans and credit packs - starts 11/26

Adobe ➔
50% off all apps and plans through 11/29

aescripts ➔
25% off everything through 12/6
Affinity ➔
50% off all products

Battleaxe ➔
30% off from 11/29-12/7
Boom Library ➔
30% off Boom One, their 48,000+ file audio library
BorisFX ➔
25% off everything, 11/25-12/1

Cavalry ➔
33% off pro subscriptions (11/29 - 12/4)

FXFactory ➔
25% off with code BLACKFRIDAY until 12/3

Goodboyninja ➔
20% off everything

Happy Editing ➔
50% off with code BLACKFRIDAY

Huion ➔
Up to 50% off affordable, high-quality pen display tablets

Insydium ➔
50% off through 12/4
JangaFX ➔
30% off an indie annual license
Kitbash 3D ➔
$200 off Cargo Pro, their entire library
Knights of the Editing Table ➔
Up to 20% off Premiere Pro Extensions
Maxon ➔
25% off Maxon One, ZBrush, & Redshift - Annual Subscriptions (11/29 - 12/8)
Mode Designs ➔
Deals on premium keyboards and accessories
Motion Array ➔
10% off the Everything plan
Motion Hatch ➔
Perfect Your Pricing Toolkit - 50% off (11/29 - 12/2)

MotionVFX ➔
30% off Design/CineStudio, and PPro Resolve packs with code: BW30

Rocket Lasso ➔
50% off all plug-ins (11/29 - 12/2)

Rokoko ➔
45% off the indie creator bundle with code: RKK_SchoolOfMotion (revenue must be under $100K a year)

Shapefest ➔
80% off a Shapefest Pro annual subscription for life (11/29 - 12/2)

The Pixel Lab ➔
30% off everything
Toolfarm ➔
Various plugins and tools on sale

True Grit Texture ➔
50-70% off (starts Wednesday, runs for about a week)

Vincent Schwenk ➔
50% discount with code RENDERSALE

Wacom ➔
Up to $120 off new tablets + deals on refurbished items


All-Access Pass
Unlimited access to 50+ courses, unlimited critique, live events, and 24/7 community. Join School of Motion All-Access today.