
All-Access Pass
Unlimited access to 50+ courses, unlimited critique, live events, and 24/7 community. Join School of Motion All-Access today.

Create, Change and Export After Effects Compositions
The After Effects Composition menu holds several important commands to create, modify or export your compositions, and even save individual still frames. Let's dive in and help you make the most of this menu!

Chances are, you probably already use the Composition menu to access the Render Queue, but there are several other useful tools in here that you should be trying. We’ll learn how to fine-tune the details of a composition, trim a timeline, save out hi-res images, and more!
Create, Modify & Trim Compositions or Save Still Frames from After Effects
Here are the 3 most important things you'll be using in the After Effects Composition menu:
- Composition Settings
- Trim Comp To Work Area
- Save Frame As
Change Composition Size, Frame Rate, & Duration
Need to change the frame rate or overall length of one of your compositions? What if a client requests a change in the dimensions of a project?
To quickly change any of these attributes, go to Composition > Composition Settings, or press:
Command+K (Mac OS)
Ctrl+K (Windows)
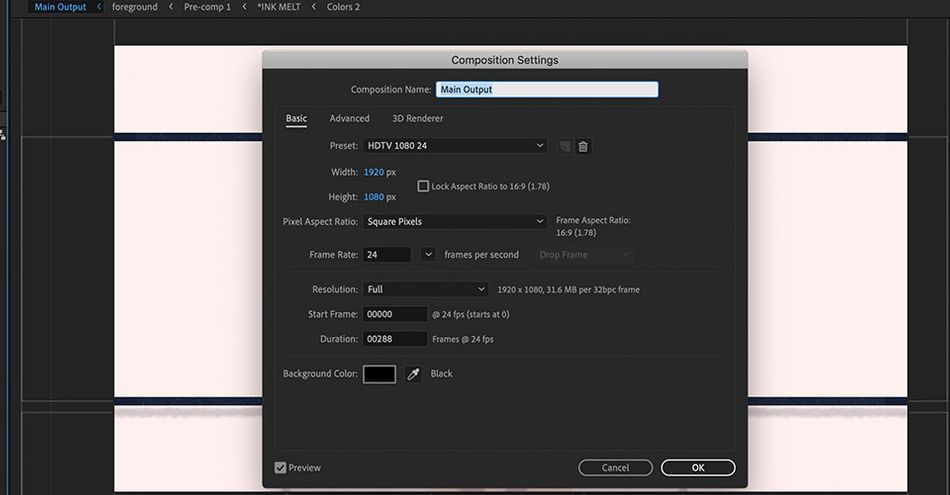
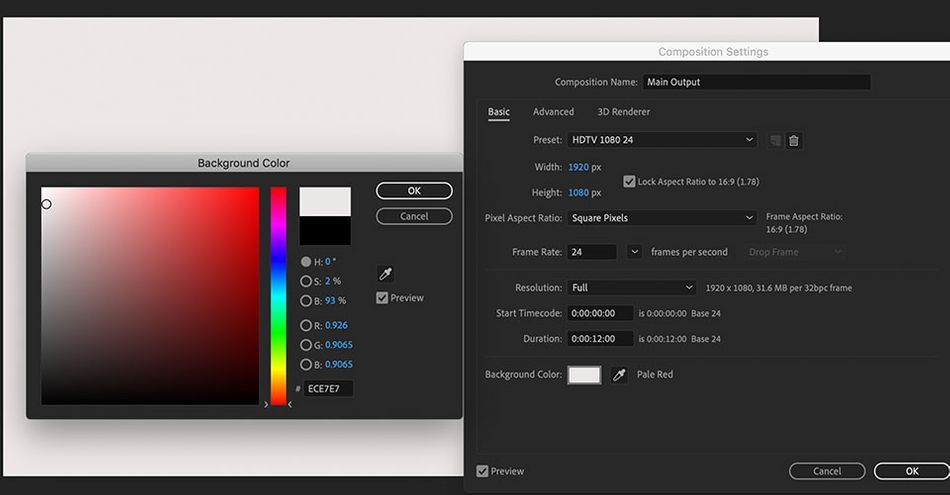
In this panel, you can change any core aspect of your composition, at any point during your project. Beginning at the top, you can change the name of the composition. Helpful names are important - don't be the person who hands off a project full of generic, unnamed comps!
Dimensions & Aspect Ratio
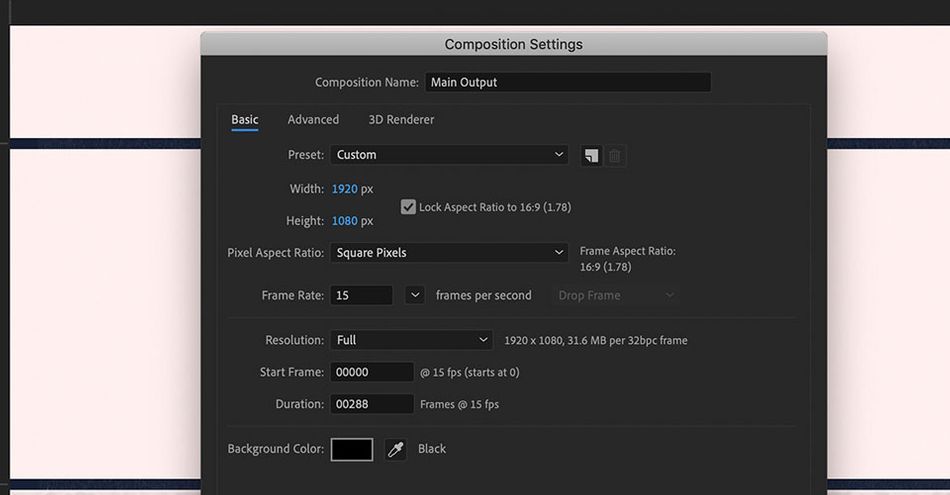
This is also where you can change the dimensions or aspect ratio of your project. The preset dropdown just above is full of common frame sizes, but you can also go totally custom, and set these to any value up to 30,000 pixels.
If you need to maintain a specific dimension (such as 16:9), just check the Lock Aspect Ratio box. Now when you change the size, it will automatically keep the ratio of the dimensions intact. No math or calculating needed on your part!
Frame Rate
Maintaining the correct frame rate is especially important. If you’re working with video footage, it’s best to ensure that the frame rate of the video and the composition match, to avoid problems with animation or compositing.
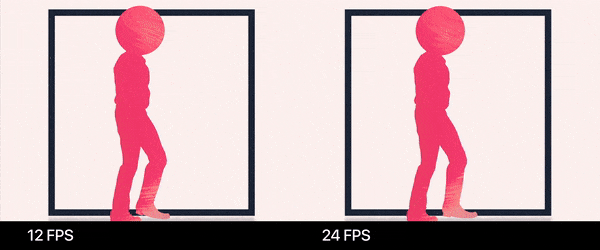
24, 25, and 30 FPS (frames per second) are all common frame rates, depending on your project type and broadcast standards in your country. For some projects, you may intentionally work at a lower frame rate, like 12 FPS, to create a more stylized, almost stop-motion look.
Start Timecode & Duration
Duration can be changed at any point during your project, and it's not uncommon to open up the Composition Settings if you realize you need to add a few extra seconds onto the end of your animation.
Start Timecode defaults to zero when you create compositions, and that's the setting that usually makes sense, but you can intentionally offset this if desired. You'll most commonly notice this set to other values when creating compositions from video footage with embedded timecode.
Background Color
The default background color in a comp can be changed as well. If you're working with dark assets, try changing the background color to a light grey or white, to easily view everything. Much better than the alpha checkered pattern! Do keep in mind that this Background Color is only for your reference, though - if you want a specific background color to be included in your export, it's best to create that with a Solid or Shape Layer.
Trim the After Effects Composition Length
Let’s face it: the length of your project is likely to change as new content gets added, cut, or revised. With all of these changes, you need to have complete control over the length of your timeline.
While working, you'll probably be constantly adjusting the section of your timeline being previewed, known as the Work Area. You can adjust this by dragging the blue ends of the gray bar above your comp. You can also use these keyboard shortcuts:
B to set the start of your work area ("Beginning")
N to set the end of your work area ("End")
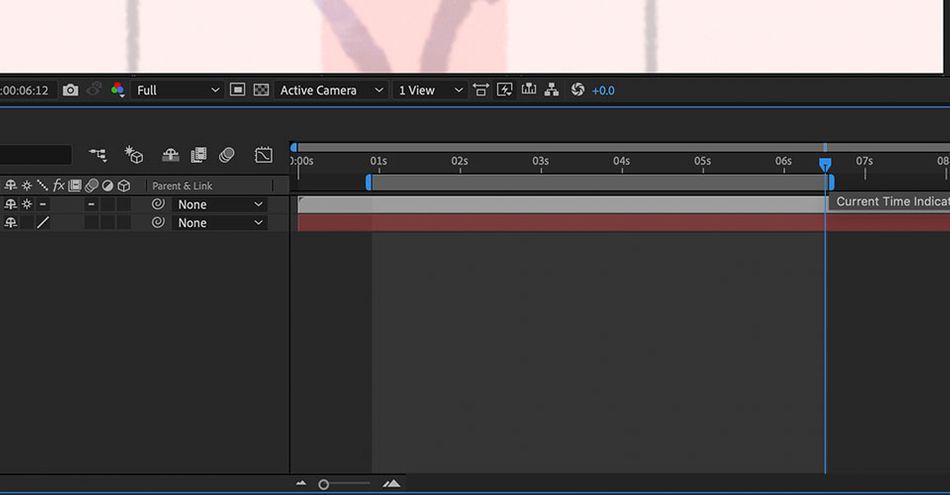
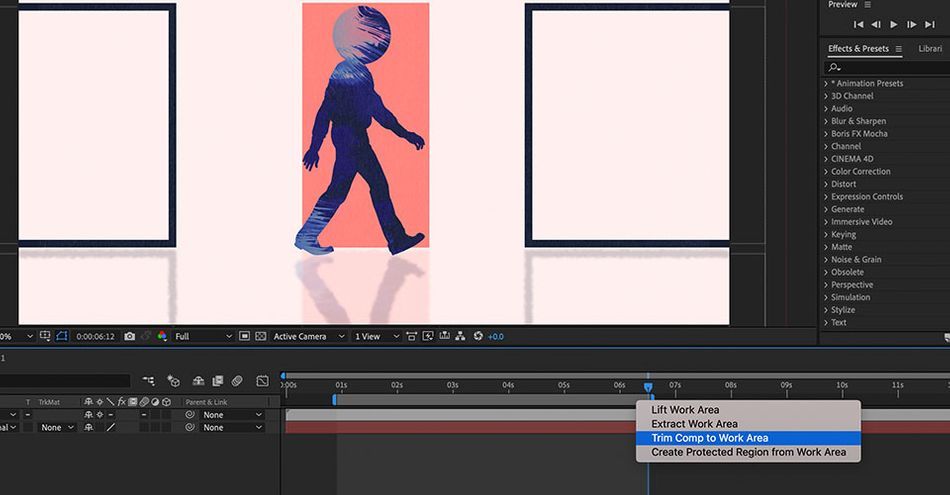
To trim your composition to the current duration of your Work Area, go to Composition > Trim Comp to Work Area.
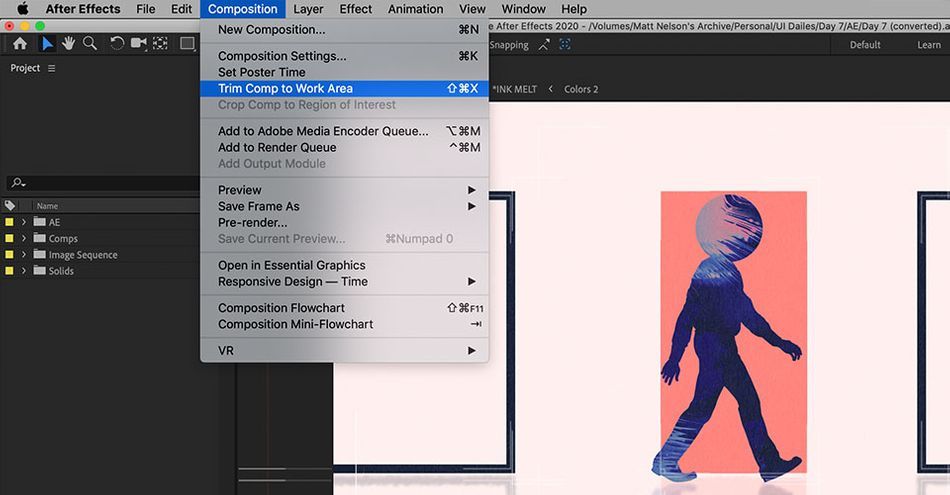
Alternatively, you can also right-click on the work area to bring up this option as well.
This is perfect for trimming timelines and getting rid of excess space at the beginning or end that you may not need. Nothing makes me happier than a clean timeline!
Save a Still Frame from After Effects
Maybe a client just needs a still image for approval, or perhaps you want to export artwork from After Effects and edit it in Photoshop. If you need to kick out any frame from your timeline into a still image, don’t take a screenshot! Do this instead!
Head up to Composition > Save Frame As.
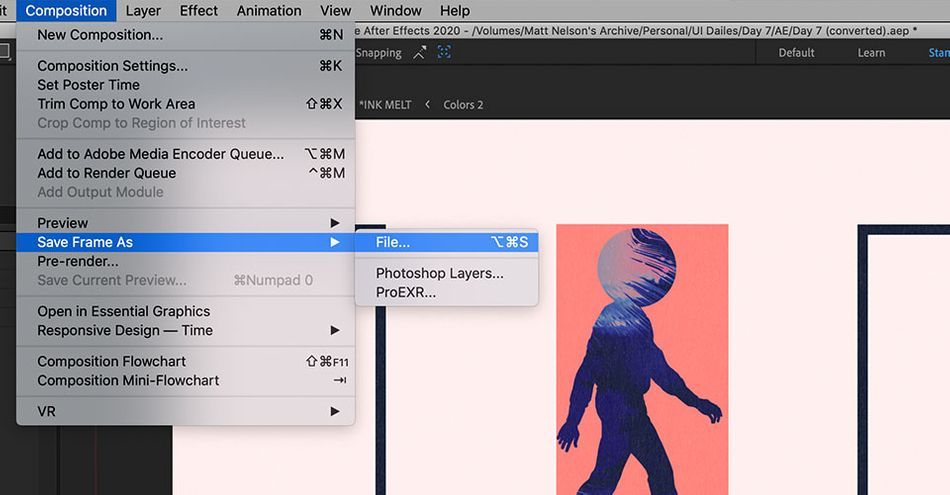
You can also use keyboard shortcut:
Option+Command+S (Mac OS)
Control+Alt+S (Windows)
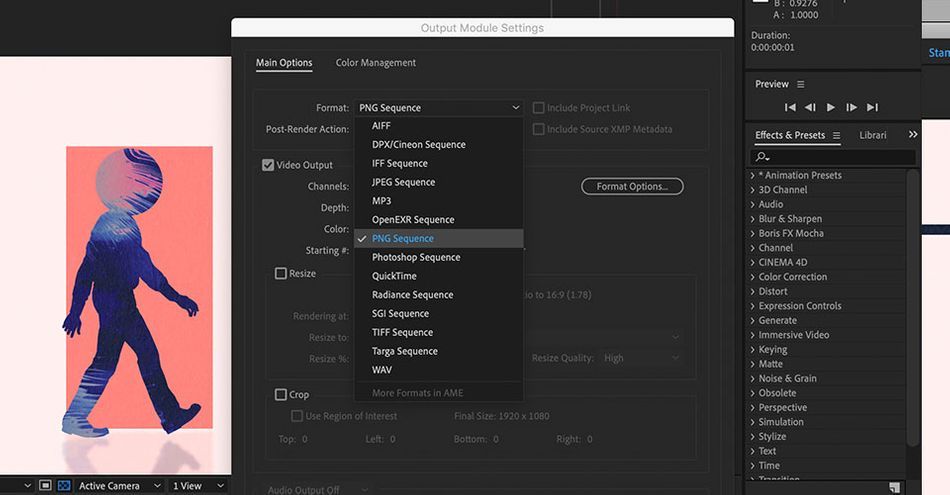
This will add your composition to the Render Queue, just like exporting a video, but it'll only output this single frame. Choose your desired image format, confirm the file name and location, and click Render.
Check you out with all this new knowledge!
As you can see, there is more to the Composition menu than just the Render Queue. You can use items in this Composition menu to fine-tune dimensions, frame rate, and background color. You can use it to trim your timeline or quickly export single frames for use elsewhere. There's also more good stuff in here we didn't cover today, like the Composition Flowchart - don't be afraid to explore and test these tools out on future projects!
After Effects Kickstart
If you're looking to get the most out of After Effects, maybe it's time to take a more proactive step in your professional development. That's why we put together After Effects Kickstart, a course designed to give you a strong foundation in this core program.
After Effects Kickstart is the ultimate After Effects intro course for motion designers. In this course, you'll learn the most commonly used tools and best practices for using them while mastering the After Effects interface.
ENROLL NOW!
Acidbite ➔
50% off everything

ActionVFX ➔
30% off all plans and credit packs - starts 11/26

Adobe ➔
50% off all apps and plans through 11/29

aescripts ➔
25% off everything through 12/6
Affinity ➔
50% off all products

Battleaxe ➔
30% off from 11/29-12/7
Boom Library ➔
30% off Boom One, their 48,000+ file audio library
BorisFX ➔
25% off everything, 11/25-12/1

Cavalry ➔
33% off pro subscriptions (11/29 - 12/4)

FXFactory ➔
25% off with code BLACKFRIDAY until 12/3

Goodboyninja ➔
20% off everything

Happy Editing ➔
50% off with code BLACKFRIDAY

Huion ➔
Up to 50% off affordable, high-quality pen display tablets

Insydium ➔
50% off through 12/4
JangaFX ➔
30% off an indie annual license
Kitbash 3D ➔
$200 off Cargo Pro, their entire library
Knights of the Editing Table ➔
Up to 20% off Premiere Pro Extensions
Maxon ➔
25% off Maxon One, ZBrush, & Redshift - Annual Subscriptions (11/29 - 12/8)
Mode Designs ➔
Deals on premium keyboards and accessories
Motion Array ➔
10% off the Everything plan
Motion Hatch ➔
Perfect Your Pricing Toolkit - 50% off (11/29 - 12/2)

MotionVFX ➔
30% off Design/CineStudio, and PPro Resolve packs with code: BW30

Rocket Lasso ➔
50% off all plug-ins (11/29 - 12/2)

Rokoko ➔
45% off the indie creator bundle with code: RKK_SchoolOfMotion (revenue must be under $100K a year)

Shapefest ➔
80% off a Shapefest Pro annual subscription for life (11/29 - 12/2)

The Pixel Lab ➔
30% off everything
Toolfarm ➔
Various plugins and tools on sale

True Grit Texture ➔
50-70% off (starts Wednesday, runs for about a week)

Vincent Schwenk ➔
50% discount with code RENDERSALE

Wacom ➔
Up to $120 off new tablets + deals on refurbished items


All-Access Pass
Unlimited access to 50+ courses, unlimited critique, live events, and 24/7 community. Join School of Motion All-Access today.