All-Access Pass
Unlimited access to 50+ courses, unlimited critique, live events, and 24/7 community. Join School of Motion All-Access today.

What are keyframes?
A keyframe is the building block to creating animation. Unlike legos or minecraft, a keyframe stores a bit of info about an object’s parameter at a certain point in time. With two or more keyframes, we can record a change over time to create motion. Good luck getting plastic bricks to behave as well. We can set keyframes to animate pretty much anything in Cinema 4D. Probably the most common keyframes are created on an object’s position, scale and rotation parameters (or PSR for short). They’re so common, they put buttons for them right in the animation palette. Handy, yeah? If these are disabled no PSR information will be recorded.

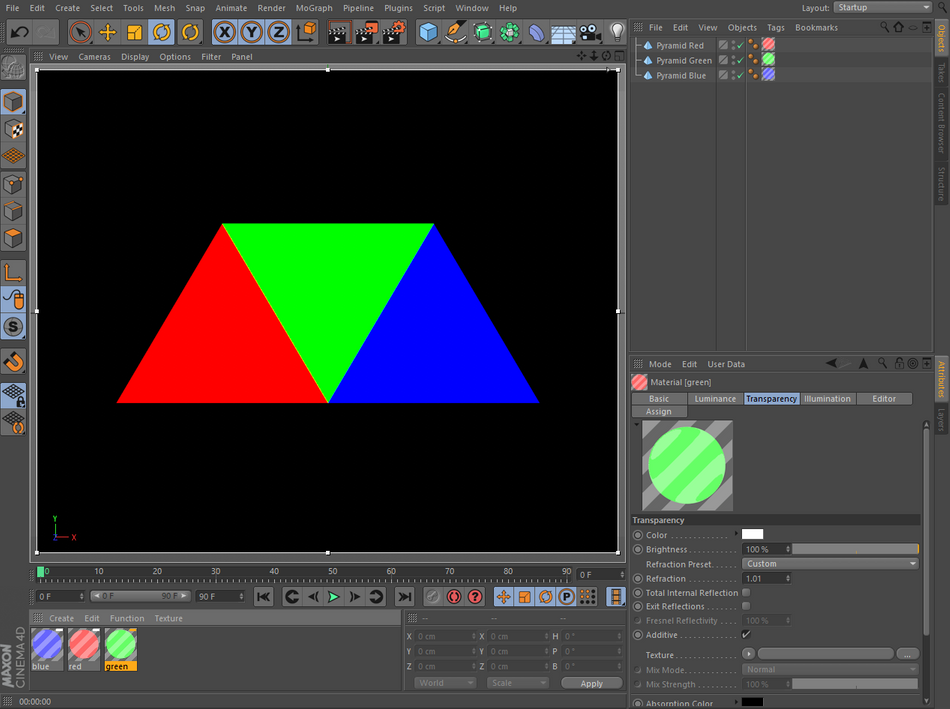
As you go deeper into the rabbit hole that is Cinema 4D, you’ll find that there are many ways to perform a certain task. But all Jedi need to start somewhere and so start here young padawan you will. Something is amiss with our logo here….Note: You can download the project file and follow along below.
{{lead-magnet}}
4 Simple Steps to Setting Keyframes in Cinema 4D
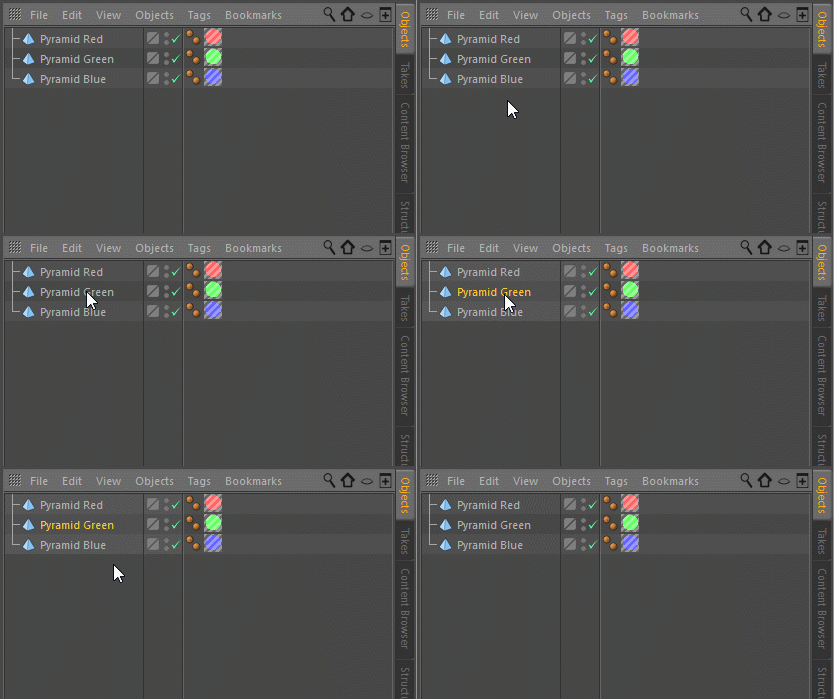
STEP 1: SELECT THE OBJECT YOU WANT TO KEYFRAME IN THE OBJECT MANAGER
It’s easy to over look this simple step but even Luke had his bad days. Without an object selected you’ll wonder why you’re not getting any action (we’re talkin keyframe action, get your mind out of the gutter!) In this case, we’ll select the upside down green Pyramid so we can animate it turning right side up.
STEP 2: GO TO THE FRAME IN THE TIMELINE RULER WHERE YOU WANT TO INSERT THE KEYFRAME
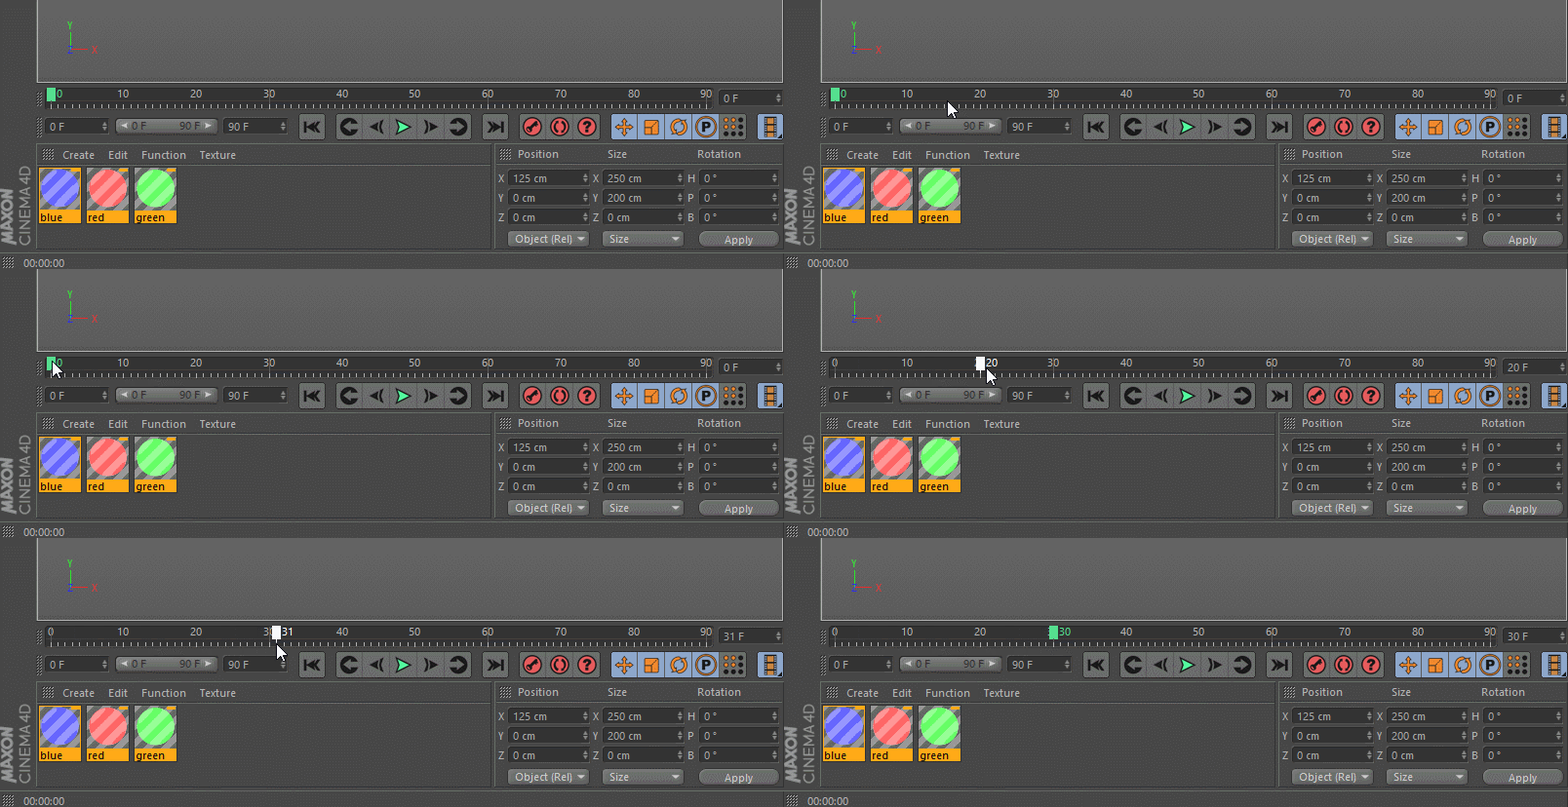
Simply click and drag the green playhead icon to the desired frame or go directly there by typing in the frame number into the current frame field.
STEP 3: PUSH THE SET KEY BUTTON IN THE ANIMATION PALETTE
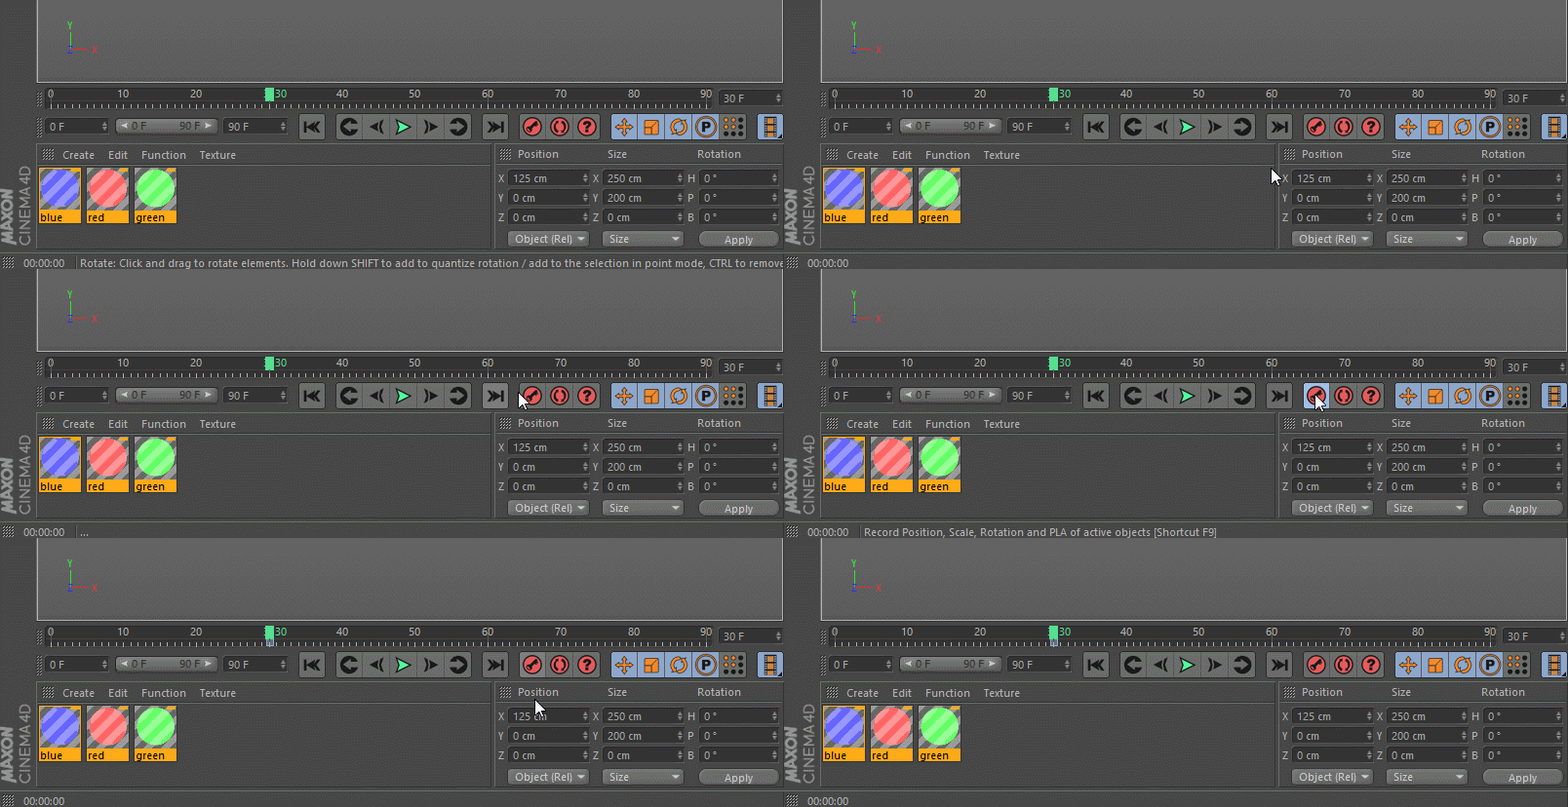
The animation palette has three red buttons below the timeline ruler. Hitting the Record Active Objects button on the left will set a keyframe for the selected object’s position, scale, and rotation properties. You should now see a light blue tick mark under the green playhead icon.
But how do you know what values have been recorded? With the object still selected, head over to the attribute manager and under the coordinate tab, you will see red dots indicating keyframes for each parameter along with the values associated with it.

STEP 4: RINSE AND REPEAT
Now that you’ve created the first keyframe, move the playhead to a later point in the timeline and make a change to the object’s PSR. Push that red button again to set another keyframe or use the force and hit the keyboard shortcut F9. Shortcuts really help step up your game and I recommend committing some to memory. You can rewind and hit the play button or scrub the timeline to see your animation so far. Work the animation a bit so you can send the wayward green triangle back home.
But since this is Cinema 4D, there’s always another way to do things. But how you ask?
Advanced Ways to Set Keyframes in Cinema 4D
Once you’ve gotten a hang of setting keys via the animation palette, level up with these tips.
SET KEYFRAMES IN THE ATTRIBUTE MANAGER
If you scrub the timeline to a frame that doesn’t have keyframes you’ll notice in the Attribute Manager that the PSR parameters have hollow red dots instead of solid ones. This lets you know you have keyframes for that property but just not on that frame. To set a keyframe in the Attribute Manager, simply click the dot for each parameter you want to keyframe.
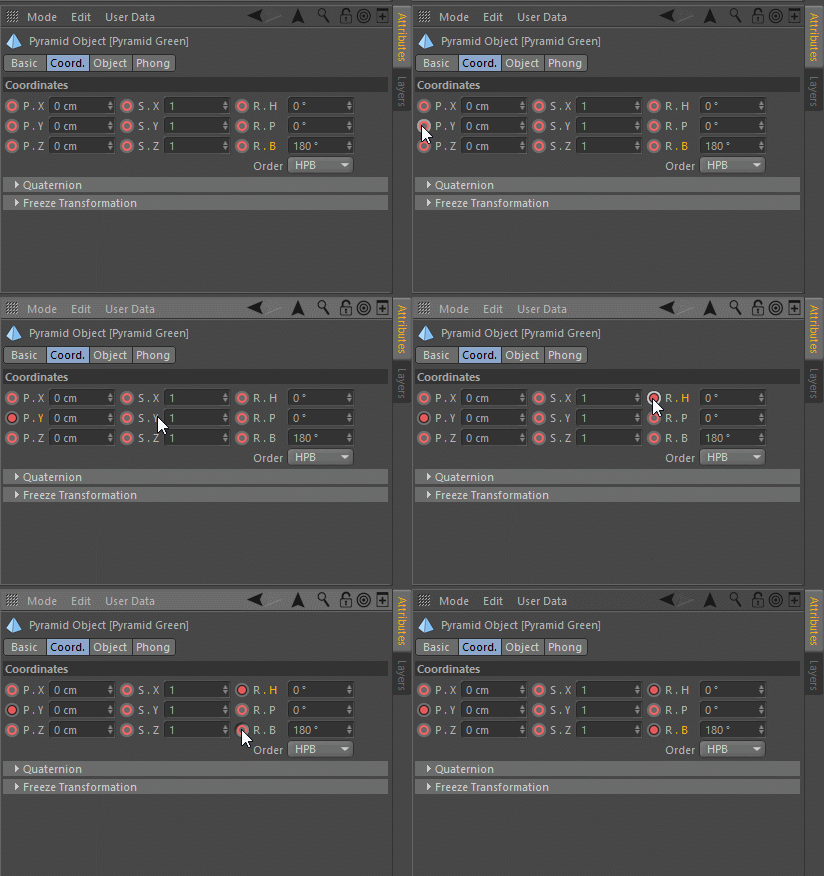
WHAT’S UP WITH THE HOLLOW AND SOLID YELLOW CIRCLES?
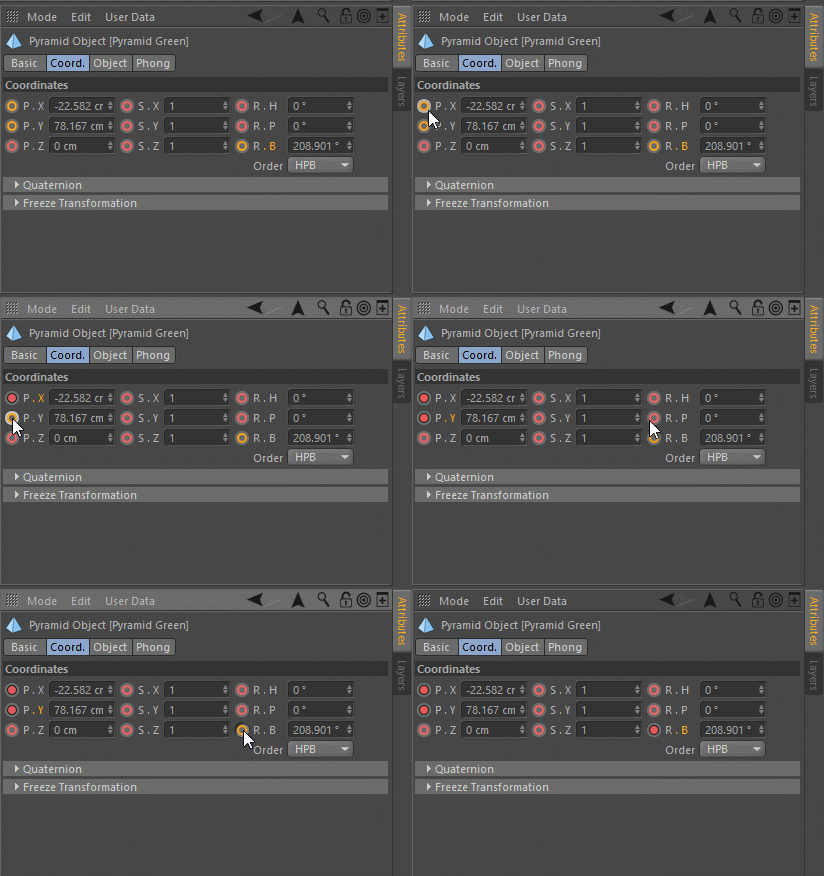
Since you now have PSR animation for your object, you might find that as you move your object in the viewport, solid and hollow yellow dots appear in the Attribute Manager. This is to tell you that the parameter’s value for that object currently doesn’t match what the recorded keyframes are. It’s cool tho, your original animation is still intact. Just scrub the timeline and the object animates to what’s recorded.
If however you intend on changing the animation and want to set a keyframe over a yellow dot, simply left click on the dot to set the key.
SET KEYFRAMES IN THE TIMELINE
Instead of having to park the playhead on the frame you want to key before you actually key it, we have the ability to set keyframes directly in the timeline itself, regardless of where the playhead is currently. Simply Command (Mac) or Control (PC) + click the timeline on the frame you want to set a keyframe.

AUTOMATIC KEYFRAMING
If the idea of setting keyframes manually cramps your style, you can opt for Cinema 4D to do that lifting for you by way of autokeying (or go even further with the motion capture abilities of Cappucino). To enable automatic keyframing, push the middle red button in the animation palette and you’ll notice the viewport gets outlined in red.
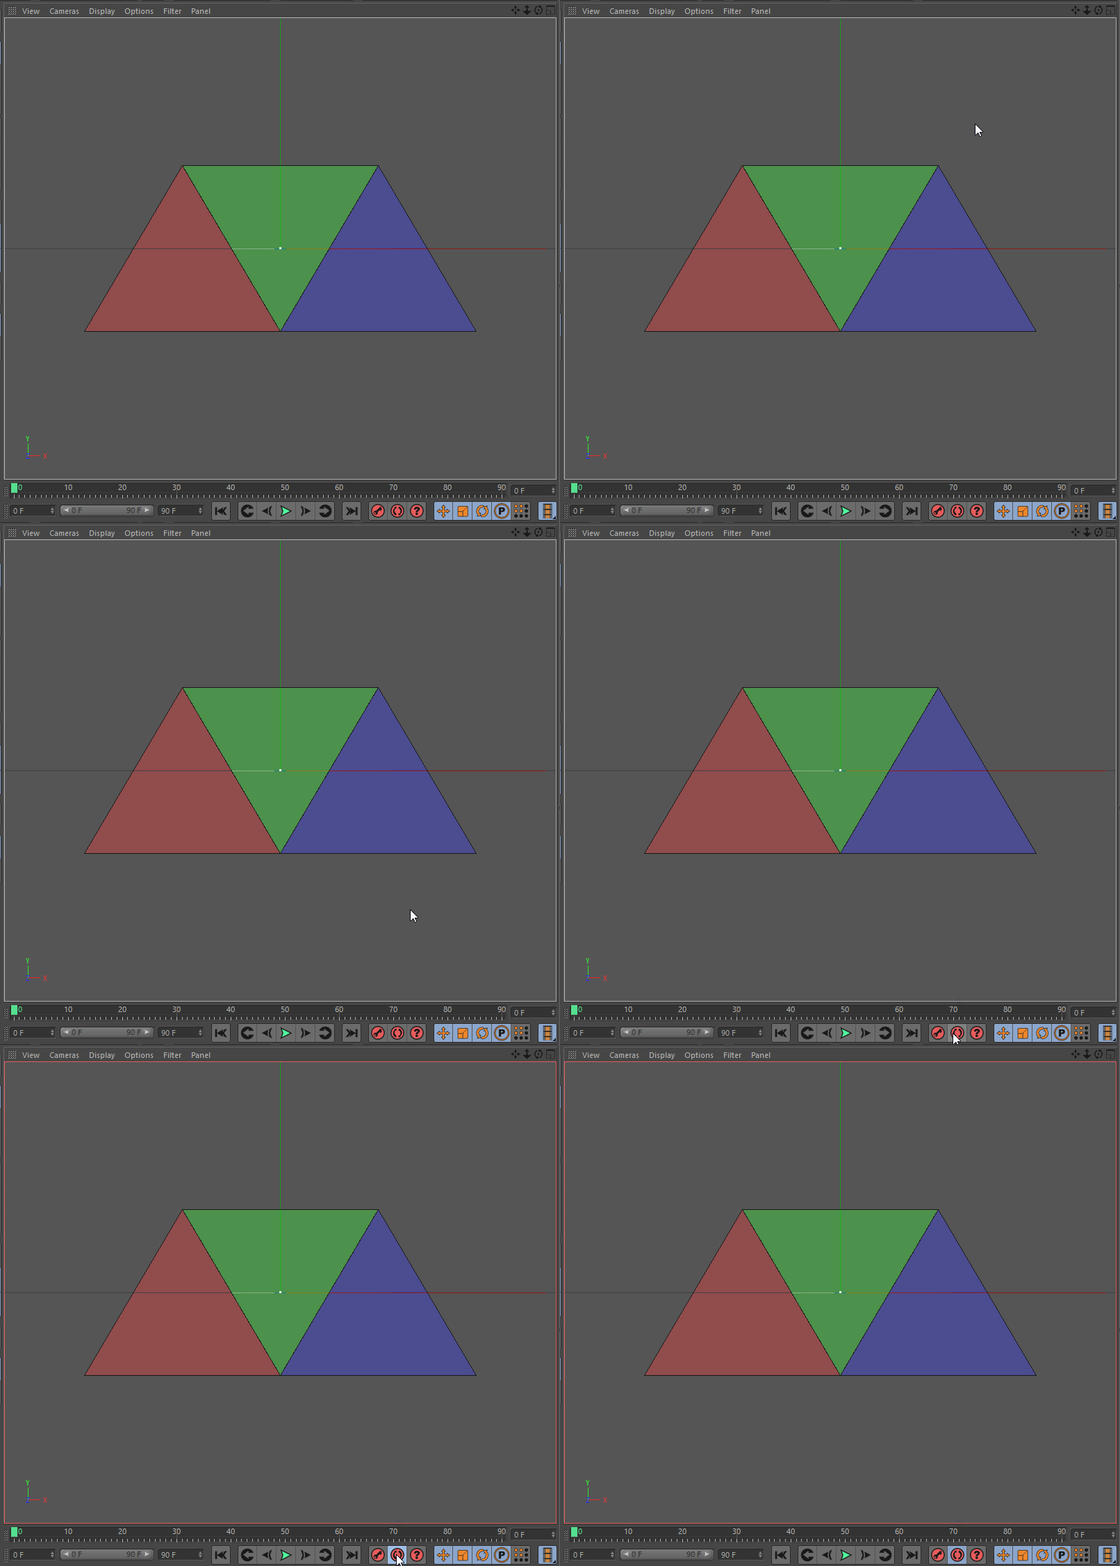
With this enabled, just move the playhead to the frame you want and when you create a change in an object’s parameters, a keyframe will automatically be set for you. Be mindful of using this feature as forgetting that it is enabled could screw up your animation by adding keys where you don’t want them.
ENROLL NOW!
Acidbite ➔
50% off everything

ActionVFX ➔
30% off all plans and credit packs - starts 11/26

Adobe ➔
50% off all apps and plans through 11/29

aescripts ➔
25% off everything through 12/6
Affinity ➔
50% off all products

Battleaxe ➔
30% off from 11/29-12/7
Boom Library ➔
30% off Boom One, their 48,000+ file audio library
BorisFX ➔
25% off everything, 11/25-12/1

Cavalry ➔
33% off pro subscriptions (11/29 - 12/4)

FXFactory ➔
25% off with code BLACKFRIDAY until 12/3

Goodboyninja ➔
20% off everything

Happy Editing ➔
50% off with code BLACKFRIDAY

Huion ➔
Up to 50% off affordable, high-quality pen display tablets

Insydium ➔
50% off through 12/4
JangaFX ➔
30% off an indie annual license
Kitbash 3D ➔
$200 off Cargo Pro, their entire library
Knights of the Editing Table ➔
Up to 20% off Premiere Pro Extensions
Maxon ➔
25% off Maxon One, ZBrush, & Redshift - Annual Subscriptions (11/29 - 12/8)
Mode Designs ➔
Deals on premium keyboards and accessories
Motion Array ➔
10% off the Everything plan
Motion Hatch ➔
Perfect Your Pricing Toolkit - 50% off (11/29 - 12/2)

MotionVFX ➔
30% off Design/CineStudio, and PPro Resolve packs with code: BW30

Rocket Lasso ➔
50% off all plug-ins (11/29 - 12/2)

Rokoko ➔
45% off the indie creator bundle with code: RKK_SchoolOfMotion (revenue must be under $100K a year)

Shapefest ➔
80% off a Shapefest Pro annual subscription for life (11/29 - 12/2)

The Pixel Lab ➔
30% off everything
Toolfarm ➔
Various plugins and tools on sale

True Grit Texture ➔
50-70% off (starts Wednesday, runs for about a week)

Vincent Schwenk ➔
50% discount with code RENDERSALE

Wacom ➔
Up to $120 off new tablets + deals on refurbished items


All-Access Pass

Unlimited access to 50+ courses, unlimited critique, live events, and 24/7 community. Join School of Motion All-Access today.
