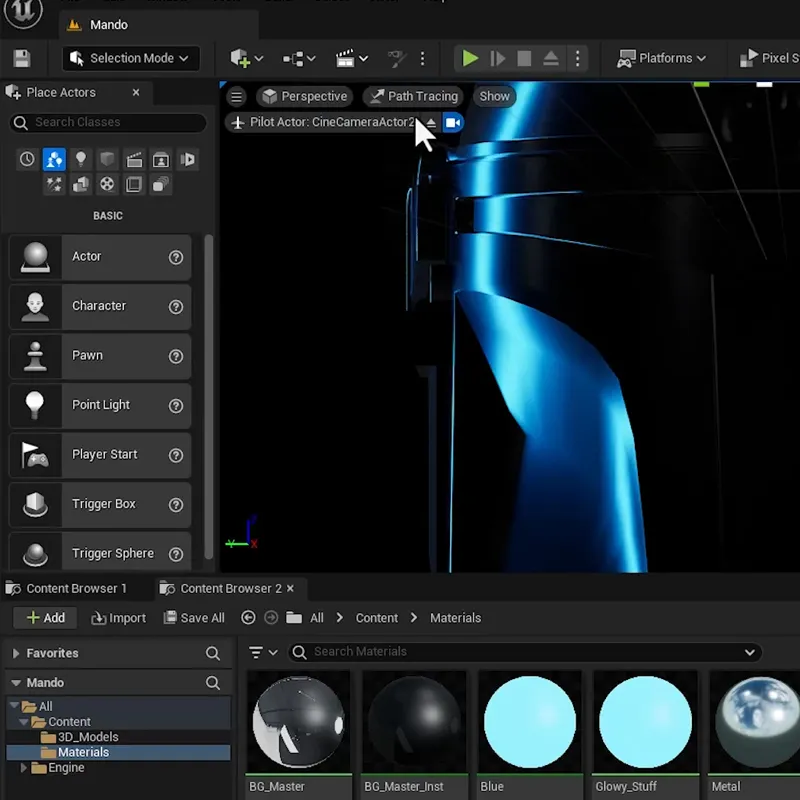
In this tutorial, mograph veteran Aharon Rabinowitz shows you how to recreate the Disney+ animated Star Wars logo using Unreal Engine.
We’ll look at how to import 3D models, set up lighting, build materials, and animate it, all right inside of Unreal. Then we’ll render it out and bring it all together in After Effects (or any video editor of your choice).
This is the way!
Don’t forget to download the project files below and follow along!
ENROLL NOW!
Acidbite ➔
50% off everything

ActionVFX ➔
30% off all plans and credit packs - starts 11/26

Adobe ➔
50% off all apps and plans through 11/29

aescripts ➔
25% off everything through 12/6
Affinity ➔
50% off all products

Battleaxe ➔
30% off from 11/29-12/7
Boom Library ➔
30% off Boom One, their 48,000+ file audio library
BorisFX ➔
25% off everything, 11/25-12/1

Cavalry ➔
33% off pro subscriptions (11/29 - 12/4)

FXFactory ➔
25% off with code BLACKFRIDAY until 12/3

Goodboyninja ➔
20% off everything

Happy Editing ➔
50% off with code BLACKFRIDAY

Huion ➔
Up to 50% off affordable, high-quality pen display tablets

Insydium ➔
50% off through 12/4
JangaFX ➔
30% off an indie annual license
Kitbash 3D ➔
$200 off Cargo Pro, their entire library
Knights of the Editing Table ➔
Up to 20% off Premiere Pro Extensions
Maxon ➔
25% off Maxon One, ZBrush, & Redshift - Annual Subscriptions (11/29 - 12/8)
Mode Designs ➔
Deals on premium keyboards and accessories
Motion Array ➔
10% off the Everything plan
Motion Hatch ➔
Perfect Your Pricing Toolkit - 50% off (11/29 - 12/2)

MotionVFX ➔
30% off Design/CineStudio, and PPro Resolve packs with code: BW30

Rocket Lasso ➔
50% off all plug-ins (11/29 - 12/2)

Rokoko ➔
45% off the indie creator bundle with code: RKK_SchoolOfMotion (revenue must be under $100K a year)

Shapefest ➔
80% off a Shapefest Pro annual subscription for life (11/29 - 12/2)

The Pixel Lab ➔
30% off everything
Toolfarm ➔
Various plugins and tools on sale

True Grit Texture ➔
50-70% off (starts Wednesday, runs for about a week)

Vincent Schwenk ➔
50% discount with code RENDERSALE

Wacom ➔
Up to $120 off new tablets + deals on refurbished items


Snag the free project files and follow along, Padawan.
Watch the full tutorial (it's worth it!) but here's the cliff notes:
⚙️ Project Setup & Materials
Start your Unreal Engine project with ray tracing and import your 3D models. Dive into creating materials, from a glowing neon light for a futuristic look to a reflective metal material for added realism.
💡 Lighting, Reflections & Animation
Enhance your scene with path tracing for realistic reflections and advanced lighting techniques. Animate your objects and environment with linear keyframes for smooth movements and dynamic lighting effects.

🧱 Material & Scene Animation
Add depth to your animations by manipulating material properties for fading effects and glowing intensity. Adapt your project elements to fit new scenes, like a Darth Vader-themed animation, for creative flexibility.
🎬 Final Touches & Post-Production
Fine-tune your animation with camera adjustments and keyframe tweaks. Render your project with optimal settings, then polish it in After Effects with layering, color correction, and glow effects for a professional finish.
Want to dive deeper? Check out Unreal Engine for 3D Artists, our self-paced course that'll get you movin' in Unreal .


