
All-Access Pass
Unlimited access to 50+ courses, unlimited critique, live events, and 24/7 community. Join School of Motion All-Access today.

Can you create awesome hand-drawn animation...without having to actually draw by hand?
Hand-drawn illustrations pop off the screen and dazzle audiences, but they can be incredibly time-consuming and difficult to bring to life. Creating animations using brushes and texture can really put your work on the next level, but you don’t always have the time or the knowledge to do so in Photoshop.

My name is Erin Bradley, and I’m a motion designer at Dash in Raleigh, NC. I’m going to show you some tips and tricks on how to make your animations have a hand-drawn and organic feel, all while staying inside After Effects. I use these tricks regularly, and there are no plug-ins or scripts needed!
In this video, you’ll learn to:
- Use native After Effects tools to create a hand drawn look
- Imitate Photoshop Brush Textures
- Use Fractal Noise to create a flickering texture
- Use Posterize Time to simulate hand-drawn animation
Tricks for Creating a Hand-Drawn Look in After Effects
{{lead-magnet}}
Why make all these changes in After Effects?
These changes can take a traditional mograph style piece and turn it into something new. The imperfect artwork can make your animation feel more personal and create a really pleasing aesthetic.
As a motion designer who learned After Effects as my first Adobe software, that’s where I feel most comfortable. While I regularly use Photoshop for designs, it’s really convenient to know some quick ways to add little changes to our artwork in AE.
Use native After Effects tools to create a hand drawn look
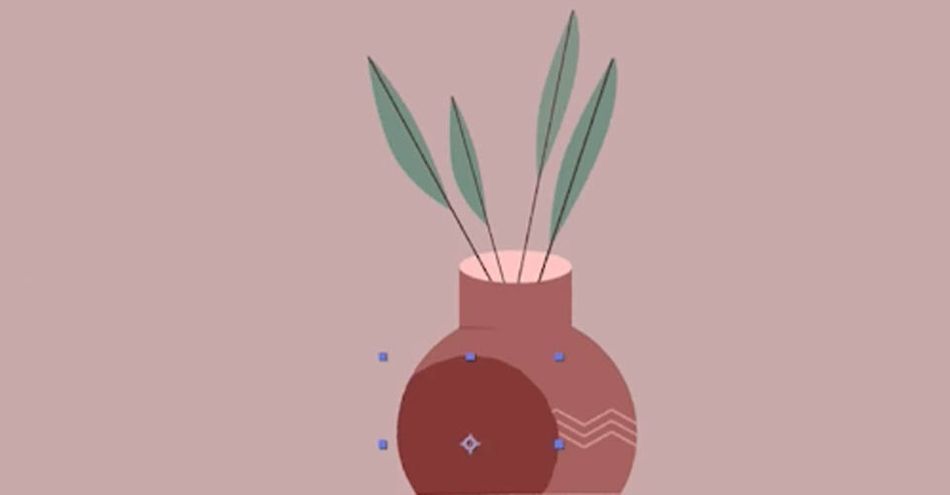
The first thing we're going to do is add Roughen Edges to our shapes to give the illusion that they were drawn in Photoshop rather than something designed with vectors in After Effects.
Select the pot, then go to the Effects & Presets panel and find Roughen Edges.
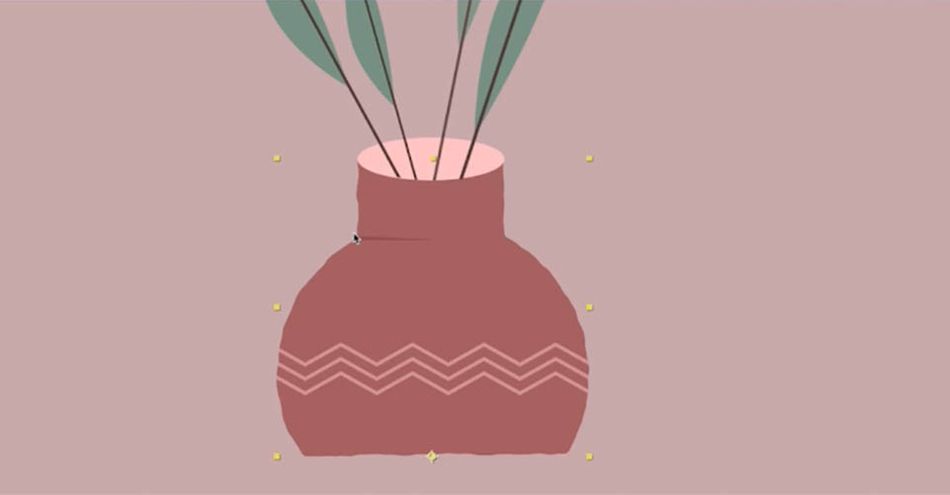
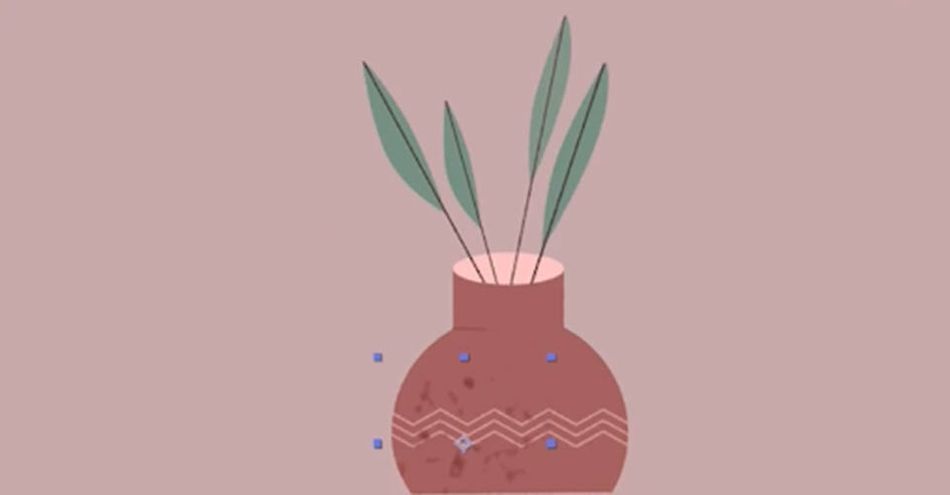
If you've never used this before, it's easy to see what it's done to your shape. The edges are now rough, imperfect, and look more hand-drawn. Now I'm not happy with how this looks just yet, so let's play with the parameters in the box on the left. Today, we'll mostly focus on Border and Scale.
By dropping the Scale from 100 to 10, the edges start to look a bit more rough...but maybe too rough?
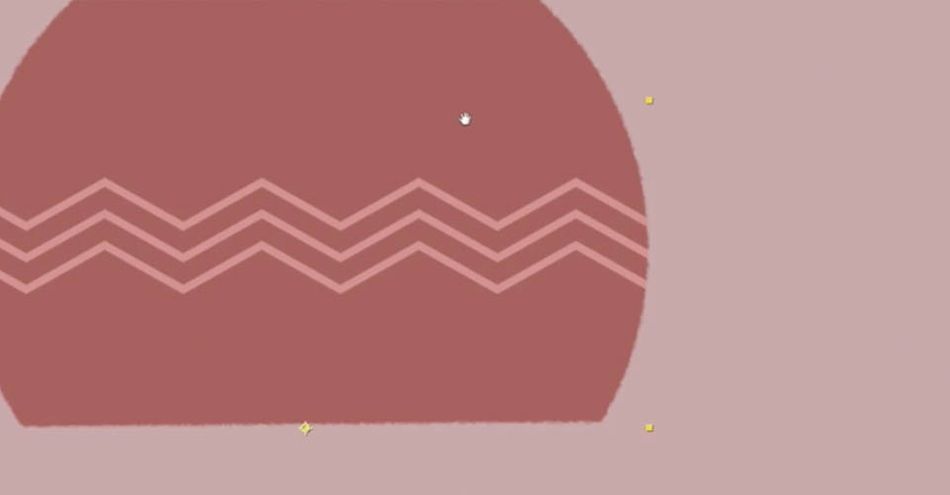
Now I'll drop the Border down to, say, 3. By removing some of the scattering effects of Roughen Edges, the outline of our pot looks pretty good. Much closer to "hand-drawn" than before.
If it's still too rough for you, mess around with Edge Sharpness to find the look you're going for.
Now why don't we just throw Roughen Edges into an adjustment layer? Control. While you might get a workable result on some shapes, you won't have the individual control to refine each piece of your composition.
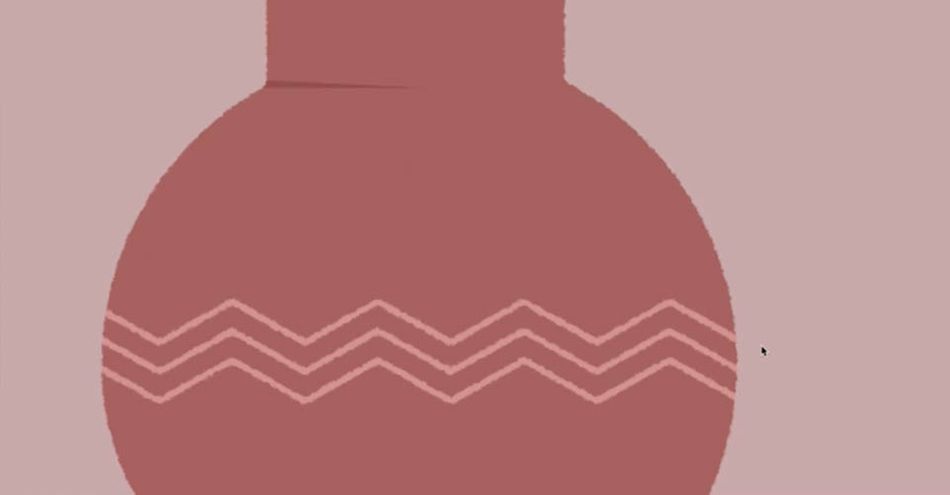
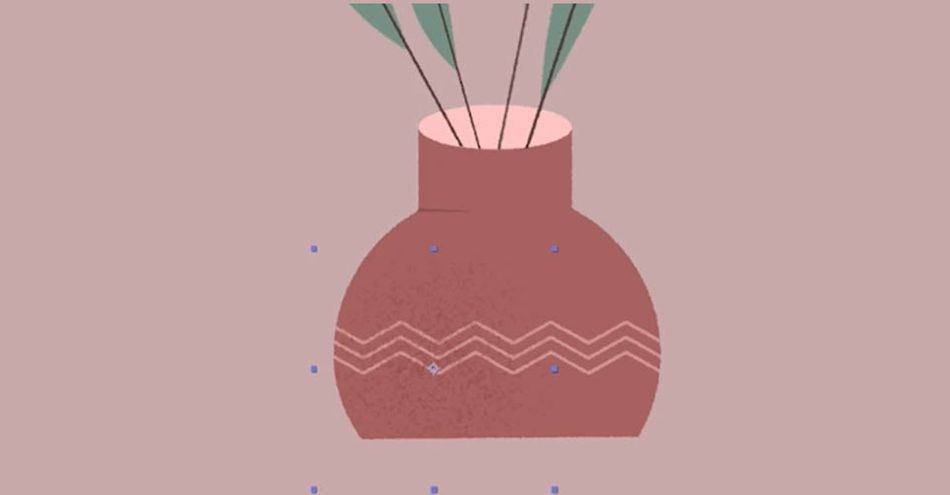
Now apply these same steps to the detail lines of the pot. Let's remove any sharp lines and really play with imperfection.
For thinner objects, keep the Border smaller so they remain visible.
Imitate Photoshop Brush Textures
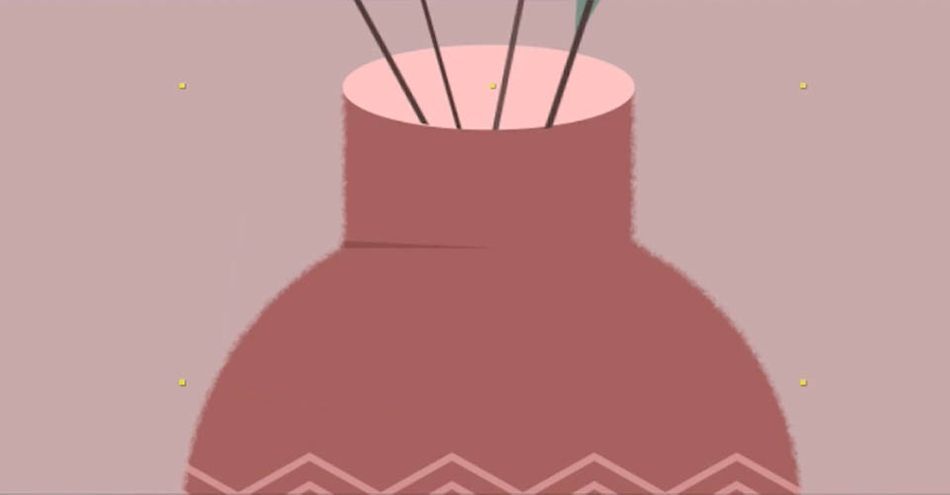
Now, if I were creating shadows in Photoshop, I could use a brush with a splatter or scattered texture to keep in line with my rough edges. How can we do the same thing in After Effects?
First, I'm going to make a simple circle and lay it over my pot.
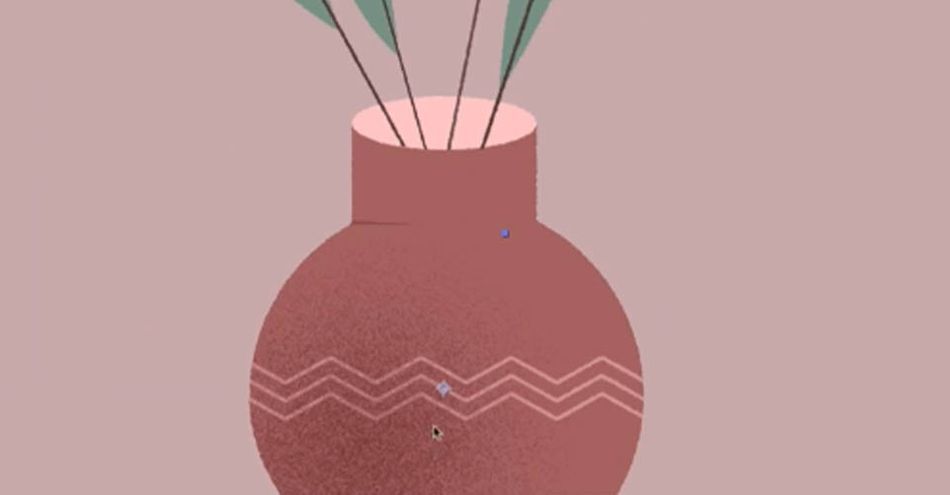
Now I'll apply Roughen Edges and really crank up the Border. Let's start at 400. Now scale it down to about 10. Look at that texture!
The edge of the shape is a little off, so let's apply a Gaussian Blur effect ABOVE the Roughen Edges, and now this is looking a lot better.
Now I've switched the layer to Multiply, found an opacity that works for my design, and I'm fairly happy with how it's turned out. We've effectively created a texture brush look in After Effects.
Now apply some shadows to the leaves in the pot!
Use Fractal Noise to create a flickering texture
We have a good look to our shapes, but now we want to lean into the hand-drawn look as we animate. For that, we'll use Fractal Noise.
The first thing we'll do is open a whole new composition. CMD or CTRL+N
Create a solid color, then go to Effect & Presets and select Fractal Noise.
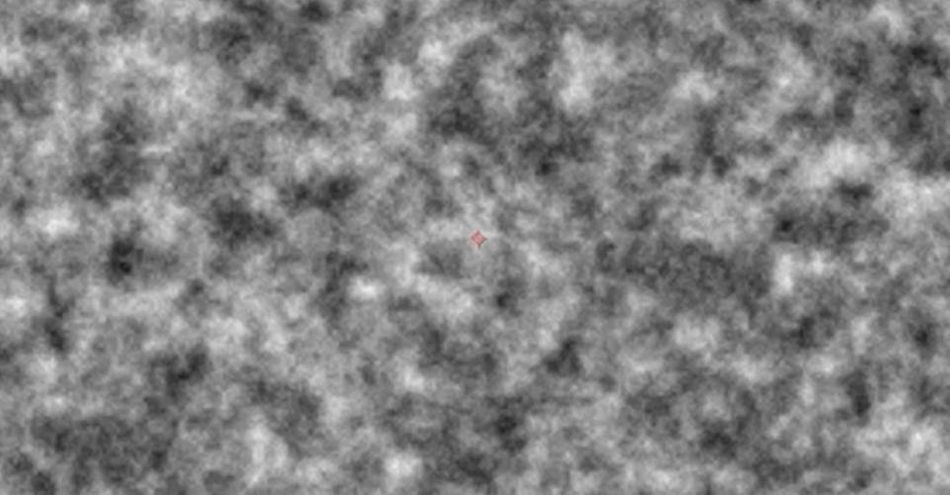
Fractal Noise creates an effective flicker, but we want to dial it in before we apply. Crank the Contrast way up, like to 6000. Then play with the Brightness until you get a large white space with flecks of black.
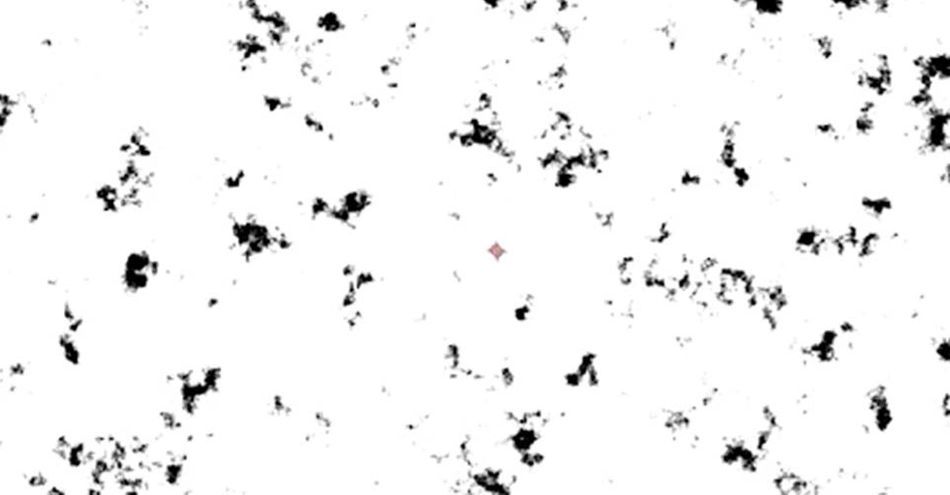
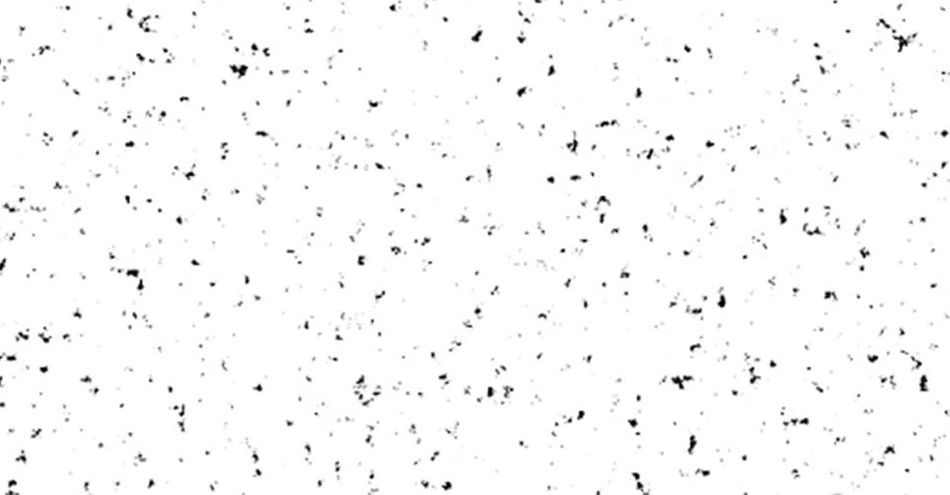
Drop the Scale so you have dozens of small islands of black in a sea of white.
Now switch the Mode to Multiply so you can see your pot underneath. You may want to Tint the layer so you get flecks of red or gray rather than black. That all depends on the look you want.
Now to achieve a nice flicker, we're going use a few Hold Keyframes. Twirl open Fractal Noise and use Evolution to change the noise every few frames. Set four or five keyframes and press N to end your work area. If the look is right, you're ready to go.

Now we want this to loop, so cancel the keyframe at the end of the animation, OPT+Click the stopwatch to add an expression, and add in loopOut().
Use Posterize Time to simulate hand-drawn animation
We've done a lot of great work to our composition, and the animation looks great...but we want it to look more hand-drawn. Now it's time to finish things off with Posterize Time.
Let's open a new Adjustment Layer and rename it Posterize Time. This effect allows you to change the frame rate. Since hand-drawn animation is generally done at 12 fps, we'll set that and see how it looks.

You can play around with the fps to find the look you're going for.
Get Going with After Effects!
That’s it! Now we have added a nice, hand-drawn quality to our animation while never needing to leave After Effects. There are so many different ways to use these effects and more to create different looks for your artwork, the best way to learn is to get in there and start creating. If you're ready to get started, we recommend After Effects Kickstart!
After Effects Kickstart is the ultimate After Effects intro course for motion designers. In this course, you'll learn the most commonly used tools and best practices for using them while mastering the After Effects interface.
ENROLL NOW!
Acidbite ➔
50% off everything

ActionVFX ➔
30% off all plans and credit packs - starts 11/26

Adobe ➔
50% off all apps and plans through 11/29

aescripts ➔
25% off everything through 12/6
Affinity ➔
50% off all products

Battleaxe ➔
30% off from 11/29-12/7
Boom Library ➔
30% off Boom One, their 48,000+ file audio library
BorisFX ➔
25% off everything, 11/25-12/1

Cavalry ➔
33% off pro subscriptions (11/29 - 12/4)

FXFactory ➔
25% off with code BLACKFRIDAY until 12/3

Goodboyninja ➔
20% off everything

Happy Editing ➔
50% off with code BLACKFRIDAY

Huion ➔
Up to 50% off affordable, high-quality pen display tablets

Insydium ➔
50% off through 12/4
JangaFX ➔
30% off an indie annual license
Kitbash 3D ➔
$200 off Cargo Pro, their entire library
Knights of the Editing Table ➔
Up to 20% off Premiere Pro Extensions
Maxon ➔
25% off Maxon One, ZBrush, & Redshift - Annual Subscriptions (11/29 - 12/8)
Mode Designs ➔
Deals on premium keyboards and accessories
Motion Array ➔
10% off the Everything plan
Motion Hatch ➔
Perfect Your Pricing Toolkit - 50% off (11/29 - 12/2)

MotionVFX ➔
30% off Design/CineStudio, and PPro Resolve packs with code: BW30

Rocket Lasso ➔
50% off all plug-ins (11/29 - 12/2)

Rokoko ➔
45% off the indie creator bundle with code: RKK_SchoolOfMotion (revenue must be under $100K a year)

Shapefest ➔
80% off a Shapefest Pro annual subscription for life (11/29 - 12/2)

The Pixel Lab ➔
30% off everything
Toolfarm ➔
Various plugins and tools on sale

True Grit Texture ➔
50-70% off (starts Wednesday, runs for about a week)

Vincent Schwenk ➔
50% discount with code RENDERSALE

Wacom ➔
Up to $120 off new tablets + deals on refurbished items


All-Access Pass
Unlimited access to 50+ courses, unlimited critique, live events, and 24/7 community. Join School of Motion All-Access today.