All-Access Pass
Unlimited access to 50+ courses, unlimited critique, live events, and 24/7 community. Join School of Motion All-Access today.

Which program should you use for design: Photoshop, Illustrator, or Procreate?
There have never been more tools at your disposal to create artwork for animation. But which one should you choose? Is Photoshop, Illustrator, or even Procreate your go-to app of choice? What are the differences—and similarities—between the different programs? And which will be the best choice for your style?
In this video you'll learn the strengths and weaknesses of the 3 most widely used design apps on the planet: Photoshop, Illustrator, and Procreate. Plus you'll see how they can all work together in tandem.
Today we’re going to explore:
- The difference between vector and raster artwork
- When to use Adobe Illustrator
- When to use Adobe Photoshop
- When to use Procreate
- When to use all three together
Getting Started in Design and Animation?
If you’re just getting started with digital artistry, it can be tricky to figure out what options are available to you. Are you a designer? An animator? A—gasp—MoGraph Artist? That’s why we put together a FREE 10-day course: the Path to MoGraph.
You'll get to see a project from start to finish, from initial design all the way to final animation. You'll also learn about the types of careers available to designers and animators in the modern creative world.
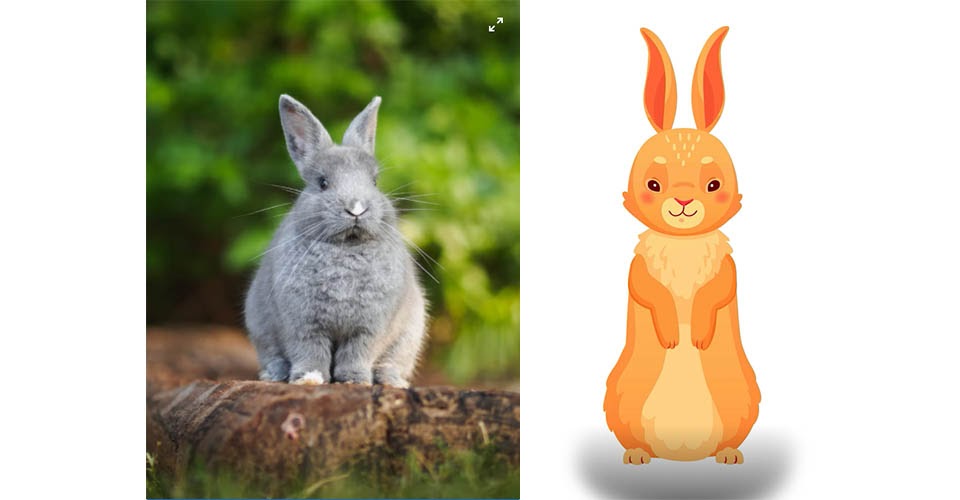
The first big difference between these three apps is the type of artwork each is best at creating. Broadly speaking, there are two kinds of artwork in the digital realm: raster and vector.
Raster Art

Raster artwork is digital art composed of vertical and horizontal pixels of various values and colors. Depending on the PPI—or pixels per inch—this artwork can be enlarged without losing too much quality. However, Raster artwork has a limit on how far you can enlarge or zoom in on your art before you’re left with a blurry mess.
Vector Art
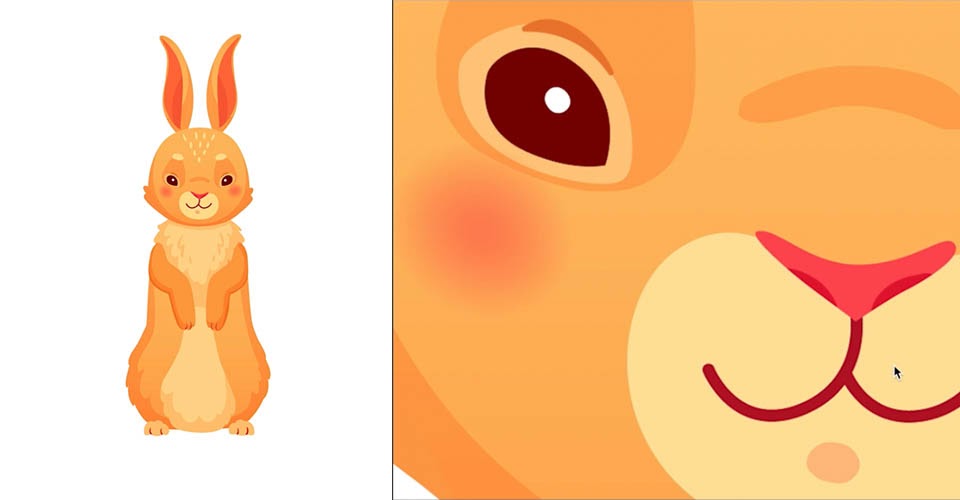
Vector artwork is digital art created using mathematical points, lines, and curves. This enables the images to be scaled infinitely, since the app simply has to recalculate for the new dimensions. That means you can enlarge these images to whatever size you need without sacrificing quality.
While Photoshop and Illustrator can work with either format, they are optimized for specific purposes. Photoshop—with its near infinite selection of brushes, excels at Raster art, while Illustrator is built around Vector designs. Procreate, on the other hand, is currently Raster only.
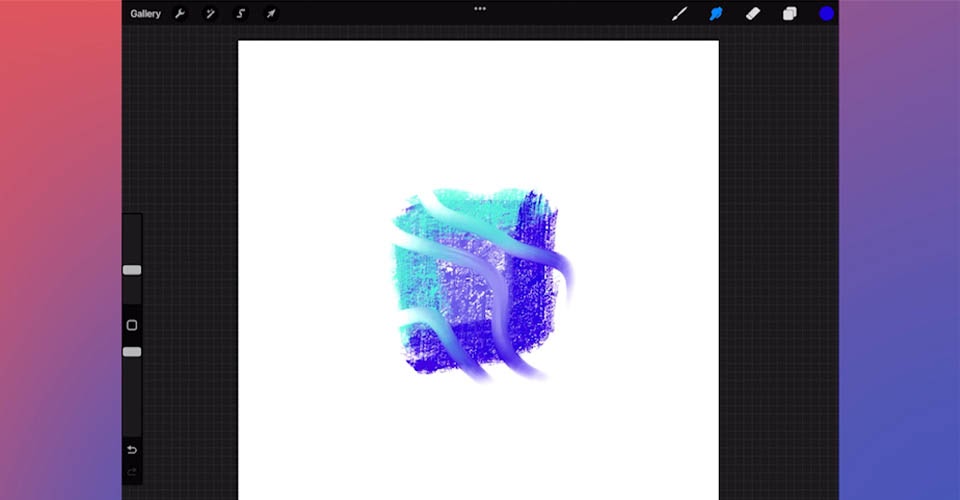
Given that Procreate is really built around doing illustration and creating realistic brush strokes and textures, this makes sense.
Each app has its own strengths, so let's go through them and talk a bit about when you might want to use one over the other.
Adobe Illustrator is optimized for vector graphics, which gives you the ability to create sharp, refined designs that can scale to any size. You’ll most often jump into the app for one of five reasons:
- If you need artwork to be used at huge resolutions—such as logos or large prints—vector artwork can basically be scaled to infinity.
- Vector artwork makes it easy to create shapes, as many of the tools in Illustrator are designed for rapid shape creation and refinement.
- When animating in After Effects, Illustrator files can be used in "continuous rasterization" mode, which means you'll never lose resolution.
- Illustrator files can also be sent over to Photoshop as smart files for a quick touch up.
- Finally, Illustrator files (and vector art in general) is great for setting up Storyboards.

Photoshop was originally designed to touch up photographs, so it is optimized for real images (or to mimic real camera effects). It is a versatile program for raster images, so you’ll likely use it for:
- Applying effects, adjustments, masks, and other filters to images
- Creating raster art using a nearly limitless collection of realistic brushes and textures.
- Selecting or modifying images using a wide variety of built-in and downloadable filters—far more than what is available in Illustrator.
- Touching up images for use in After Effects, or tweaking files from Illustrator before you finish them off in a different app.
- Animation—While Photoshop doesn’t have quite the flexibility of After Effects, it comes with tools for doing traditional animation.
Procreate is our go-to application for illustrating on the go. It is always at the top of our must have apps for iPad—although it is not as optimized for animation. Still, if you have an iPad Pro and an Apple Pencil, this is an incredibly powerful tool.
- Procreate is, at its core, an app for illustration. It's the clear winner when you need to illustrate something.
- By default, it comes with more natural and textured brushes than Photoshop (though you can download new ones for each app).
- Even better, you can quickly import and export files from Photoshop (or to Photoshop) to continue the artwork in another app.
Procreate has some rudimentary Animation tools, and a new 3D paint function. The developers of Procreate are adding new features all the time, and we expect it will just continue to get more and more powerful.
Most projects—especially if you're working in the world of animation—will require using more than one app. We thought it might be helpful to look at an example in which you'd use all 3 apps together, eventually bringing the results in After Effects for animation.
Draw a background in Illustrator
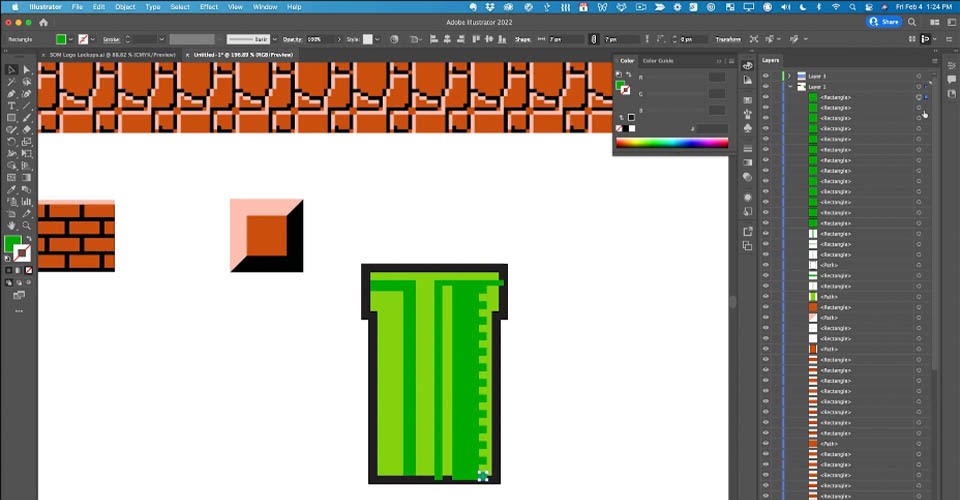
Since Illustrator is really made for creating shapes, this is a great tool for quickly designing some elements for our background that we can scale up and down depending on how the final composition comes together.
Bring elements into Photoshop
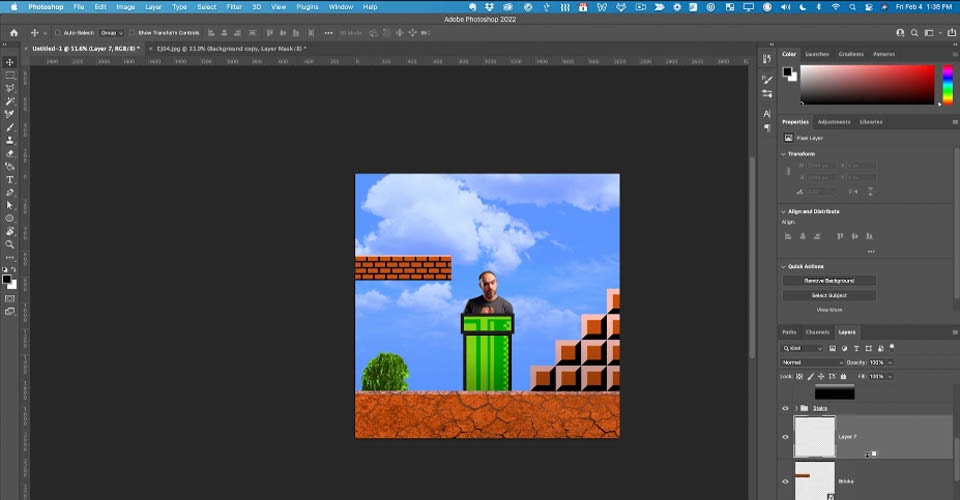
Now let’s bring these elements together in Photoshop. We find that the tools in Photoshop allow a smoother workflow when combining the vector elements from Illustrator and raster images from your stock image site of choice.
Add hand-drawn elements in Procreate
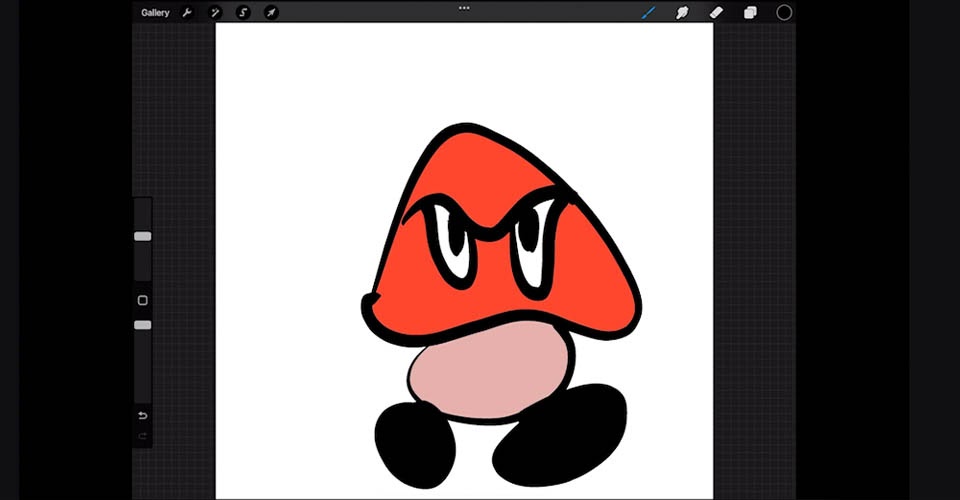
We wanted to add some hand-drawn characters to add a little artistic flair to our Mario® inspired design, so we went to Procreate.
Bring it all into After Effects to animate
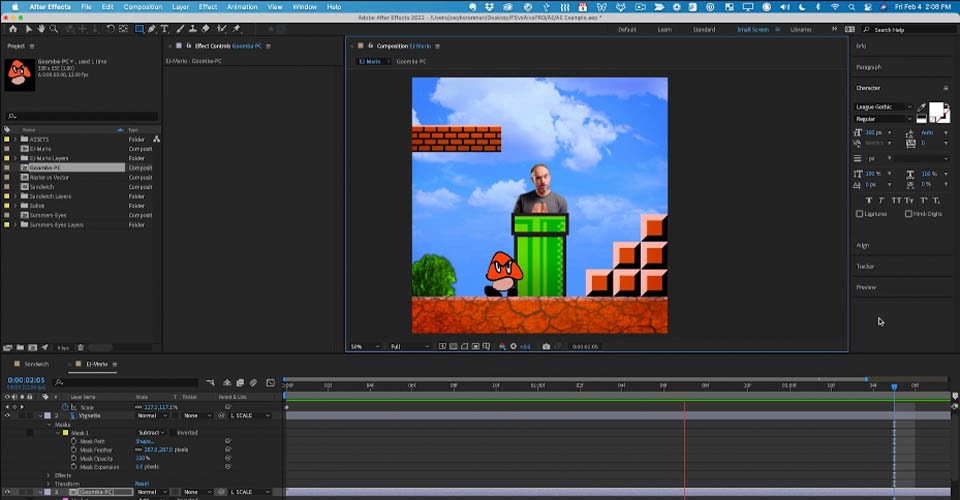
Now we just bring all these files into After Effects (and if you need a hand with that, we have a tutorial to show you the easiest method), add some simple movement to the clouds and Goomba, and we’ve animated our work in no time at all!

So there you go, I hope you have a much better understanding now of how these three design programs can be used both on their own and together to play to their strengths.
Thanks so much for watching, make sure to like this video and subscribe to our channel so that we can teach you even more design and animation tips. Head to School of Motion dot com to learn about our interactive online curriculum, and leave a comment if you have questions.
Photoshop illustrator unleashed promo
If you want to learn how to use Photoshop and Illustrator from one of the best teachers on the planet, check out Photoshop and Illustrator Unleashed from School of Motion.
You'll learn how to use most of the common features in both apps, and you'll learn how they're used to create artwork that can eventually be animated. It's part of the core-curriculum at School of Motion, and one of the best investments you can make in your career.
ENROLL NOW!
Acidbite ➔
50% off everything

ActionVFX ➔
30% off all plans and credit packs - starts 11/26

Adobe ➔
50% off all apps and plans through 11/29

aescripts ➔
25% off everything through 12/6
Affinity ➔
50% off all products

Battleaxe ➔
30% off from 11/29-12/7
Boom Library ➔
30% off Boom One, their 48,000+ file audio library
BorisFX ➔
25% off everything, 11/25-12/1

Cavalry ➔
33% off pro subscriptions (11/29 - 12/4)

FXFactory ➔
25% off with code BLACKFRIDAY until 12/3

Goodboyninja ➔
20% off everything

Happy Editing ➔
50% off with code BLACKFRIDAY

Huion ➔
Up to 50% off affordable, high-quality pen display tablets

Insydium ➔
50% off through 12/4
JangaFX ➔
30% off an indie annual license
Kitbash 3D ➔
$200 off Cargo Pro, their entire library
Knights of the Editing Table ➔
Up to 20% off Premiere Pro Extensions
Maxon ➔
25% off Maxon One, ZBrush, & Redshift - Annual Subscriptions (11/29 - 12/8)
Mode Designs ➔
Deals on premium keyboards and accessories
Motion Array ➔
10% off the Everything plan
Motion Hatch ➔
Perfect Your Pricing Toolkit - 50% off (11/29 - 12/2)

MotionVFX ➔
30% off Design/CineStudio, and PPro Resolve packs with code: BW30

Rocket Lasso ➔
50% off all plug-ins (11/29 - 12/2)

Rokoko ➔
45% off the indie creator bundle with code: RKK_SchoolOfMotion (revenue must be under $100K a year)

Shapefest ➔
80% off a Shapefest Pro annual subscription for life (11/29 - 12/2)

The Pixel Lab ➔
30% off everything
Toolfarm ➔
Various plugins and tools on sale

True Grit Texture ➔
50-70% off (starts Wednesday, runs for about a week)

Vincent Schwenk ➔
50% discount with code RENDERSALE

Wacom ➔
Up to $120 off new tablets + deals on refurbished items


All-Access Pass

Unlimited access to 50+ courses, unlimited critique, live events, and 24/7 community. Join School of Motion All-Access today.

