

All-Access Pass
Unlimited access to 50+ courses, unlimited critique, live events, and 24/7 community. Join School of Motion All-Access today.

These 30 keyboard shortcuts are guaranteed to save you time in After Effects.
If you wanted to increase your speed in After Effects by double what would you do? Some people might spend thousands of dollars on a new computer, but there’s an easier way... keyboard shortcuts. Keyboard shortcuts have the power to save you a few seconds here or there and those seconds can add up to hours if not days saved on each one of your projects. In short, shortcuts rule.
To help make it easier for you to learn those keyboard shortcuts we’ve put together a video with 30 of our favorite shortcuts in After Effects. All of these shortcuts are guaranteed to save you time in AE. Some of them can even cut your work time in half! So if you’re ready to turbo-charge your AE skills here are 30+ of our favorite keyboard shortcuts in After Effects.
Download this FREE After Effects hotkeys PDF set!
We've put together a set of 3 PDFs (in both Mac and PC flavors) that will teach you essential keyboard shortcuts, as well as the deep cuts the pros use and some hidden gems. Grab it for free!
ENROLL NOW!
Acidbite ➔
50% off everything

ActionVFX ➔
30% off all plans and credit packs - starts 11/26

Adobe ➔
50% off all apps and plans through 11/29

aescripts ➔
25% off everything through 12/6
Affinity ➔
50% off all products

Battleaxe ➔
30% off from 11/29-12/7
Boom Library ➔
30% off Boom One, their 48,000+ file audio library
BorisFX ➔
25% off everything, 11/25-12/1

Cavalry ➔
33% off pro subscriptions (11/29 - 12/4)

FXFactory ➔
25% off with code BLACKFRIDAY until 12/3

Goodboyninja ➔
20% off everything

Happy Editing ➔
50% off with code BLACKFRIDAY

Huion ➔
Up to 50% off affordable, high-quality pen display tablets

Insydium ➔
50% off through 12/4
JangaFX ➔
30% off an indie annual license
Kitbash 3D ➔
$200 off Cargo Pro, their entire library
Knights of the Editing Table ➔
Up to 20% off Premiere Pro Extensions
Maxon ➔
25% off Maxon One, ZBrush, & Redshift - Annual Subscriptions (11/29 - 12/8)
Mode Designs ➔
Deals on premium keyboards and accessories
Motion Array ➔
10% off the Everything plan
Motion Hatch ➔
Perfect Your Pricing Toolkit - 50% off (11/29 - 12/2)

MotionVFX ➔
30% off Design/CineStudio, and PPro Resolve packs with code: BW30

Rocket Lasso ➔
50% off all plug-ins (11/29 - 12/2)

Rokoko ➔
45% off the indie creator bundle with code: RKK_SchoolOfMotion (revenue must be under $100K a year)

Shapefest ➔
80% off a Shapefest Pro annual subscription for life (11/29 - 12/2)

The Pixel Lab ➔
30% off everything
Toolfarm ➔
Various plugins and tools on sale

True Grit Texture ➔
50-70% off (starts Wednesday, runs for about a week)

Vincent Schwenk ➔
50% discount with code RENDERSALE

Wacom ➔
Up to $120 off new tablets + deals on refurbished items


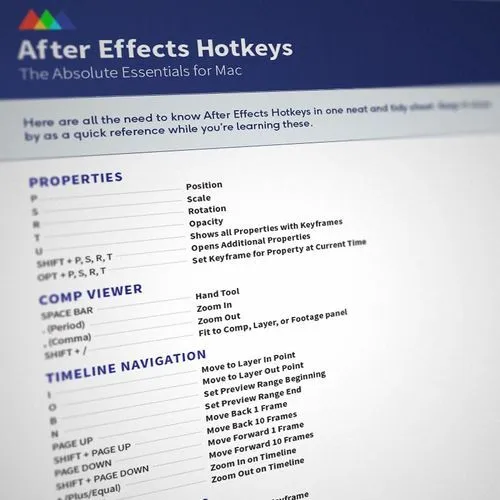
Grab this FREE After Effects Hotkey List
The Transform Properties
A - Anchor Point
P - Position
S - Scale
R - Rotation
T - Opacity
Call up the various transform properties by simply hitting APSRT. This is a heck of a lot faster than hitting the little dropdown menu.
VIEW MORE PROPERTIES
Shift + A, P, S, R, T
If you want to view more than one transform property at the same time hold down the shift key and hit the corresponding hotkey.
QUICKLY SET KEYFRAMES
Opt + A, P, S, R, T
Alt + Shift + A, P, S, R, T on Windows
As you probably know to set a keyframe all you have to do is hit the stopwatch icon next to the property you are trying to keyframe. However, if you are working with transform properties all you have to do is hold down option and hit the corresponding transform property.
REVEAL ALL KEYFRAMED PROPERTIES
U
Sometimes you'll need to see all of your keyframes at the same time. To do this simply select your layer and hit the U key. This also works across multiple layers if you want to see the keyframes for your entire composition.

QUICK ACCESS TO THE HAND TOOL
Space Bar
Navigating your comp panel is easy with the hand tool. But instead of going up the toolbar and selecting the hand tool, or hitting the H key for that matter, simply hold down the spacebar and drag.
TIMELINE ZOOM
+ or -
Zoom into the important areas on your timeline by hitting + or -.
COMP VIEWER ZOOM
, or .
Zooming into your comp panel using a mouse zoom wheel is easy but it is certainly not precise. Instead, simply hit the comma or period key to zoom in and out.

FIT YOUR COMP TO THE VIEWER
Shift + /
Sick of navigating to the zoom percentage box and selecting 'Fit'? Use the shortcut and simply hit Shift +/ to fit your composition to fill the entire screen.
MAKE YOUR EASES EASY
F9
Linear keyframes are almost never helpful in After Effects. Instead as a motion artist you probably use a mixture of EasyEase keyframes and custom eased keyframes using the graph editor. To apply a quick ease to your keyframes in After Effects hit the F9 button.

MOVE BETWEEN KEYFRAMES
J & K
Precisely jump from one keyframe to the next (across properties) by hitting the J & K key.

JUMP FROM IN POINT TO OUT POINT
I & O
Hop to the first frame of a layer by hitting the I key and hop to the end by hitting the O key.
MOVE FROM FRAME TO FAME
Page Down and Page Up
or Cmd + Right Arrow and Cmd + Left Arrow
Instead of hitting the small next frame button at the top of the workspace hit page up or page down to move from frame to frame.
PREVIEW TWICE AS FAST
Shift + 0 on the Number Pad
While you may be familiar with previewing by hitting the 0 key on the number pad, you can actually preview your compositions twice as fast by hitting Shift + 0 on the number pad. This trick alone can save you hours off of each one of your motion graphic projects.
SEE ALL MANIPULATED PROPERTIES
UU
If you want to see every property that has been manipulated for a specific layer double tap the U key.

QUICKLY ADD MARKERS TO THE TIMELINE
* On the Number Pad
Markers are a really great way to time your animations to music. To add a marker hit the * key on the number pad. If you want to set a marker with text hold down shift + *.
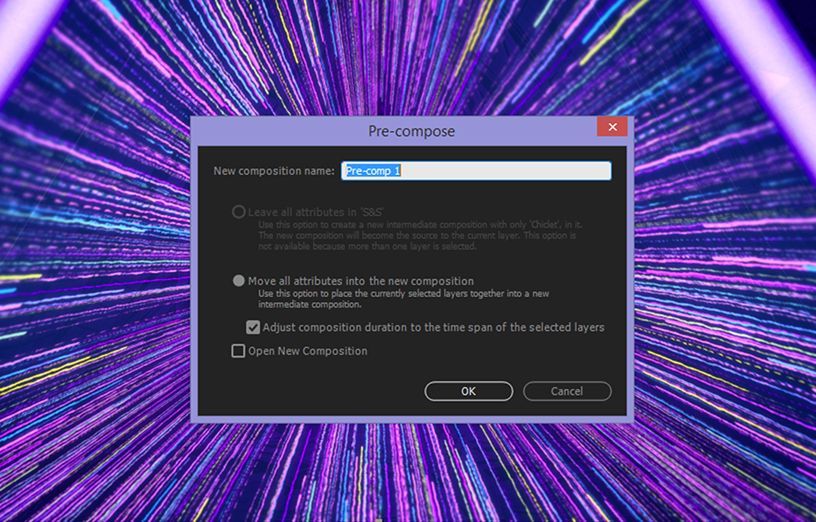
PRECOMPOSE YOUR LAYERS
Cmd + Shift + C
Precomposing is like putting layers into folders. To quickly precompose a layer or set of layers hit Command + Shift + C. Boom! Your new precomp has arrived.
EASILY MOVE LAYERS
[ & ]
You can move a layer to start at the current playhead location by hitting [. You can also end your layer at the playhead by hitting ].
MOVE TO WORK AREA BEGINNING OR END
HomeEnd
You can move your playhead to the beginning or the end of your composition by hitting the home or end key.
SCALE LAYERS TO FIT
Cmd + Opt + F
Quickly scale any layer to fit your composition frame by hitting Command + Option + F.

TOGGLE RULER
Cmd + R
Rulers are a great way to layout designs in After Effects. You can very easily turn your rulers on and off by hitting Command + R.
DIFFERENT VIEWER RESOLUTIONS
Full: Cmd + J
Half: Cmd + Shift + J
Quarter: Cmd + Opt + Shift + J
Sometimes the full resolution view is simply too large for you computer to process. Instead of manually adjusting your composition by hand hit the shortcuts mentioned above to very quickly adjust your composition.
REPLACING LAYERS
Hold Option + Replace
Did you know you can replace After Effects layers in your timeline? To do so simply select a layer in your timeline, hold down the Option key, select a layer in your project panel and replace by dropping the new layer on the old one.
SPLIT YOUR LAYERS
Cmd + Shift + D
Quickly split any layer or set of layers by hitting Command + Shift + D.
TOGGLE LAYERS
Cmd + Down or Up Arrow
You don't have to use your mouse to select the layer above or below your current layer. Instead hit command + up or down to select the next layer.
SHOW THE GRAPH EDITOR
Shift + F3
The graph editor is essential for smoothing out your animations in After Effects. To quickly call up the graph editor select a layer and hit Shift + F3.
SEARCH FOR IT
Cmd + F
To search your timeline hit command + F. This will activate the search box where you can look for a specific layer by name.

MAXIMIZE ANY PANEL
~ (Tilde)
You can maximize any window to fill the entire After Effects screen by hovering your mouse over any window and hitting the spicy ~ key.

HIDE OR SHOW LAYER CONTROLS
Cmd + Shift + H
Layer controls are great for quickly adjusting a layer but they can definitely be distracting. To hide them hit Command + Shift + H.
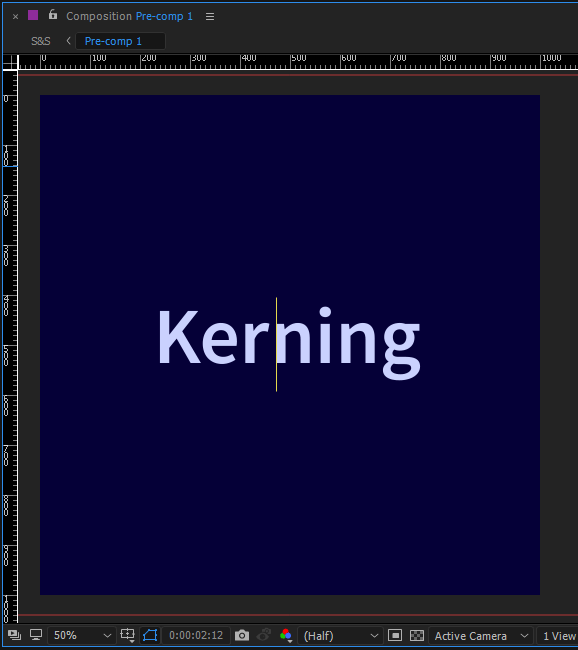
KERN YOUR TYPE
Option + Right or Left Arrow Keys
Kerned type is essential for giving your motion design projects a custom look. To quickly kern any type simply hold down Option and hit the right or left arrow key.
SAVE THE CURRENT FRAME
Cmd + Opt + S
Need to send a quick board to a client? Hit Command + Option + S to export a single frame rather than the entire composition.

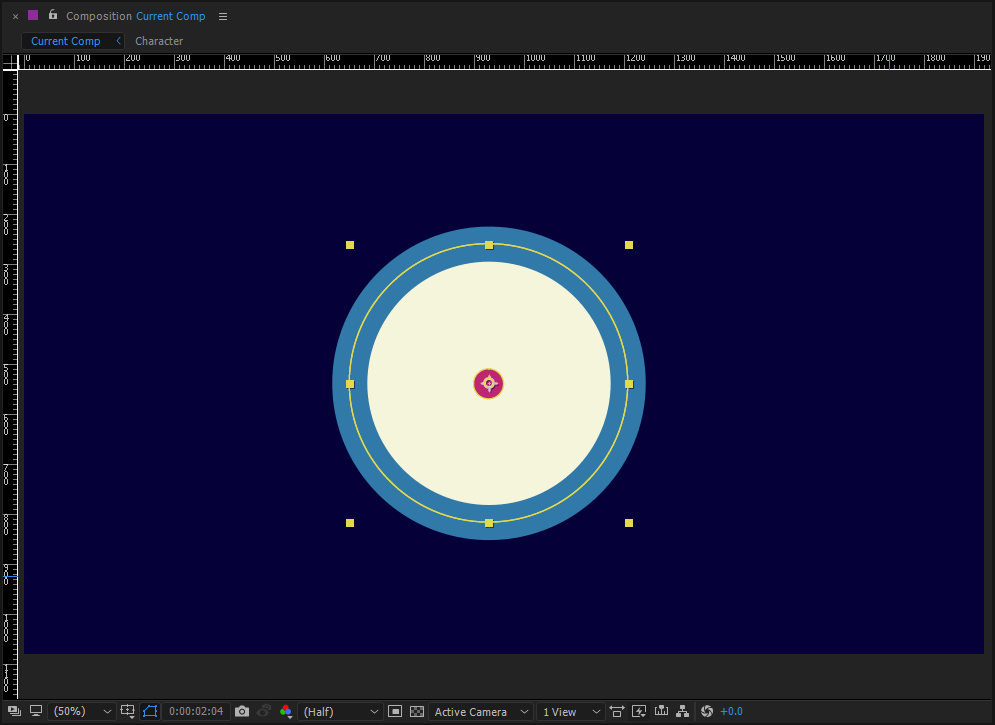
CENTER SHAPE LAYER ANCHOR POINTS
Opt + Cmd + Home
As you know, when you are working with shape layers it is usually best to center your anchor points so you don't mess up the look when you scale or rotate your shape. To quickly center the anchor point hit option + command + home. Now you can scale with ease.
SHOW AND HIDE THE GRID
Cmd + ' (Apostrophe)
The grid is a fantastic way to make sure your objects are proportionally spaced out in After Effects. To turn the grid on and off hit command + ' (apostrophe).
Master After Effects with After Effects Kickstart, included with School of Motion All-Access.
All-Access Pass
Unlimited access to 50+ courses, unlimited critique, live events, and 24/7 community. Join School of Motion All-Access today.


