
All-Access Pass
Unlimited access to 50+ courses, unlimited critique, live events, and 24/7 community. Join School of Motion All-Access today.

Character animation is one of the most difficult tasks for any motion designer. Wouldn’t it be great if you could control your designs like a puppet?
Animating a character is a constant challenge. You’ve spent hours designing and perfecting the form, creating custom mouths, eyes and limbs for every possible contingency, and agonized over how all those pieces might eventually move. Now, to bring them to life, you just need to … devote another lifetime to keyframes? Isn’t there an easier way to animate using Adobe’s myriad tools?
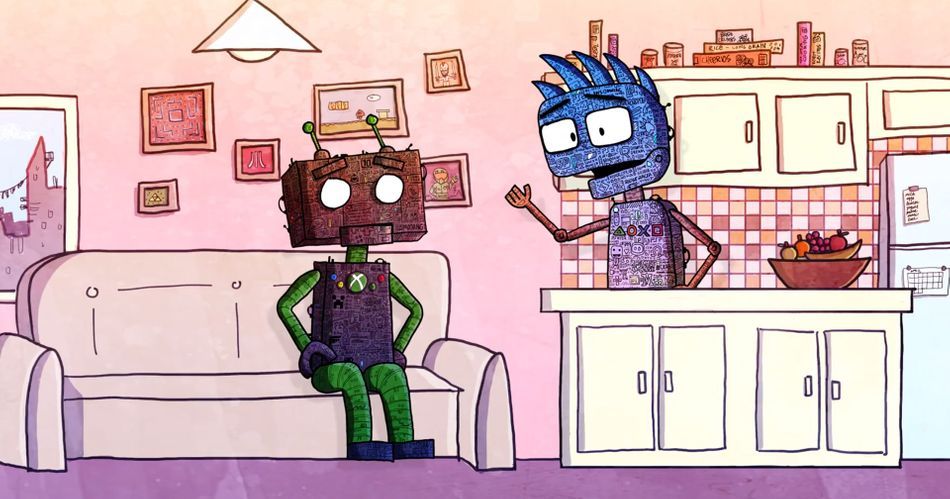
Welcome to Adobe Character Animator, an Emmy Award-winning app that combines motion-capture with a recording system to control 2D puppets created from Photoshop or Illustrator. Using simply a webcam and your own face, you can create incredibly fun and energetic animated characters very quickly.
On a recent episode of the Workflow Show, SOM’s own Kyle Hamrick dug into the ins and outs of this fantastic software. Joining him was Adobe’s Dave Werner, and they explored how Character Animator could energize a motion designer’s workflow. But what exactly is this program? What can you do with these tools? And is it friendly enough for even newer artists to dive in?
In this article, we’ll explore:
- What is Adobe Character Animator
- How is Adobe Character Animator Used
- Is Adobe Character Animator good for beginners
- The basics of Adobe Character Animator
- How to make a custom face in Adobe Character Animator
- How to record in Adobe Character Animator
What is Adobe Character Animator?
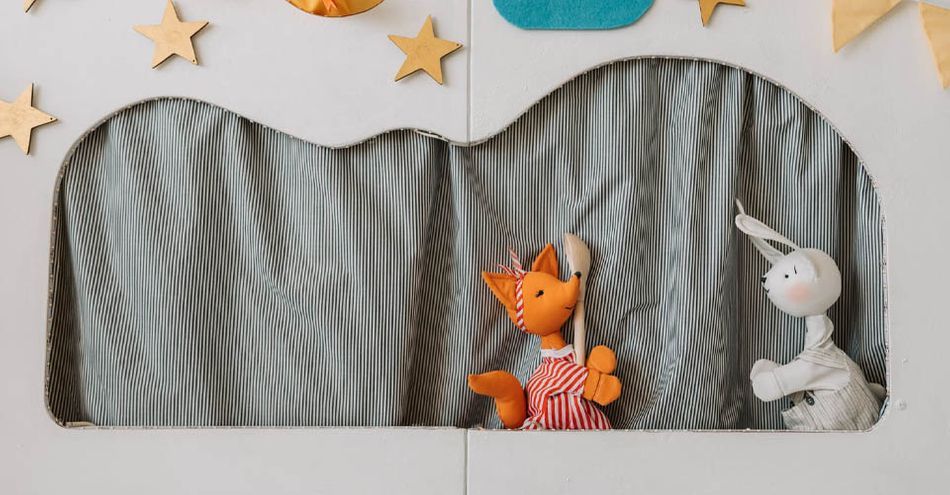
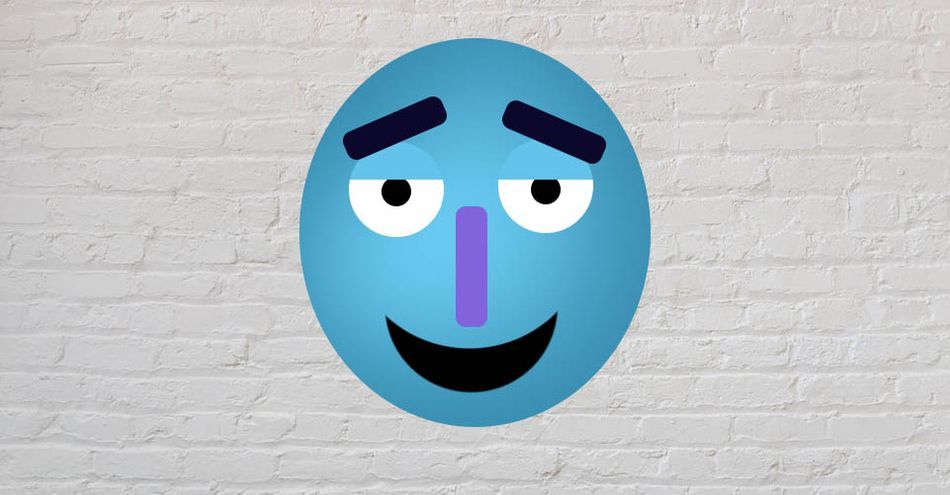
If we want to oversimplify things, Adobe Character Animator is a digital puppet manipulator. The program allows you to utilize a number of different tools (including user-defined triggers, MIDI controls, keyframes, and real-time motion capture) to bring your character to life. All of this happens in real time, to the point that you can actually use these characters during a live stream (or television broadcast!) to really impress your audience.
These puppets can be as simple as a cartoon face, or as complex as a faux-3D character with head turns and full-body movements. If you already have a design, the program has built-in rigging tools to help you turn your artwork into a puppet.
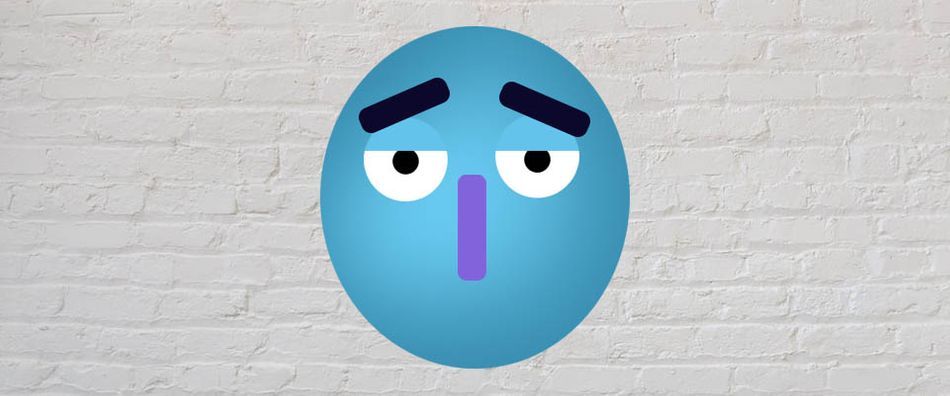
The program then uses your webcam, along with Adobe Sensei AI, to match the movements of your face and your mouth shapes—also known as visemes—to the character model. While this isn’t exactly the uncanny valley, the fidelity is fairly impressive.
How is Adobe Character Animator Used?
In a word, everything! YouTube and Twitch content creators use Adobe Character Animator to add a fun, creative flair to their channels. Major television animation studios use the program to bring shows to life in record time, including The Simpsons, My Little Pony, and Final Space. Even big Hollywood movies use the application to speed up the workflow for small areas of larger projects.
As motion designers, we’re always looking for ways to increase our efficiency without losing quality. Adobe Character Animator offers a surprisingly deep solution to a number of problems that face new and intermediate character animators.
Is Adobe Character Animator good for beginners?

When Kyle interviewed Dave Werner, this was the most important question asked. A new design program is no use if it’s too difficult to pick up. Fortunately, the program was designed with the beginner users in mind.
First of all, Adobe Character Animator comes with an entire collection of pre-made faces and characters for you to use, customize, and animate. This allows you to jump right in with fully-rigged characters, and explore the controls built by the creators so you can get ideas of how the program best functions. If you want to alter any of the characters, it’s as simple as clicking on a link and jumping into Photoshop or Illustrator.
While most of the rig controls on these provided puppets are preset, you can easily customize the movements and emotions to whatever keys you prefer. And of course, you can flip over to a webcam control and simply perform the animation with your own built-in face.
All that said, creating a character from scratch in Adobe Character Animator does come with a learning curve. If you’ve never rigged a character before, it’s not going to be easier in one program over another. You’ll still want to spend some time learning how to properly place a rig to create more realistic animations. Dave has created an entire library of video tutorials just for the program, and they are very detailed. You’ll also have access to the pre-made content that you can use to follow along.
What are the basics to get started with Adobe Character Animator
To get started, just download the program from the Adobe Creative Cloud. Once inside, you’ll see the basic models that come with the program. Let’s say you just wanted to create a face. We would recommend you start by clicking on one of the premade puppets to start.
Once you’re in Adobe Character Creator’s project area, you’ll notice two items in the bin in the top left. One is your character, the other is your scene. Your scene is your set, and you can swap that out and change the design just as easily as you change your character.
In the top right, you’ll see your webcam monitor. If the link is blue, your webcam is active. You’ll also notice a green bar indicating your audio levels. If nothing is happening, it’s possible your audio isn’t properly connected … or you’re just being super quiet. Speak up! Before you get started, you’ll want to “set rest pose.” Make sure you are well lit, close to the camera, and have a neutral expression. Then click Set Rest Pose. Voila! Now you should see the animated character following and mimicking your facial movements and speech. Go ahead and spend a few minutes playing with this ... we'll wait!
How to Make a Custom Face in Adobe Character Animator
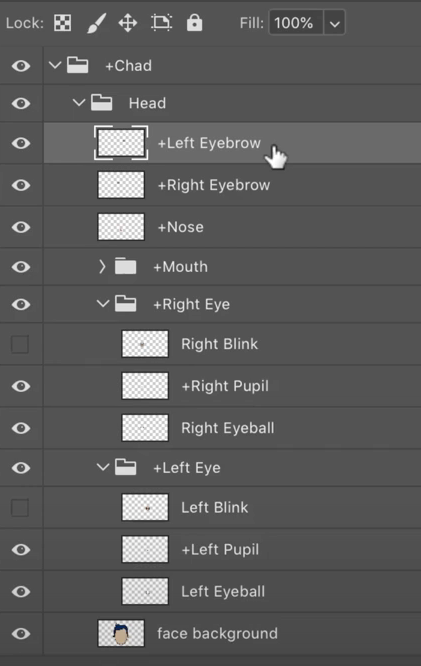
If you are set on customizing your character, you’ll want to make sure you create all the right areas. If you look at one of the premade characters, you’ll notice that features are grouped and named in a simple, intuitive way. If you follow the naming strategy and structure of the example puppets, the rigging step will be much easier (and possibly even automatic!) To keep it simple, we’ll just be discussing faces today, but you can also build out entire bodies (and the scenery) in this manner.
THE HEAD GROUP
Everything starts with the head. You want to make sure this is the master group for the eyes, eyebrows, nose, and mouth. While simple faces might not include the nose, they help add a bit of perspective to the animation when you turn your head from side to side. Every feature should be added underneath the head, but also built into their own separate group, to make them easier to manage and rig.
Name this layer the Head Group.
THE EYEBROWS
It’s important to start with the eyebrows, as they add so much personality to your creations. You can have them be simple lines, angles, half-circles, or any shape you like. They can be symmetrical or asymmetrical, so long as you’re following proper design fundamentals.
Make sure these are two separate layers, and name them Left Eyebrow and Right Eyebrow. Make sure you put both the left and right brows underneath the Head Group.
THE NOSE
Some animators like to paint the nose on the face and just leave it be. Others want that shnoz to become a character in its own right. Decide what is best for you, your character, and the project.
Name this layer Nose and drop that in a new layer underneath the Head Group.
THE EYES
Eyes are the window to the soul, and they are critical to your character. You’ll want to create a new group for BOTH the left and right eyes, with three layers (minimum) underneath. Refer to the image below for a simple breakdown of the groups.
The first layer is the blink layer: what the eyes look like when fully closed. Name this layer Blink.
The second layer is the pupil. This needs to be a separate layer from the eyeball, so the pupil can follow your own eye movement when you’re animating. Again, for ease of tracking, make this a single layer for both pupils. Name it Pupils.
Finally, add in the eyeball. With these three layers designed, you have a very basic, but very functional, eye.
Mouths are...a complicated topic, and will require a bit of experimentation. We strongly recommend you start by copying one of the pre-made characters first, until you get the hang of all the necessary shapes.
Bring your creation back over to Adobe Character Animator, rig up the layers, and you’ll be ready to jump into the recording studio.
How to record in Adobe Character Animator
Once all your elements are prepared, rigged, and tested, it's time to take this show into the recording studio and make a little magic. Let's cover the basics of recording your first session.
Arm the desired elements to record. Make sure your character's track is selected in the timeline. You'll see a red dot, which means they are "armed" and ready for recording. You'll also see red dots in the behaviors panel on the right side, showing you which elements of the character are ready to go.
Record yourself talking and moving your face. That should be ... self explanatory.
Now stop the recording and watch it back. Look for areas that didn't track correctly, or that you want to do again with a different expression.
It’s very difficult to do EVERYTHING at once, so you may quickly find it’s better to focus on specific parts one at a time. You might think of this like recording a band—you can do the whole thing at once, or you can record each instrument separately, to have finer control over the final sound. Try just focusing on the face, then come back in later passes for the body and environmental effects.
What's great about Character Animator is that it work within the Creative Cloud, so you can use Dynamic Link quickly bring your project over to After Effects to add in some choice effects, then finish the project off in Premiere Pro for easier editing.
Who's the Puppet Master Now?
Adobe Character Animator is a wonderful, powerful animation tool that can be a real boon to motion designers. If you're already working with a few applications from the Creative Cloud, take this for a spin and see if it finds a comfortable spot in your workflow.
Let us know if you have any questions about the program, want to show off your own characters, or want to see a deeper dive from us down the road.
ENROLL NOW!
Acidbite ➔
50% off everything

ActionVFX ➔
30% off all plans and credit packs - starts 11/26

Adobe ➔
50% off all apps and plans through 11/29

aescripts ➔
25% off everything through 12/6
Affinity ➔
50% off all products

Battleaxe ➔
30% off from 11/29-12/7
Boom Library ➔
30% off Boom One, their 48,000+ file audio library
BorisFX ➔
25% off everything, 11/25-12/1

Cavalry ➔
33% off pro subscriptions (11/29 - 12/4)

FXFactory ➔
25% off with code BLACKFRIDAY until 12/3

Goodboyninja ➔
20% off everything

Happy Editing ➔
50% off with code BLACKFRIDAY

Huion ➔
Up to 50% off affordable, high-quality pen display tablets

Insydium ➔
50% off through 12/4
JangaFX ➔
30% off an indie annual license
Kitbash 3D ➔
$200 off Cargo Pro, their entire library
Knights of the Editing Table ➔
Up to 20% off Premiere Pro Extensions
Maxon ➔
25% off Maxon One, ZBrush, & Redshift - Annual Subscriptions (11/29 - 12/8)
Mode Designs ➔
Deals on premium keyboards and accessories
Motion Array ➔
10% off the Everything plan
Motion Hatch ➔
Perfect Your Pricing Toolkit - 50% off (11/29 - 12/2)

MotionVFX ➔
30% off Design/CineStudio, and PPro Resolve packs with code: BW30

Rocket Lasso ➔
50% off all plug-ins (11/29 - 12/2)

Rokoko ➔
45% off the indie creator bundle with code: RKK_SchoolOfMotion (revenue must be under $100K a year)

Shapefest ➔
80% off a Shapefest Pro annual subscription for life (11/29 - 12/2)

The Pixel Lab ➔
30% off everything
Toolfarm ➔
Various plugins and tools on sale

True Grit Texture ➔
50-70% off (starts Wednesday, runs for about a week)

Vincent Schwenk ➔
50% discount with code RENDERSALE

Wacom ➔
Up to $120 off new tablets + deals on refurbished items


All-Access Pass
Unlimited access to 50+ courses, unlimited critique, live events, and 24/7 community. Join School of Motion All-Access today.