
All-Access Pass
Unlimited access to 50+ courses, unlimited critique, live events, and 24/7 community. Join School of Motion All-Access today.

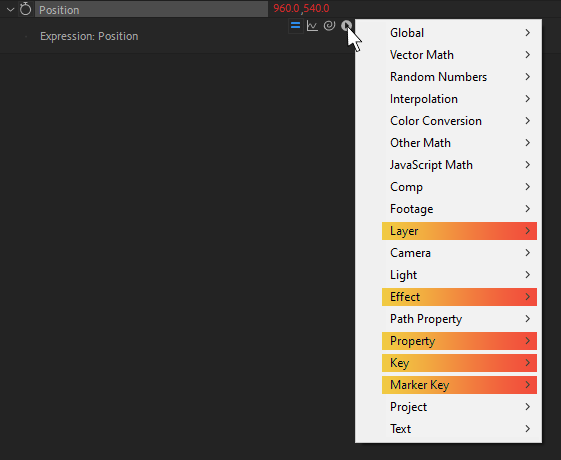
Enhance your expression knowledge with a close look at the Property and Effects, Layer, Key, and Marker Key Expression Language menus.
The Expression Language Menu holds a lot of little pieces for you to assemble. Where do you even start? This series will walk you through the categories and highlight a few unexpected items in each, leaving you better equipped to start expressing yourself via expressions.
After Effects actually provides you with many of the useful pieces you’ll need when writing expressions - right in the Expression Language menu! Once you create an expression on a property, this little flyout arrow opens up a whole world of possibilities. Today, we're going to be looking at:
- Property and Effects
- Layer
- Key
- Marker Key
Check Out the Full Series!
Can't express yourself enough? Check out the rest of the series:
Part 2 - Light, Camera, TextPart 3 - Javascript Math, Random Numbers, Path PropertiesPart 4 - Global, Comp, Footage, ProjectPart 5 - Interpolation, Vector Math, Color Conversion, Other Math
Property and Effects

Everything you deal with in your AE timeline (such as keyframes, layers, even effects!) is a property, and the same applies to the land of expressions!
A lot of these you've seen here before — looping animation with loopIn() and loopOut(), creating motion trails using valueAtTime() by yours truly, and even generating random motion with wiggle(); it really is among the most versatile expression categories.
Instead of covering ground we've seen before, let's look at a few different things with can do in this category, including a different take on our wiggly friend.
We'll explore:
- Adding randomness to existing animation from other layers
- Softening and smoothing existing keyframes
- Triggering actions based on how close together layers are
- The role & history of the obsolete Effects expression language menu
- For more information, see the Docs for Adobe expression reference or Adobe’s Expression language reference
Without further ado, let's look at the Property menu.
WIGGLING OTHER PROPERTIES

Okay, okay, we know wiggle(). It jiggles and we wiggle. Boooorrrring.
But! did you know that you can actually wiggle other properties?!
Let's say you've got one layer animated, and you want a second layer to follow the first—but have some unique randomness added to the motion. Here's how you'd set that up:
// Set the wiggle rules
const frequency = 1;
const amplitude = 100;
// Get the property to reference and wiggle
const otherProperty = thisComp.layer("Square").position;
otherProperty.wiggle(frequency, amplitude);
.gif)
The left shape is moving in a certain way, and the right layer takes that movement and adds in our wiggle. Using Wiggle in this way lets us keep the source and destination animation separate, while keeping it all super modular.
SMOOTHING RANDOM, WIGGLING MOVEMENT

We know that wiggle() can take our animation and add chaos to it, but what if we want to make our animation softer?
This is why smooth() exists. We can apply it either to another property or the property we're currently on (commonly referred to as thisProperty), and its sole role is to... smooth out animation!
Here we've got our layer moving around fairly erratically, but we want to smooth it out.
By adding this expression onto the position property of that layer, it'll look at the other layer's wiggling position, and soften it to a nice gentle result:
// Set the smooth rules
const width = 1;
const samples = 20;
// Get the property to reference and wiggle
const otherProperty = thisComp.layer("Square").position;
otherProperty.smooth(width, samples);
.gif)
And there we go! Easily controllable and instantly smoother animation. Also great for evening out tracking data.
Chaining wiggles and smoothing out other animation doesn't come up often, but it can add a whole new level of refinement to your animation.
THE EFFECTS EXPRESSION REFERENCE MENU

So that was the Properties menu, but what about Effects? You'd think it should get its own article, but... it's complicated.
This category is an odd duck! Absolutely nothing in this section exists that you can't already access via the Property menu above, because Effects are—after all— just... Properties!
I reached out to an AE team member to ask why this category exists and what it's for, and their answer reached back (way back) into AE lore. Basically:
Expressions were added to AE back in 2001 (in version 5.0), and the Property section didn't exist at that point, so this category was added so you could access effect values.
Then in 2003 (AE v6.0), expressions gained access to dynamic properties, rendering this ENTIRE category (which basically exists just for the param() function) irrelevant.
That's right — this whole section has been an outdated legacy item for the past 17 years 😲
To that end, as opposed to promoting use of something that will hopefully be removed from the software, we're going to skip over this category as it's an effective duplicate of the Property article.
If you want to learn a bit more about this weird vestigial section, check out the Docs for Adobe expression reference or Adobe’s Expression language reference.
Layers

Layers are a pretty big deal in AE, so it tracks that it's the single largest submenu (and submenu and submenu and submenu and...) in the whole Expression Language Menu.
Now I know this section looks intimidating, but it's not, I swear! Basically this category just lists EVERY SINGLE THING you can access on a layer— and it's a lot!
You know most of these already, though; these items will deal with the effects or masks on a layer, any of the transform or 3D properties, the layer's height, width, name, and so on. Easy! Familiar! Simple!
To that end, despite being a big category, it's not a particularly interesting category. Let's skip all the boring stuff and look at some highlights.
- Getting info on a layer's source file / comp
- Accessing layers within the comp of a precomp layer
- Finding out when a layer starts and ends
- Controlling animation based on when another layer is currently active
- Picking colours from a layer by expression
- For more information, see the Docs for Adobe expression reference or Adobe’s Expression language reference
Like onions and precomps, this article has many Layers to it. So let's get out our cutting board and start peeling them away.
ACCESSING PRECOMPS AND LAYER SOURCES

This one's a little weird to think about, but most layers aren't just layers! Apart from cameras, lights, and text, most layers come from items in the project panel— all images, video, audio, and solids all exist in the project panel as footage, and precomps exist in the project panel as comps.
A layer's source refers not to the layer you're looking at, but the footage item that the layer comes from.
Once we've got that, we can use anything in the Footage menu: this expression applied to a precomp will get the number of layers within the source comp:
const sourceComp = thisLayer.source;
sourceComp.numLayers;
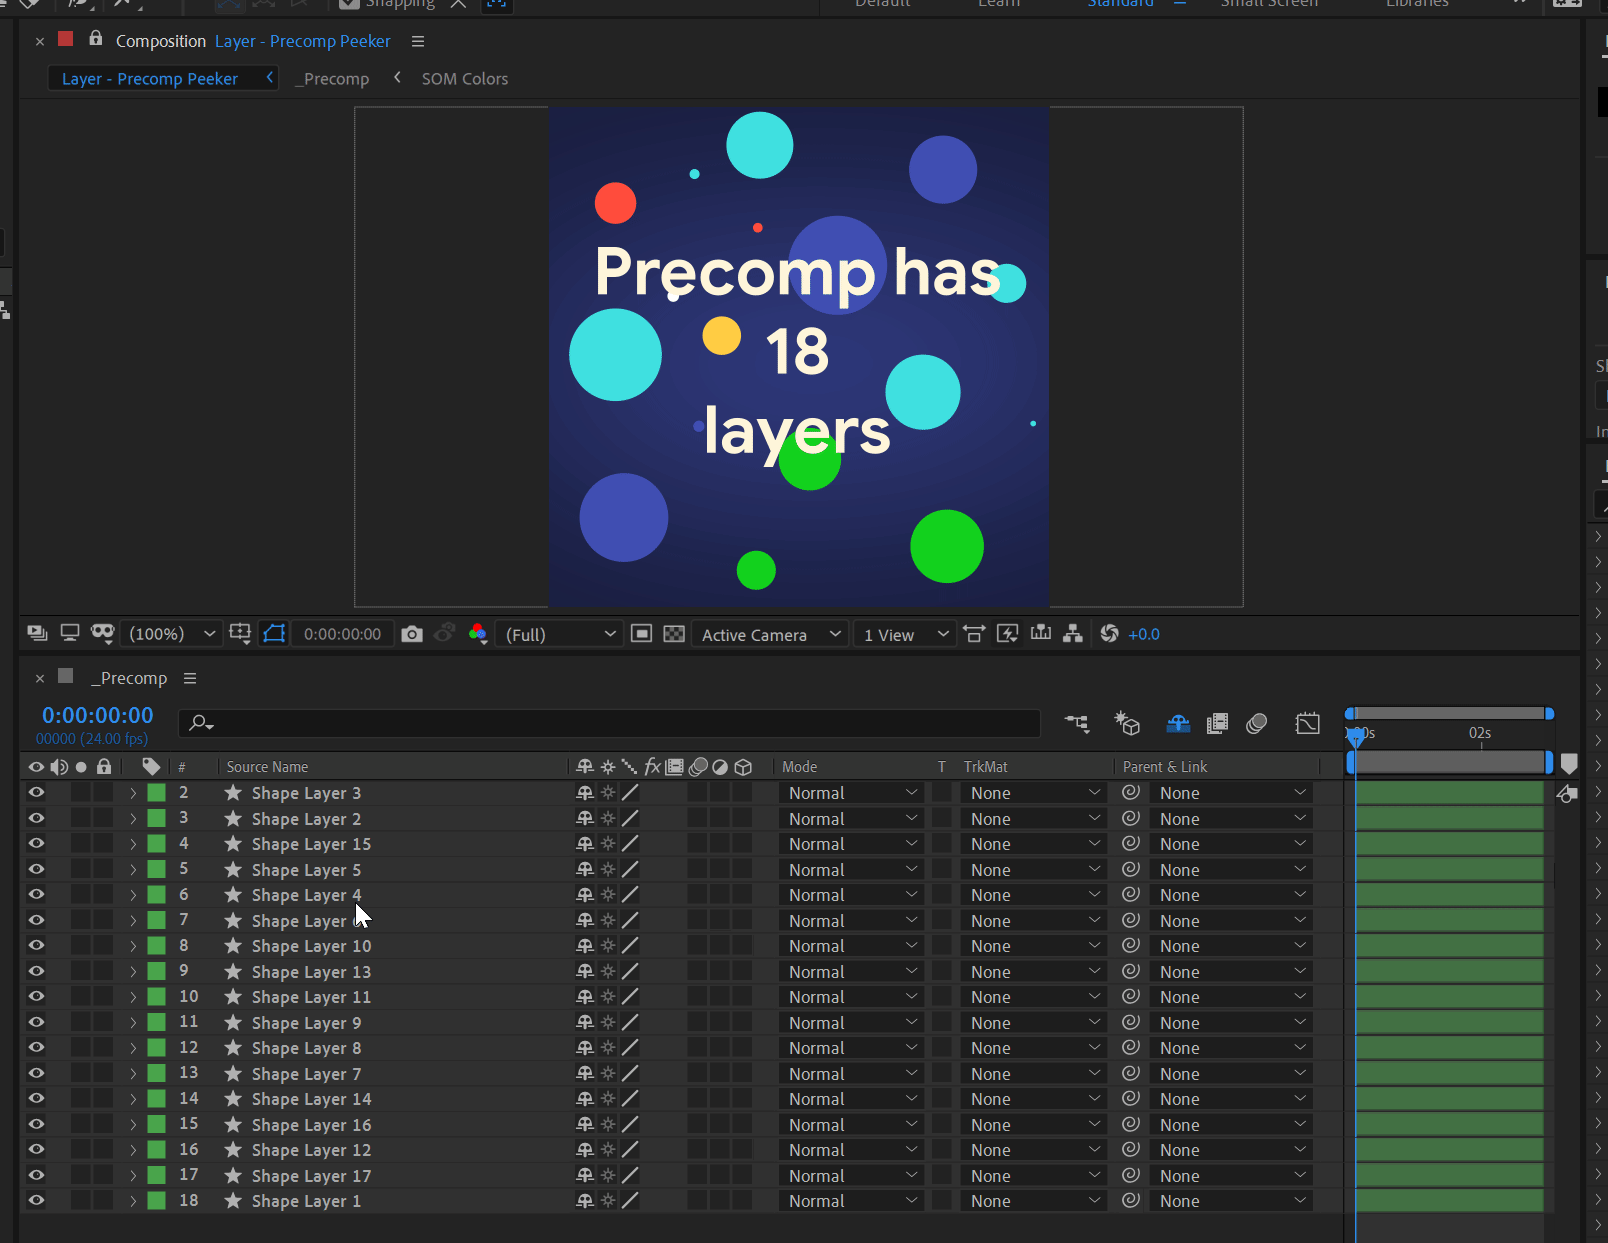
As we add or remove layers in the precomp, this will update to get that number of layers.
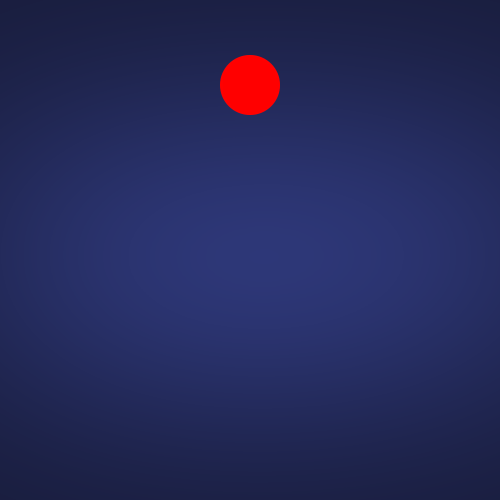
TRACKING LAYER IN AND OUT POINTS

We can use expressions to figure out when a layer starts and ends in the timeline, using the inPoint and outPoint layer properties.
One use for these in Expressionland is to trigger actions when another layer is on or off.
Here, we'll have a shape layer fill turn green when another layer is active in the timeline, but otherwise be red:
const otherLayer = thisComp.layer("Banana");
if (time >= otherLayer.inPoint && time <= otherLayer.outPoint) {
[0, 1, 0, 1];
} else {
[1, 0, 0, 1];
}
GRABBING COLORS FROM A LAYER

Dealing with the metadata of a layer is all well and good, but what if we wanted to get the actual color values from it?
Say...what color is at the very center? Or, what if we wanted a little display showing the color below it at any given time?
We can do this using the sampleImage() function, as follows. We'll apply it to a shape layer's Fill Color property, using the shape's position to set the point of where we want to sample.
const otherLayer = thisComp.layer("Banana");
const samplePoint = thisLayer.position;
otherLayer.sampleImage(samplePoint);
As the shape layer moves around the image, its color is set to whatever color it sees right below it.
This was just a brief look at a few cool features in the Layer submenus. As we mentioned, there are a lot of properties and functions here.
If you're ever looking to kill time between client feedback, try experimenting with some of the others!
Key

This one's allll about keyframes. We love keyframes! Now, we can't change keyframes via expressions, but we can get information out of them, and even override them!
In this section, we’ll look at:
- Bringing keyframe values into our expressions
- Figuring out when keyframes happen, by accessing their time
- Identifying which keyframe is which
- For more information, see the Docs for Adobe expression reference or Adobe’s Expression language reference
And now it's time to turn that Key and unlock some knowledge!
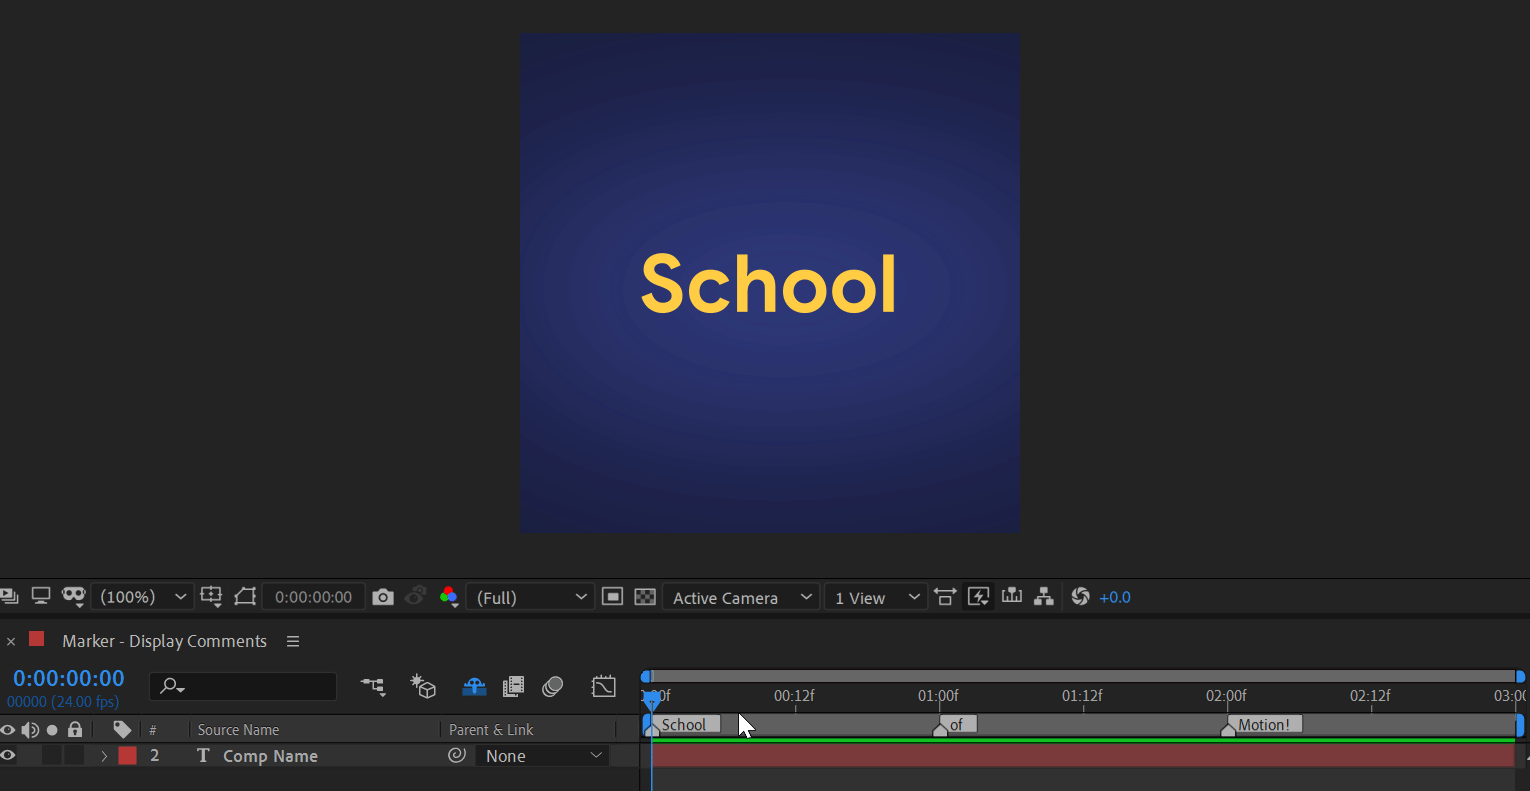
Setting the Stage
For all of our samples here, we're going to use the same animation: two opacity keyframes going from 50 → 100.
ACCESSING KEYFRAMES IN EXPRESSIONS WITH VALUE

When accessing keyframes via expressions, we can use the value property to... get the value of the keyframe!
For our example, we'll get either 50 or 100 (depending on which key we target), but we can do this same technique on colour keyframes to get an array of [R, G, B, A] values, or on dimensional properties to get an array of values.
To get the value of our 2nd keyframe:
const keyframeNumber = 2;
const keyframe = thisProperty.key(keyframeNumber);
keyframe.value; // 100 [percent]
GETTING KEYFRAME TIMES WITH... TIME

MAYBE it's no surprise, but just like we used value to get the value of our keyframes, we can use time to... GET THE TIME!
That is, we're asking our expression, "when (in seconds) is our 1st keyframe?" and it'll tell us, "1.5" because it's 1.5 seconds into the comp!
const keyframeNumber = 1;
const keyframe = thisProperty.key(keyframeNumber);
keyframe.time; // 1.5 [seconds]

FINDING KEYFRAME INDICES WITH INDEX

Despite sounding a lil technical, "index" is just the nerd way of saying "what number is it?" The first keyframe has an index of 1. The second? 2. The third? I GOT THIS, IT'S 3!
The keen-eyed reader will notice that above we're actually already using the index! When using the key() function, we need to give it an index number so AE knows which key # to get.
To show off how to get the index, though, we'll use a different function-- nearestKey(), which will give us the keyframe nearest to a specified time.
const keyframe = thisProperty.nearestKey(time);
keyframe.index; // 2 [because key #2 is nearest to the current time]

Are you the keymaster?
On its own, the Key category is a pretty straightforward section, and doesn't provide a lot inherently. It's really just a utility category to be used elsewhere.
Marker Key

Markers are the organized animator's best friend (second to School of Motion, of course 🤓), and so it's no surprise that there's plenty to do with them in the land of expressions.
It's worth noting that this section isn't just "markers", it's “marker key”. That's because the "marker" property on either a layer or your comp behaves just like any other property in AE—except instead of keyframes, we've got... markers!
So each marker "keyframe" inherits everything from the "key" section (as we just talked about), but also includes these specific properties.
We'll explore these Marker-specific features:
- Accessing the comments from markers
- Displaying marker comments as text on-screen
- Working with marker durations
- Controlling precomp animation playback with markers
- For more information, see the Docs for Adobe expression reference or Adobe’s Expression language reference
Alright, let's pop open the Crayolas, call our locksmith, and put our Marker Keys to use.
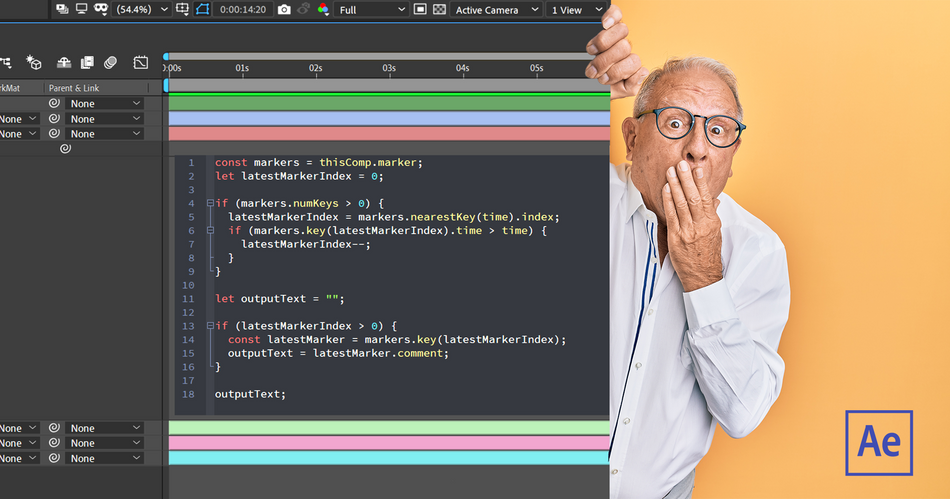
DISPLAYING MARKER COMMENTS ON-SCREEN

Marker comments come into play in a lot of ways in AE, mostly for labeling animation sections or different shots you're working.
While that's helpful for working within AE, you can make this even more useful by having these marker comments displayed on screen in a text layer.
We'll use this expression on a text layer's Source Text property, which will get the latest comp marker that we've passed, fetch its comment, and output that into our text layer:
const markers = thisComp.marker;
let latestMarkerIndex = 0;
if (markers.numKeys > 0) {
latestMarkerIndex = markers.nearestKey(time).index;
if (markers.key(latestMarkerIndex).time > time) {
latestMarkerIndex--;
}
}
let outputText = "";
if (latestMarkerIndex > 0) {
const latestMarker = markers.key(latestMarkerIndex);
outputText = latestMarker.comment;
}
outputText;
Slates! Karaoke readouts! Animatics! On-screen titling! The possibilities are endless (or if there's an end, maybe it's a little bit down the road or around the corner or something, 'cause I can't see it).
The real key here is the flexibility; we can just change the comment text of any of our markers, and the text layer will update immediately.
CONTROLLING PRECOMP TIME WITH MARKERS

We've seen one example looking at comp markers, so this one will use layer markers instead— a precomp layer, specifically.
Unlike keyframes, which exist at a certain point in time, markers have the special skill of having duration. That is— markers all have a specific time in which they start, but they can also last for some amount of time as well.
We're going to leverage this duration property to have our precomp play the animation every time there's a marker, and stop when we hit the end.
Here’s our reference comp:
To achieve this we'll apply this expression onto a precomp's Time Remap property:
const markers = thisLayer.marker;
let latestMarkerIndex = 0;
if (markers.numKeys > 0) {
latestMarkerIndex= markers.nearestKey(time).index;
if (markers.key(latestMarkerIndex).time > time) {
latestMarkerIndex--;
}
}
let outputTime = 0;
if (latestMarkerIndex > 0) {
const latestMarker = markers.key(latestMarkerIndex);
const startTime = latestMarker.time;
const endTime = startTime + latestMarker.duration;
const outputStart = 0;
const outputEnd = thisLayer.source.duration - framesToTime(1);
outputTime = linear(time, startTime, endTime, outputStart,
outputEnd);
}
outputTime;
With this, we can speed up or slow down our precomp, have it play a whole bunch of times in a row, and generally just manipulate time of any and all precomps.
All we need to do is add a new marker, set a duration, and our precomp will play back within that time span.
Move Over, Dr. Strange
Magically moving text from the timeline to our comp panel, controlling time with a wave of the hand, finding out what time certain markers start at?!
IT'S MAGIC, I SAY. Or expressions. Easy mistake, my bad.
Expression Session
If you're ready to dive into some radioactive goop and gain a new superpower, don't do that! It sounds dangerous. Instead, check out Expression Session!
Expression Session will teach you how to approach, write and implement expressions in After Effects. Over the course of 12 weeks, you'll go from rookie to seasoned coder.
ENROLL NOW!
Acidbite ➔
50% off everything

ActionVFX ➔
30% off all plans and credit packs - starts 11/26

Adobe ➔
50% off all apps and plans through 11/29

aescripts ➔
25% off everything through 12/6
Affinity ➔
50% off all products

Battleaxe ➔
30% off from 11/29-12/7
Boom Library ➔
30% off Boom One, their 48,000+ file audio library
BorisFX ➔
25% off everything, 11/25-12/1

Cavalry ➔
33% off pro subscriptions (11/29 - 12/4)

FXFactory ➔
25% off with code BLACKFRIDAY until 12/3

Goodboyninja ➔
20% off everything

Happy Editing ➔
50% off with code BLACKFRIDAY

Huion ➔
Up to 50% off affordable, high-quality pen display tablets

Insydium ➔
50% off through 12/4
JangaFX ➔
30% off an indie annual license
Kitbash 3D ➔
$200 off Cargo Pro, their entire library
Knights of the Editing Table ➔
Up to 20% off Premiere Pro Extensions
Maxon ➔
25% off Maxon One, ZBrush, & Redshift - Annual Subscriptions (11/29 - 12/8)
Mode Designs ➔
Deals on premium keyboards and accessories
Motion Array ➔
10% off the Everything plan
Motion Hatch ➔
Perfect Your Pricing Toolkit - 50% off (11/29 - 12/2)

MotionVFX ➔
30% off Design/CineStudio, and PPro Resolve packs with code: BW30

Rocket Lasso ➔
50% off all plug-ins (11/29 - 12/2)

Rokoko ➔
45% off the indie creator bundle with code: RKK_SchoolOfMotion (revenue must be under $100K a year)

Shapefest ➔
80% off a Shapefest Pro annual subscription for life (11/29 - 12/2)

The Pixel Lab ➔
30% off everything
Toolfarm ➔
Various plugins and tools on sale

True Grit Texture ➔
50-70% off (starts Wednesday, runs for about a week)

Vincent Schwenk ➔
50% discount with code RENDERSALE

Wacom ➔
Up to $120 off new tablets + deals on refurbished items


All-Access Pass
Unlimited access to 50+ courses, unlimited critique, live events, and 24/7 community. Join School of Motion All-Access today.