Start Your 3D Journey in Cinema 4D
Master the essentials of 3D modeling, lighting, and animation in C4D. Enroll in All-Access to unlock C4D Basecamp and 50+ other courses.

How Multi-Pass Helps You Have More Control Over the Look of Your Cinema 4D renders.
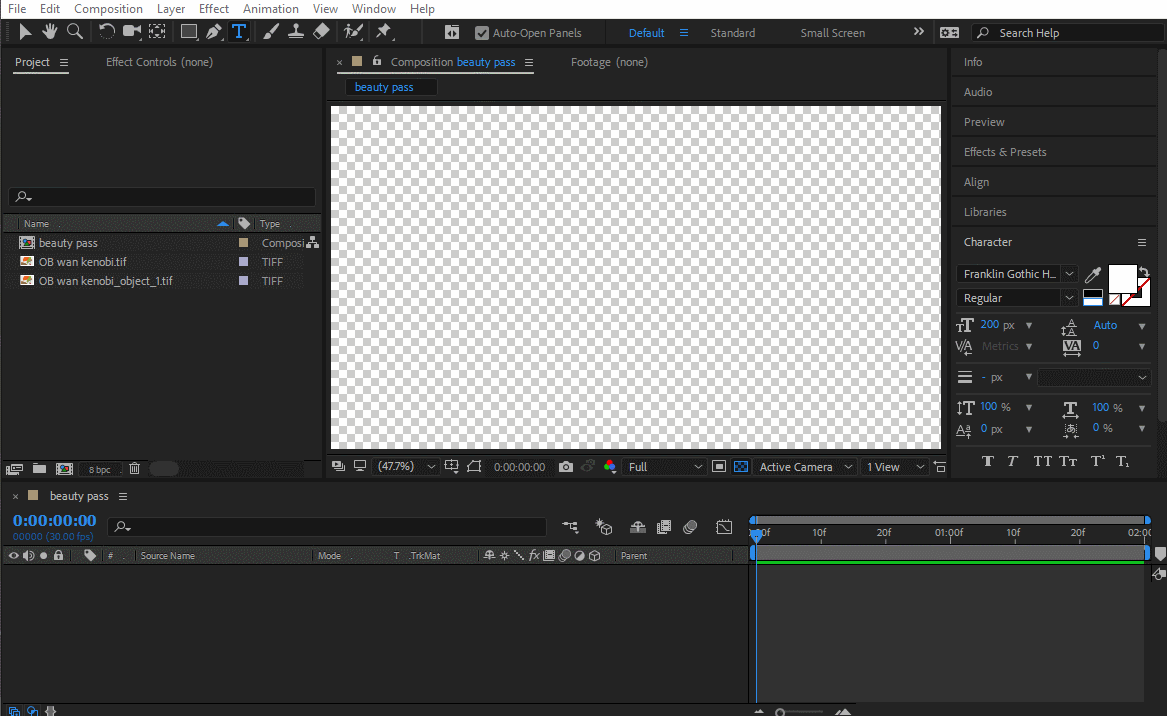
While you can certainly create great images & animations straight out of Cinema 4D, often times you’ll want to add in some compositing polish inside of After Effects or Nuke.
Now the best way to do that is by splitting up your image into different passes (or channels). Instead of rendering all that information all at once, Cinema 4D gives us a way easier method to do the splitting using multi-passes.
What is Multi-Pass Rendering?
A multi-pass workflow can accomplish certain tasks much easier than doing it straight in Cinema 4D. Glows, color correction, and object isolation are a few that come to mind. By using multi-pass rendering we can isolate aspects of our overall image into discreet parts including shadows, reflections, depth and even down to individual material properties.
How to Render Multi-Pass in Cinema 4D
Here's how to render multiple passes in Cinema 4D.
STEP 1: ENABLE MULTIPASS IN THE RENDER SETTINGS
If you’re using C4D’s native renderers (standard or physical), the first step to isolating all the things is to first enable multi-pass rendering in our Render Settings.

STEP 2: ADD YOUR PASSES FROM THE BUTTON LIST
You can now add the various passes offered by Multi-pass by selecting them from the button list.

STEP 3: DEFINE YOUR FILE PATH
Be sure to switch over to the ‘save’ parameter in the Render Settings and define the file path for your regular image (also known as a beauty pass: all the individual passes composited in one image) as well as your multi pass file path. With your selected passes enabled, rendering will create separate files containing those particular channels. Blammo!

Using Object Buffers in Cinema 4D
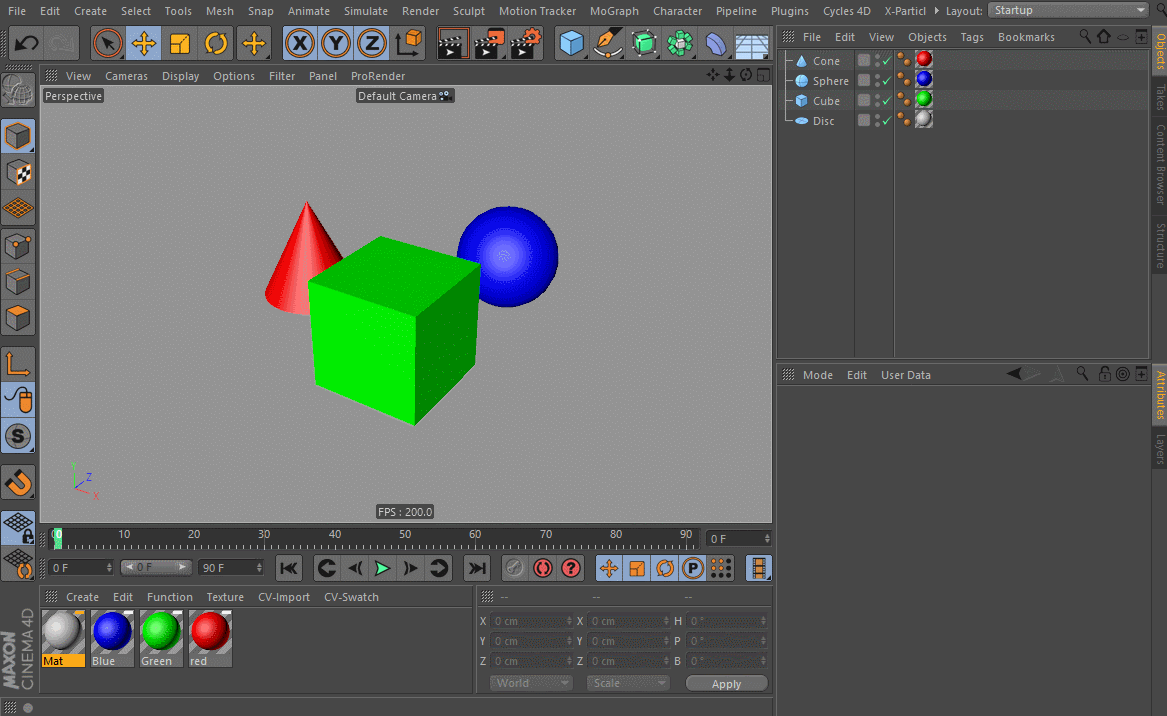
Maybe one of the most widely used aspect of exporting multiple passes in Cinema 4D is to create a matte that will isolate an object from your main RGB image. Take this image for example:

Suppose we want to isolate the cube so that we can insert text behind it in After Effects. We could certainly draw a mask with the pen tool in AE or even key it using keylight, but an object buffer can easily take the work out of this, especially if this is animated. Adding an Object Buffer to the cube will create a black & white matte of just the cube which we can use to isolate it.
To add the Object Buffer, right click on the object and select Cinema 4D Tags > Compositing.
Click on the new compositing tag and go to the ‘Object Buffer’ tab. From there enable one of the boxes and assign it a number. In your render settings, add the ‘Object Buffer’ pass and ensure that the same value in the Object Buffer tag is entered under ‘Group ID’.
Rendering will now give you two files (a matte and a fill) to take into After Effects which you can use to set up a luma track matte and insert you text. You can even color correct the cube, blur it or whatever now that you’re in composite land. May the Object Buffer force be with you...
Use as many buffers as you like to isolate those objects. Just be sure to add another pass for each separate buffer you want to use and make sure you have the corresponding Group ID number in the Render Settings.
Handy tip: Adding an object buffer to a parent object will automatically include the children in the buffer as well.
Handy tip #2: Multiple objects, each with their own compositing tag, can share the same Group ID number. So for example, you could put both the cube and the sphere into one Object Buffer pass if both their compositing tags used Group ID 3.
Handy Tip #3: If shrimp smells funny, don't eat it.

Here’s a sampling of all the different passes you can isolate and take into After Effects for compositing. Note that if you don’t have anything in the scene related to a particular pass, you’ll render black (as is the case here with Atmosphere and a few others).

ENROLL NOW!
Acidbite ➔
50% off everything

ActionVFX ➔
30% off all plans and credit packs - starts 11/26

Adobe ➔
50% off all apps and plans through 11/29

aescripts ➔
25% off everything through 12/6
Affinity ➔
50% off all products

Battleaxe ➔
30% off from 11/29-12/7
Boom Library ➔
30% off Boom One, their 48,000+ file audio library
BorisFX ➔
25% off everything, 11/25-12/1

Cavalry ➔
33% off pro subscriptions (11/29 - 12/4)

FXFactory ➔
25% off with code BLACKFRIDAY until 12/3

Goodboyninja ➔
20% off everything

Happy Editing ➔
50% off with code BLACKFRIDAY

Huion ➔
Up to 50% off affordable, high-quality pen display tablets

Insydium ➔
50% off through 12/4
JangaFX ➔
30% off an indie annual license
Kitbash 3D ➔
$200 off Cargo Pro, their entire library
Knights of the Editing Table ➔
Up to 20% off Premiere Pro Extensions
Maxon ➔
25% off Maxon One, ZBrush, & Redshift - Annual Subscriptions (11/29 - 12/8)
Mode Designs ➔
Deals on premium keyboards and accessories
Motion Array ➔
10% off the Everything plan
Motion Hatch ➔
Perfect Your Pricing Toolkit - 50% off (11/29 - 12/2)

MotionVFX ➔
30% off Design/CineStudio, and PPro Resolve packs with code: BW30

Rocket Lasso ➔
50% off all plug-ins (11/29 - 12/2)

Rokoko ➔
45% off the indie creator bundle with code: RKK_SchoolOfMotion (revenue must be under $100K a year)

Shapefest ➔
80% off a Shapefest Pro annual subscription for life (11/29 - 12/2)

The Pixel Lab ➔
30% off everything
Toolfarm ➔
Various plugins and tools on sale

True Grit Texture ➔
50-70% off (starts Wednesday, runs for about a week)

Vincent Schwenk ➔
50% discount with code RENDERSALE

Wacom ➔
Up to $120 off new tablets + deals on refurbished items


Start Your 3D Journey in Cinema 4D
Master the essentials of 3D modeling, lighting, and animation in C4D. Enroll in All-Access to unlock C4D Basecamp and 50+ other courses.