
All-Access Pass
Unlimited access to 50+ courses, unlimited critique, live events, and 24/7 community. Join School of Motion All-Access today.

Cinema 4D is an essential tool for any Motion Designer, but how well do you really know it?
How often do you use the top menu tabs in Cinema 4D? Chances are, you probably have a handful of tools you use, but what about those random features you haven’t tried yet? We're taking a look at the hidden gems in the top menus, and we're just getting started.

In this tutorial, we’ll be doing a deep dive on the Mesh tab. From centering objects to painting with the polygon pen, we have a lot of quick tips to get you designing like a pro.
Mesh with Success
Here are the 3 main things you should use in the Cinema 4D Mesh menu:
- Axis Center
- Volume Mesh
- Polygon Pen
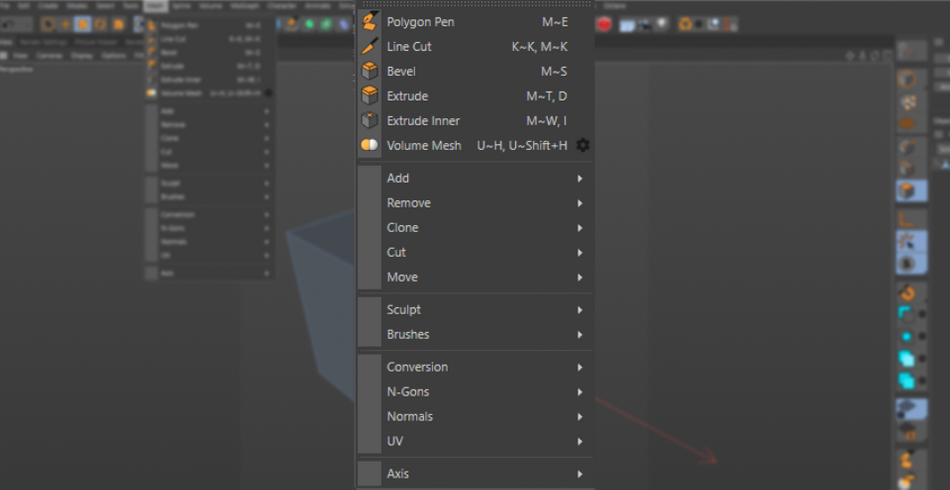
How to use Axis Center in Cinema 4D
Have you ever downloaded a model kit and had all of the Axis (or Anchor Points for our After Effects nerds) set to the center of the scene instead of the center of the object? It’s extremely frustrating to have the object rotate or scale from a random point in the scene.
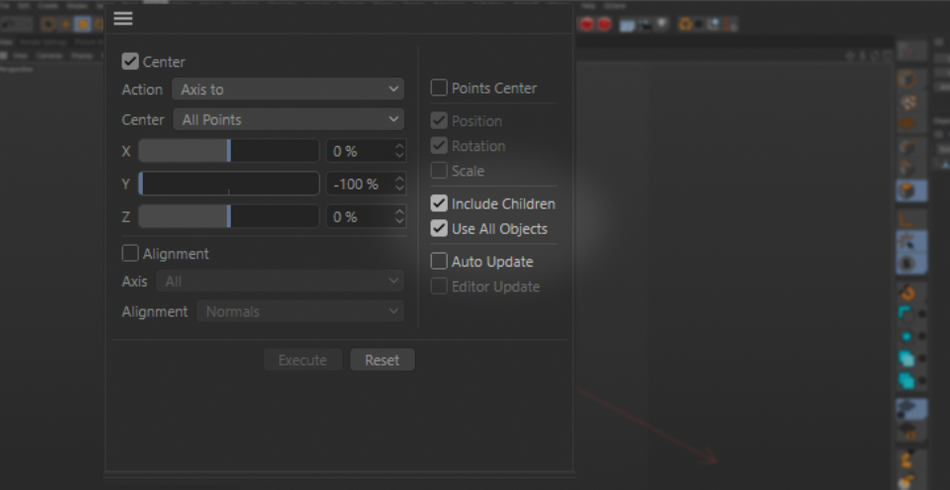
Fortunately, Cinema 4D has a wonderful tool built in to help with this. Meet the Axis Center tool. By default, it is set to find the center of the object, so all you need to do is select your object and hit the “Execute” button and you are good to go.
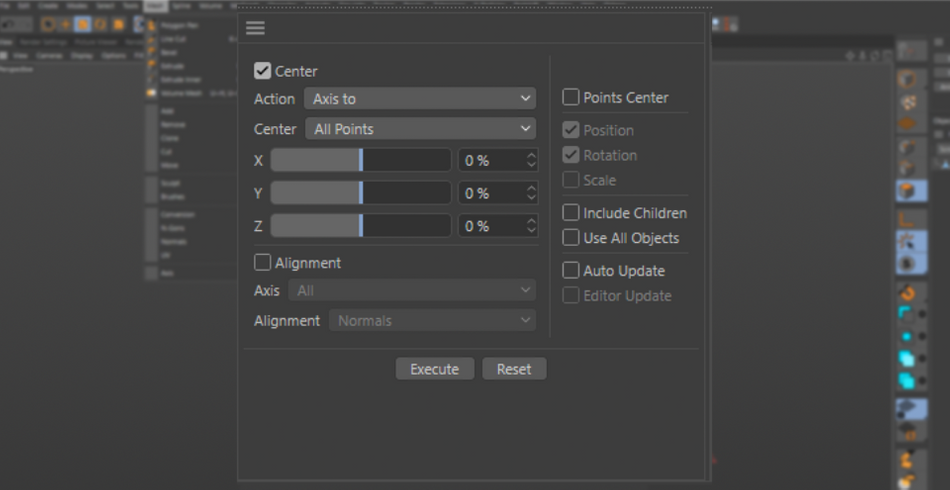
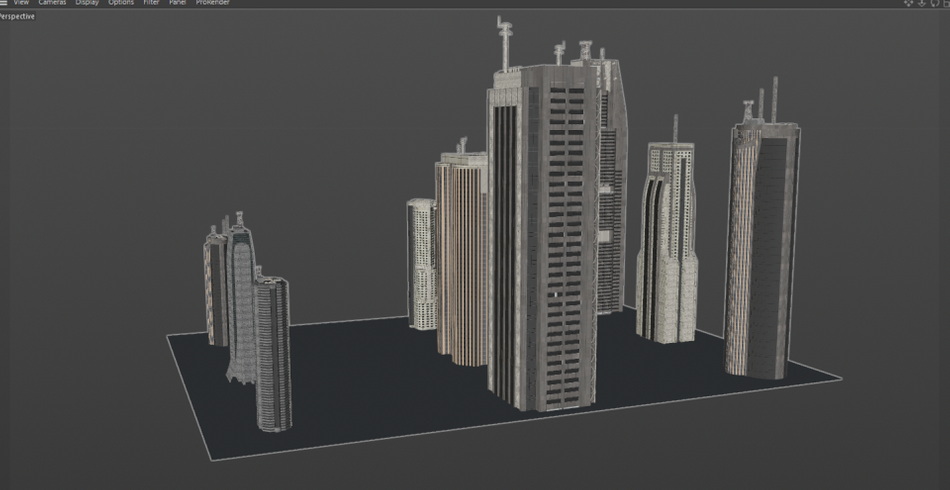
However, let's say you have a shiny new set of building models for your city render. Having the axis set to the center of the buildings wont make much sense when you place them into a Cloner. You want to have the base of each building set the same plane so they all originate from the floor.
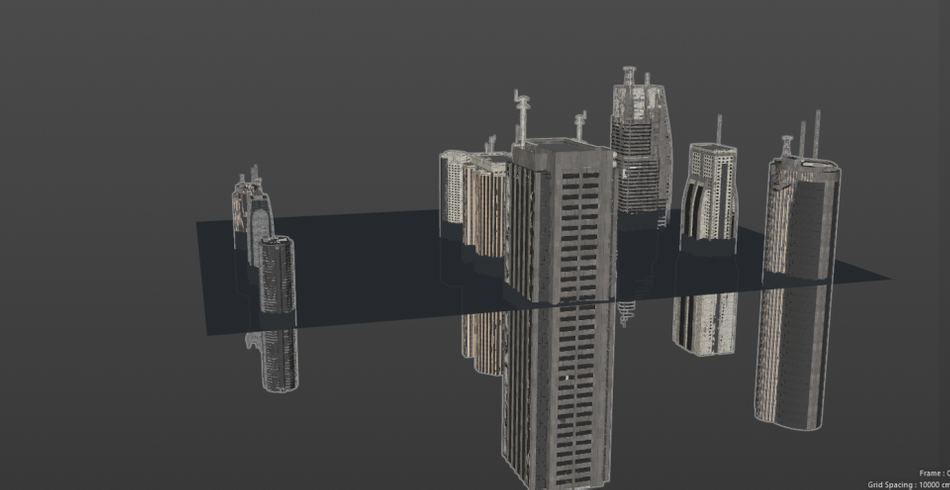
This is where those XYZ sliders become useful. Set the Y to -100, and it will place the anchor to the bottom of every object.

This way, they will all be attached to the street level. If you want to play with the randomness of the scale of the buildings, they will scale from the floor, creating a much more realistic change in scale.
You will come across a common issue with this tool when using Null Groups. At first, when you click Execute, nothing will happen. So it is important to activate “Include Children” and “Use all Objects.” Unfortunately, this comes with a drawback: you can only do one Null Group at a time this way.
How to use Volume Mesh in Cinema 4D
Have you tried out the Volume Builder tool yet? It’s a pretty cool tool for combining lots of objects. But it does require you to create the Builder and then the Mesher to get actual polygons. Let’s say you want to then use it for Sculpting using C4D’s sculpt tools. You have to convert it into a polygonal object, then you can start sculpting. Those are a lot of steps just to even START sculpting.
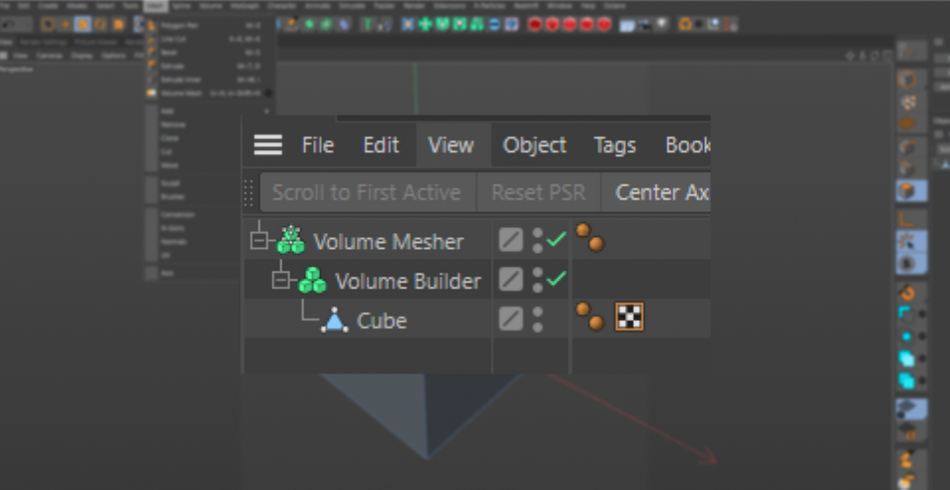
Skip all those steps with Volume Mesh (shortcut U~H). Simply select all of the objects you wish to combine, hit Volume Mesh, and C4D will convert it to a mesh with evenly distributed points and polygons, perfect for using Sculpting tools.
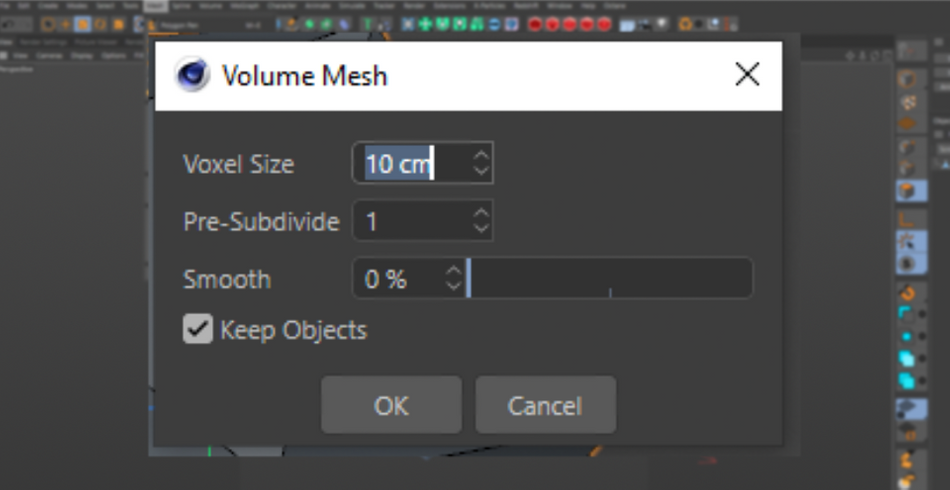
Let’s say you DO want to create a Volume Builder and Volume Mesher for your objects. There’s a really useful shortcut for creating the hierarchy for you. While selecting your original objects, make sure you activate the “Keep Objects” option. This will place the objects into a Subdivision Surface, then into a Volume Builder and Mesher. It’s quite the time saver.
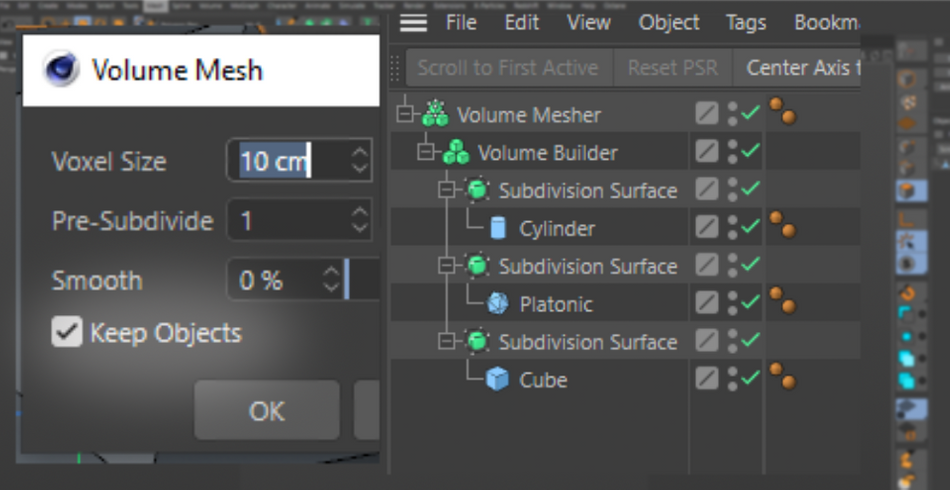
Definitely click on the Gear icon to adjust several settings, such as the Voxel size, to control the surface details and poly count (lower = more detail/polygons). And Smoothing, which does as you expect and smooths the objects.
How to use Polygon Pen in Cinema 4D
This is probably one of the best tools you can use for traditional modeling techniques. The Polygon Pen works a lot like the Spline Pen in that you can create points—but instead of creating a spline, it creates polygons. Simply draw the shape you are looking for, and like magic, it materializes.
This tool is especially useful when starting the modeling process. Drawing the overall shape, then refining the shape.
It’s a combination of several modeling tools. You can easily add points to polygons by clicking on an edge.
You can slide points, and even weld two together.

Move edges and even extrude to create new polygons by holding down the Ctrl/Command key and click dragging. The new edges will also snap to nearby edges for quick bridging.

A quick Ctrl/Command+click will delete whatever you click on.
We haven't even talked about using the pen in Edge mode and activating Quad Strip! Simply draw a line where you want the next edge to be, and the pen will immediately bridge the polygons to the new edge. Super useful for creating rounded areas on a model!

You can also use the Polygon mode to create strips of polygons like a sketch tool.
The modeling possibilities with this tool are truly endless.

Look at you!
Hopefully, this gives you an idea on how to proceed next time you are getting ready to model an object. The Polygon Pen alone has solved so many modeling issues. No longer do you have to constantly switch tools—simply use the pen with the modifier keys and you’re off modeling.
Cinema 4D Basecamp
If you're looking to get the most out of Cinema4D, maybe it's time to take a more proactive step in your professional development. That's why we put together Cinema 4D Basecamp, a course designed to get you from zero to hero in 12 weeks.
And if you think you're ready for the next level in 3D development, check out our all new course, Cinema 4D Ascent!
ENROLL NOW!
Acidbite ➔
50% off everything

ActionVFX ➔
30% off all plans and credit packs - starts 11/26

Adobe ➔
50% off all apps and plans through 11/29

aescripts ➔
25% off everything through 12/6
Affinity ➔
50% off all products

Battleaxe ➔
30% off from 11/29-12/7
Boom Library ➔
30% off Boom One, their 48,000+ file audio library
BorisFX ➔
25% off everything, 11/25-12/1

Cavalry ➔
33% off pro subscriptions (11/29 - 12/4)

FXFactory ➔
25% off with code BLACKFRIDAY until 12/3

Goodboyninja ➔
20% off everything

Happy Editing ➔
50% off with code BLACKFRIDAY

Huion ➔
Up to 50% off affordable, high-quality pen display tablets

Insydium ➔
50% off through 12/4
JangaFX ➔
30% off an indie annual license
Kitbash 3D ➔
$200 off Cargo Pro, their entire library
Knights of the Editing Table ➔
Up to 20% off Premiere Pro Extensions
Maxon ➔
25% off Maxon One, ZBrush, & Redshift - Annual Subscriptions (11/29 - 12/8)
Mode Designs ➔
Deals on premium keyboards and accessories
Motion Array ➔
10% off the Everything plan
Motion Hatch ➔
Perfect Your Pricing Toolkit - 50% off (11/29 - 12/2)

MotionVFX ➔
30% off Design/CineStudio, and PPro Resolve packs with code: BW30

Rocket Lasso ➔
50% off all plug-ins (11/29 - 12/2)

Rokoko ➔
45% off the indie creator bundle with code: RKK_SchoolOfMotion (revenue must be under $100K a year)

Shapefest ➔
80% off a Shapefest Pro annual subscription for life (11/29 - 12/2)

The Pixel Lab ➔
30% off everything
Toolfarm ➔
Various plugins and tools on sale

True Grit Texture ➔
50-70% off (starts Wednesday, runs for about a week)

Vincent Schwenk ➔
50% discount with code RENDERSALE

Wacom ➔
Up to $120 off new tablets + deals on refurbished items


All-Access Pass
Unlimited access to 50+ courses, unlimited critique, live events, and 24/7 community. Join School of Motion All-Access today.