All-Access Pass
Unlimited access to 50+ courses, unlimited critique, live events, and 24/7 community. Join School of Motion All-Access today.

Cinema4D is an essential tool for any Motion Designer, but how well do you really know it?
How often do you use the top menu tabs in Cinema4D? Chances are, you probably have a handful of tools you use, but what about those random features you haven’t tried yet? We're taking a look at the hidden gems in the top menus, and we're just getting started.

In this tutorial, we’ll be doing a deep dive on the Tools tab and check out all of the features that can help you optimize your workflow and maintain organized project files. Let’s dive right in.
Tools of the trade
Here are the 3 main things you should use in the Cinema 4D Tools menu:
- Commander
- Paint Tool
- Naming Tool
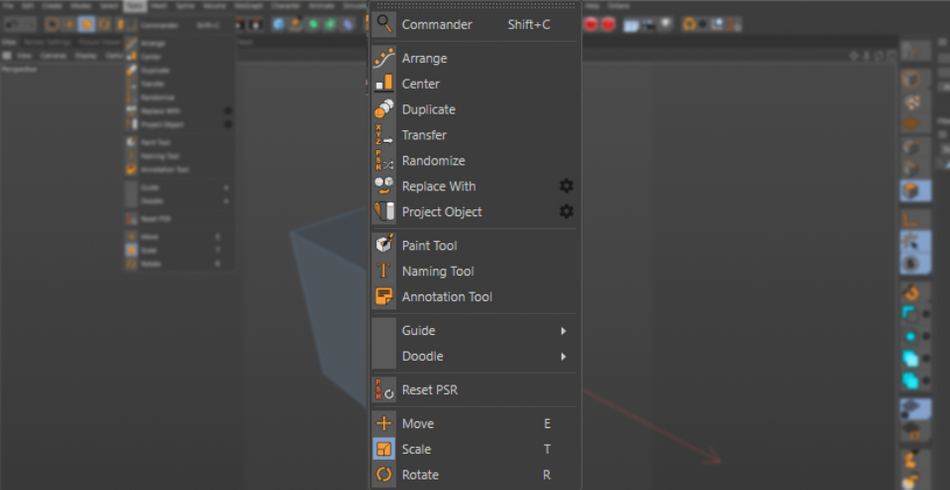
How to use the Commander tool in Cinema 4D
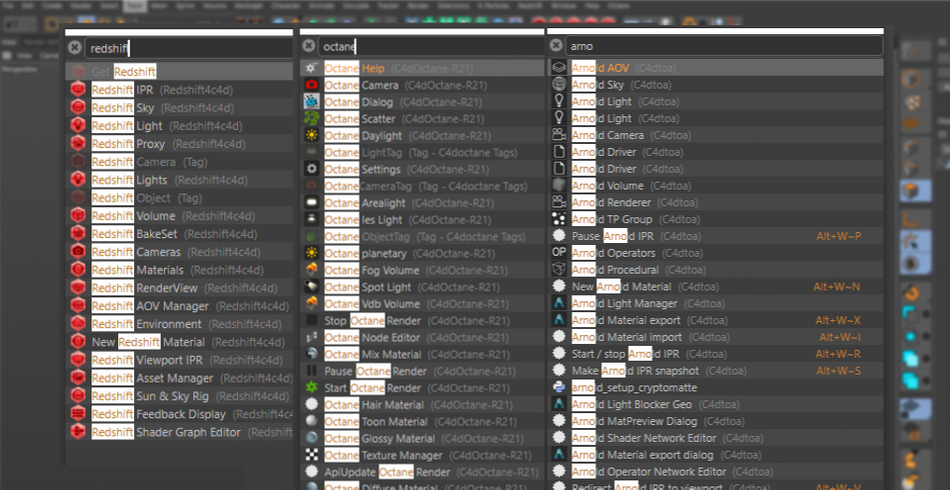
Have you ever found yourself searching for something inside of Cinema 4D and you knew what it was called, but didn't know in which menu it resided? Have you ever watched a tutorial where someone uses a pop-up window to search for something in C4D? That’s the Commander window.
The Commander is here to make your life a lot easier. It is a super fast way to find any object. Simply type the name of the object you are looking for and it will appear in the results box underneath. Click it and you are on your way.
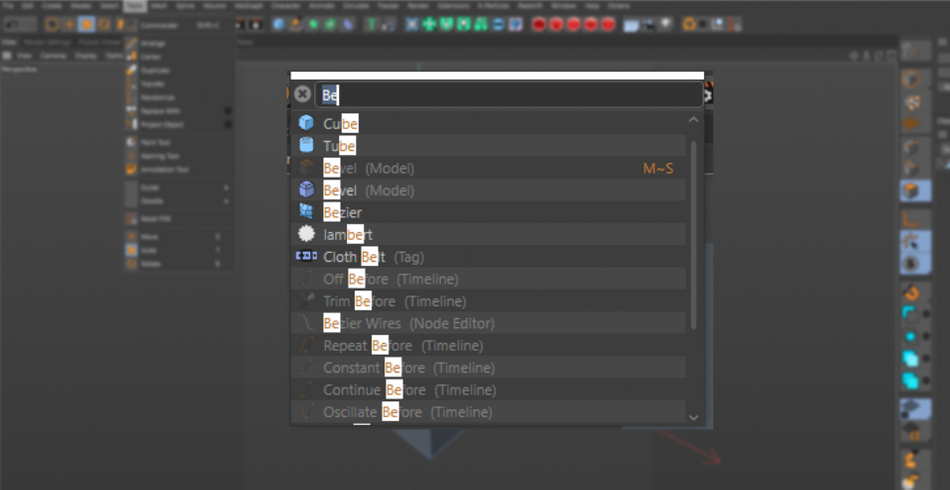
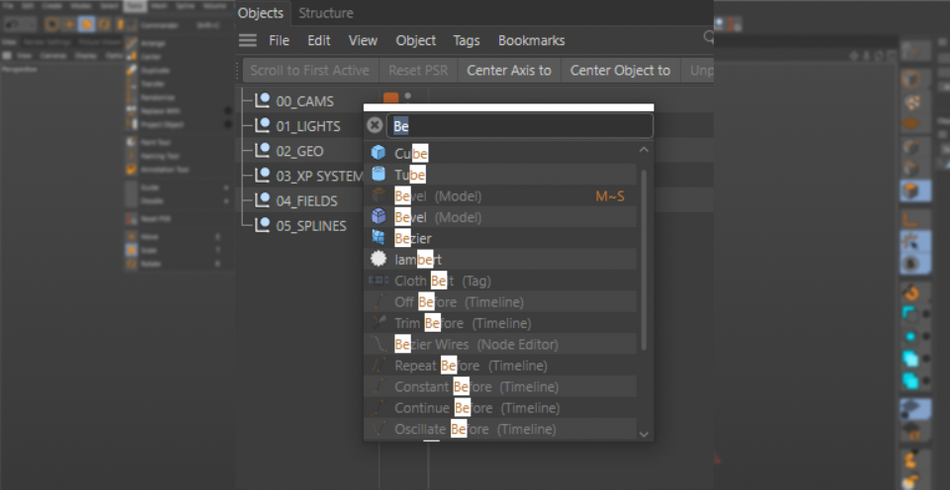
Use Shift+C to activate it outside of the menu. Type in the object name, select it with your arrow keys, and hit enter.
Certain plugins actually use this to their advantage when naming objects specific to the plugin. For example, X-Particles names every single one of its objects with “xp” as the prefix. All you have to do is start your search with that prefix and every X-Particles object appears in a list.
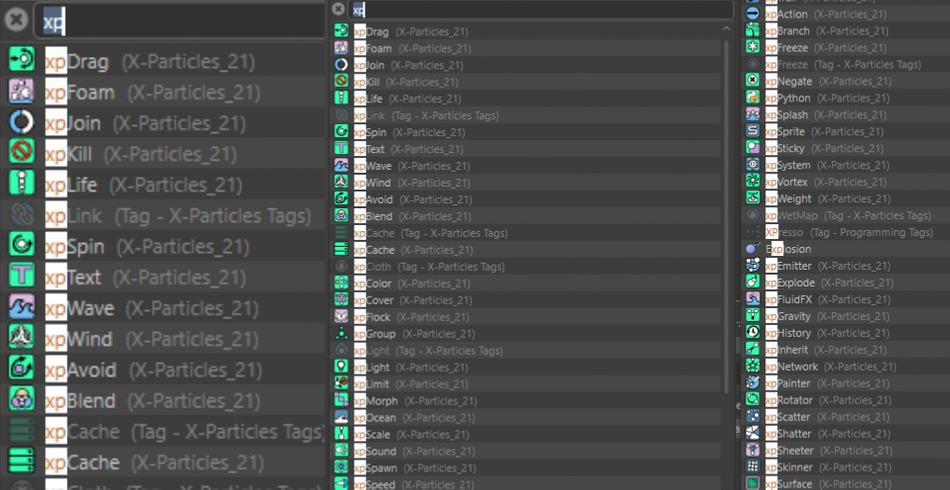
This also works for render engines such as Octane, Arnold, and Redshift.
How to use the Paint tool in Cinema 4D
Another handy tool is the Paint Tool. This guy allows you to paint your objects—specifically the Vertices. Or, more simply, the points of your object.
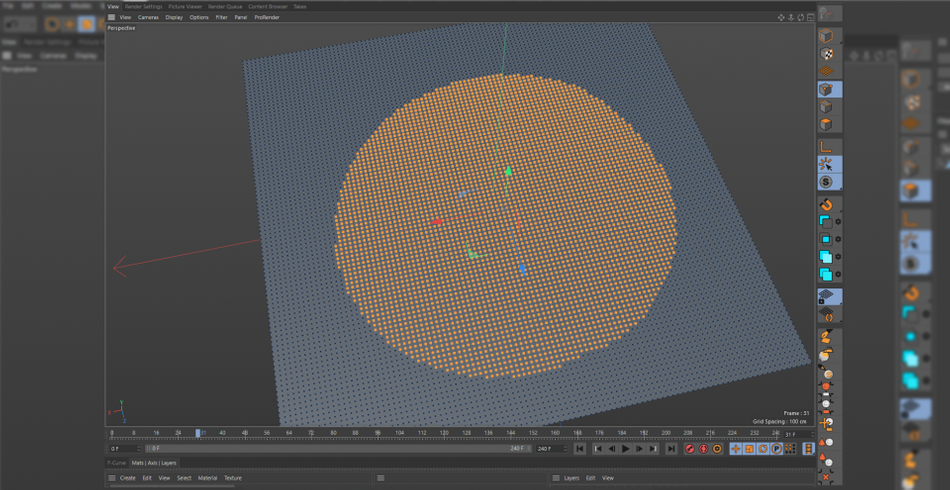
There’s a neat semi-hidden feature about Vertices called a “Vertex Map” where you can assign Strength values to each Vertex.
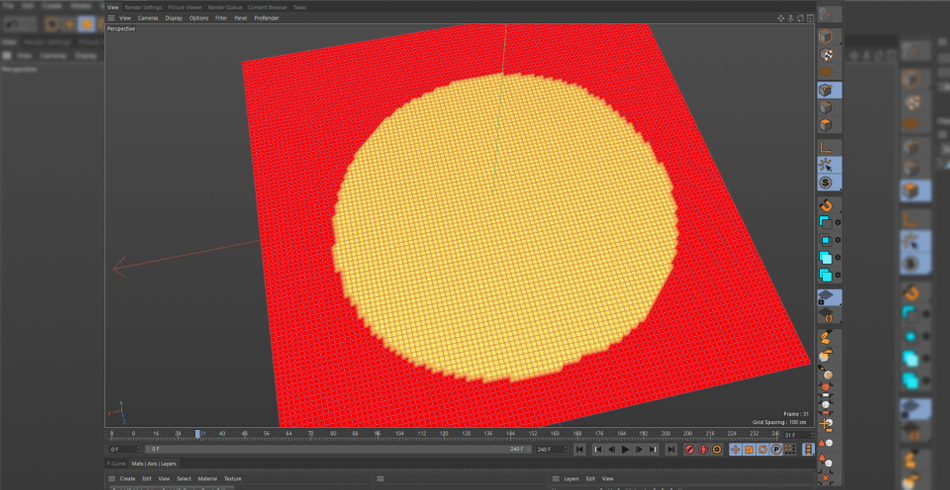
Why is this important to know? Well, this Vertex Map can be used as a Field to control Deformers and even Materials! For demonstration purposes, let’s create a Plane. Let’s give it 100 subdivisions on each dimension. Press C to turn it into polygons.
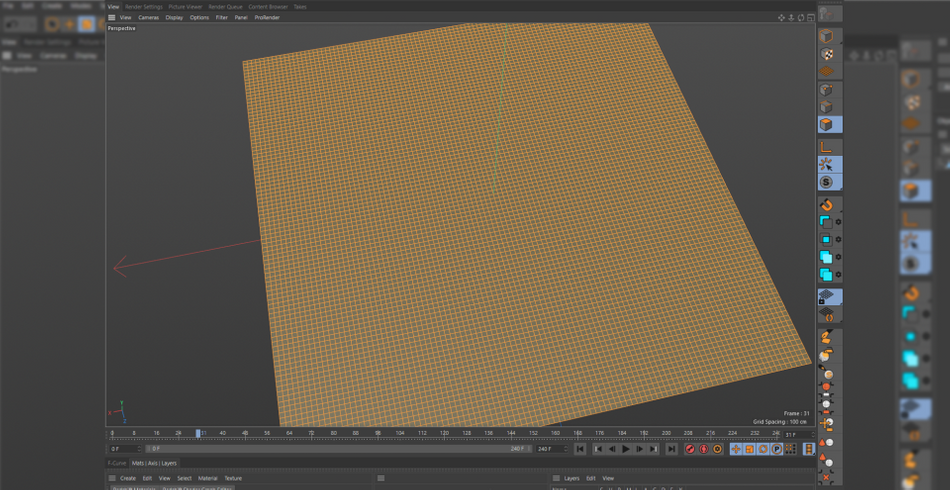
Now select your Paint Tool (take the Commander on a test drive) and paint on your Plane. It’ll turn red and your brush stroke will be Yellow.
x
If you notice, the Plane now has a new tag, this is your Vertex Map.
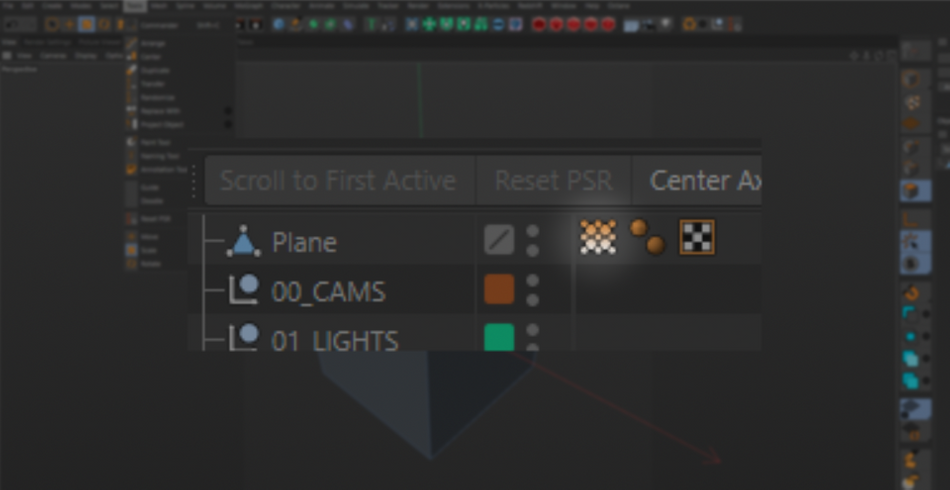
Now, create a Displacer Deformer and make it a child of the Plane.
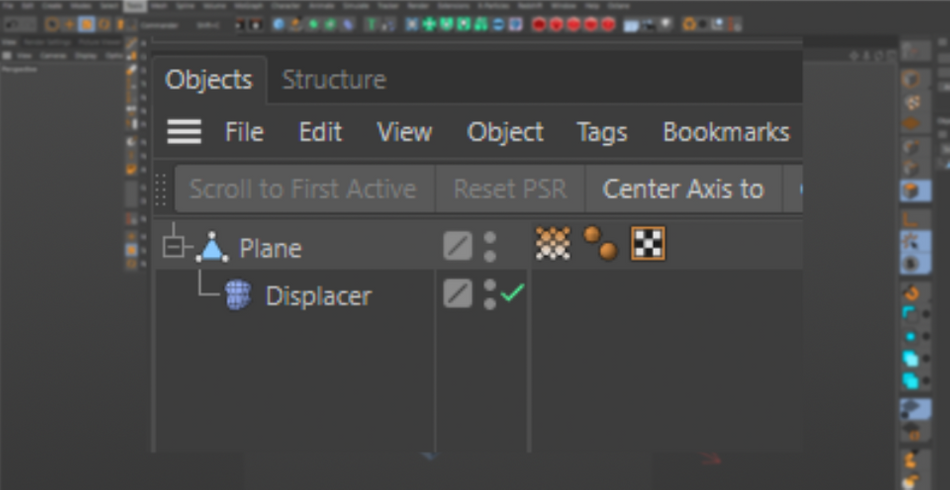
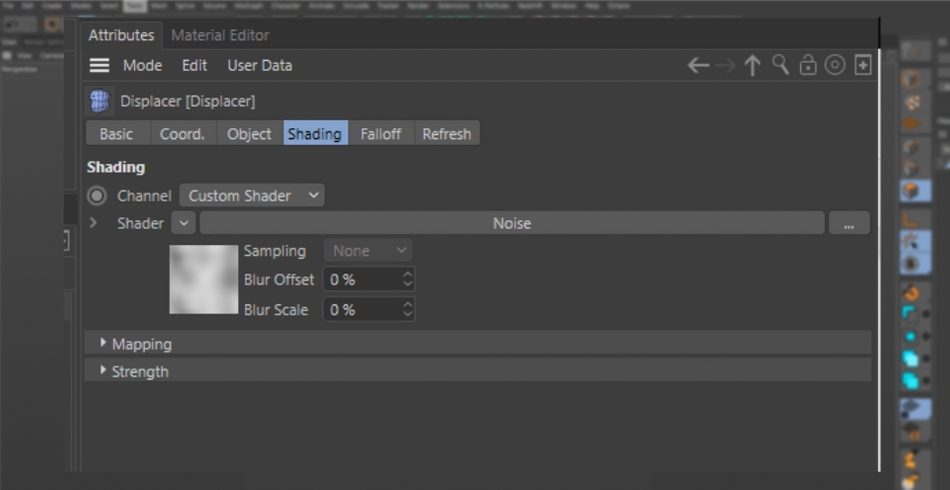
Increase the Height value then go to the Shading tab. Drop in a Noise.
Right away, you’ll see that the plane is now being displaced.
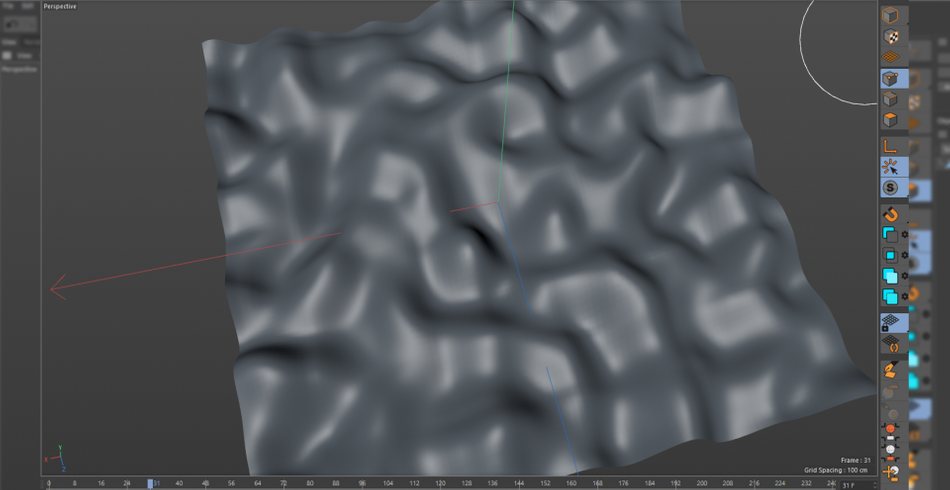
Last thing, go to Fields on your Displacer. In the Field box, drop in the Vertex Map tag.
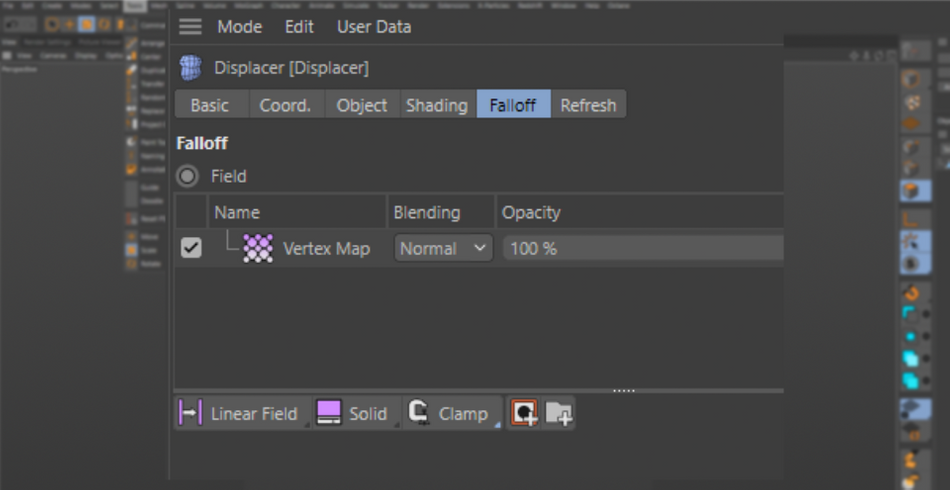
Immediately, you should see that the Displacer is restricted to the areas you painted!
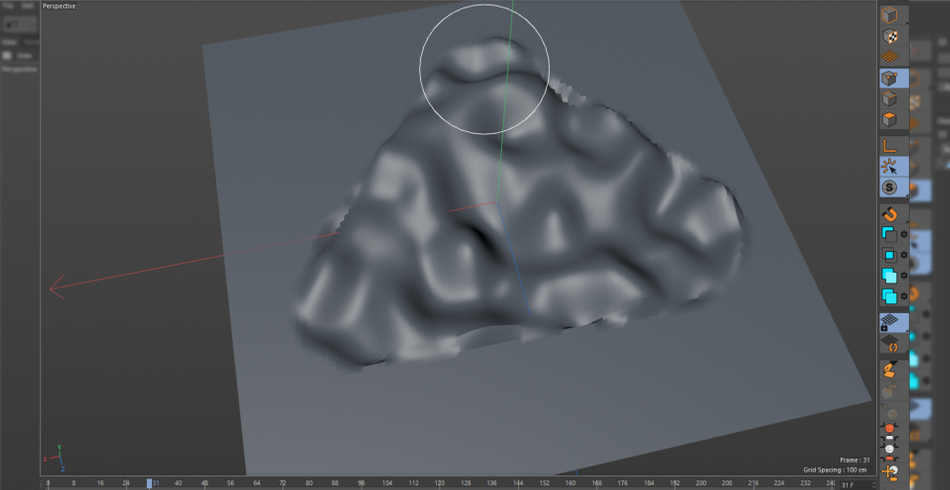
This ability to hand paint where you want to affect an object is INVALUEABLE in art directing your shot. But keep in mind, this is scratching the surface of what a Vertex Map can do. Definitely explore the possibilities!
How to use the Naming tool in Cinema 4D
Be honest, how many projects of yours have dozens of cubes named “Cube.1?” Or Cloners all named “Cloner?” Probably quite a bit if we are honest with ourselves.
While it may not seem like a huge deal to have everything named in a relatively simple scene, this does become an exponential problem as your project scales up. The last thing you ever want to do is hand over a messy project to another artist—or even worse, a Creative Director at your favorite shop in town. An organized project file is a surefire way to be recognized and appreciated by your peers.

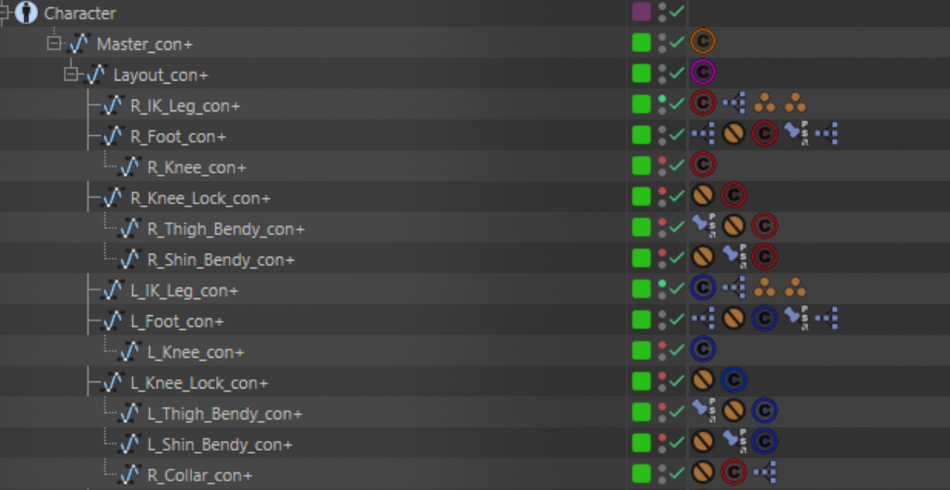
The Naming Tool is a great tool for cleaning up files by renaming mass selections of objects. Or if you are getting into Character animation, this tool is amazing for naming your Joints into a standardized format.
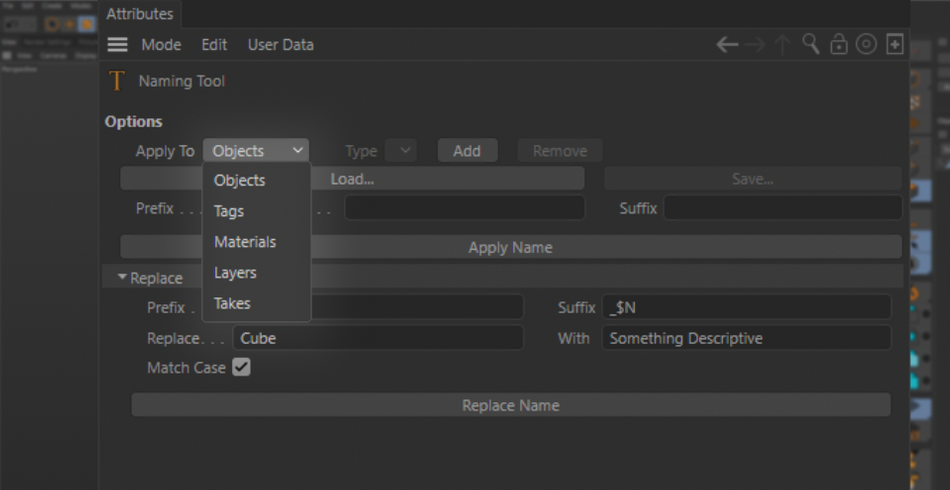
Simply select all of the objects you need to rename. In the “Replace” tab, you can set a Prefix (say “Hero” for your main objects) and a Suffix (use $N to have them be numbered). You can also replace the word “Cube” with something more descriptive or useful.
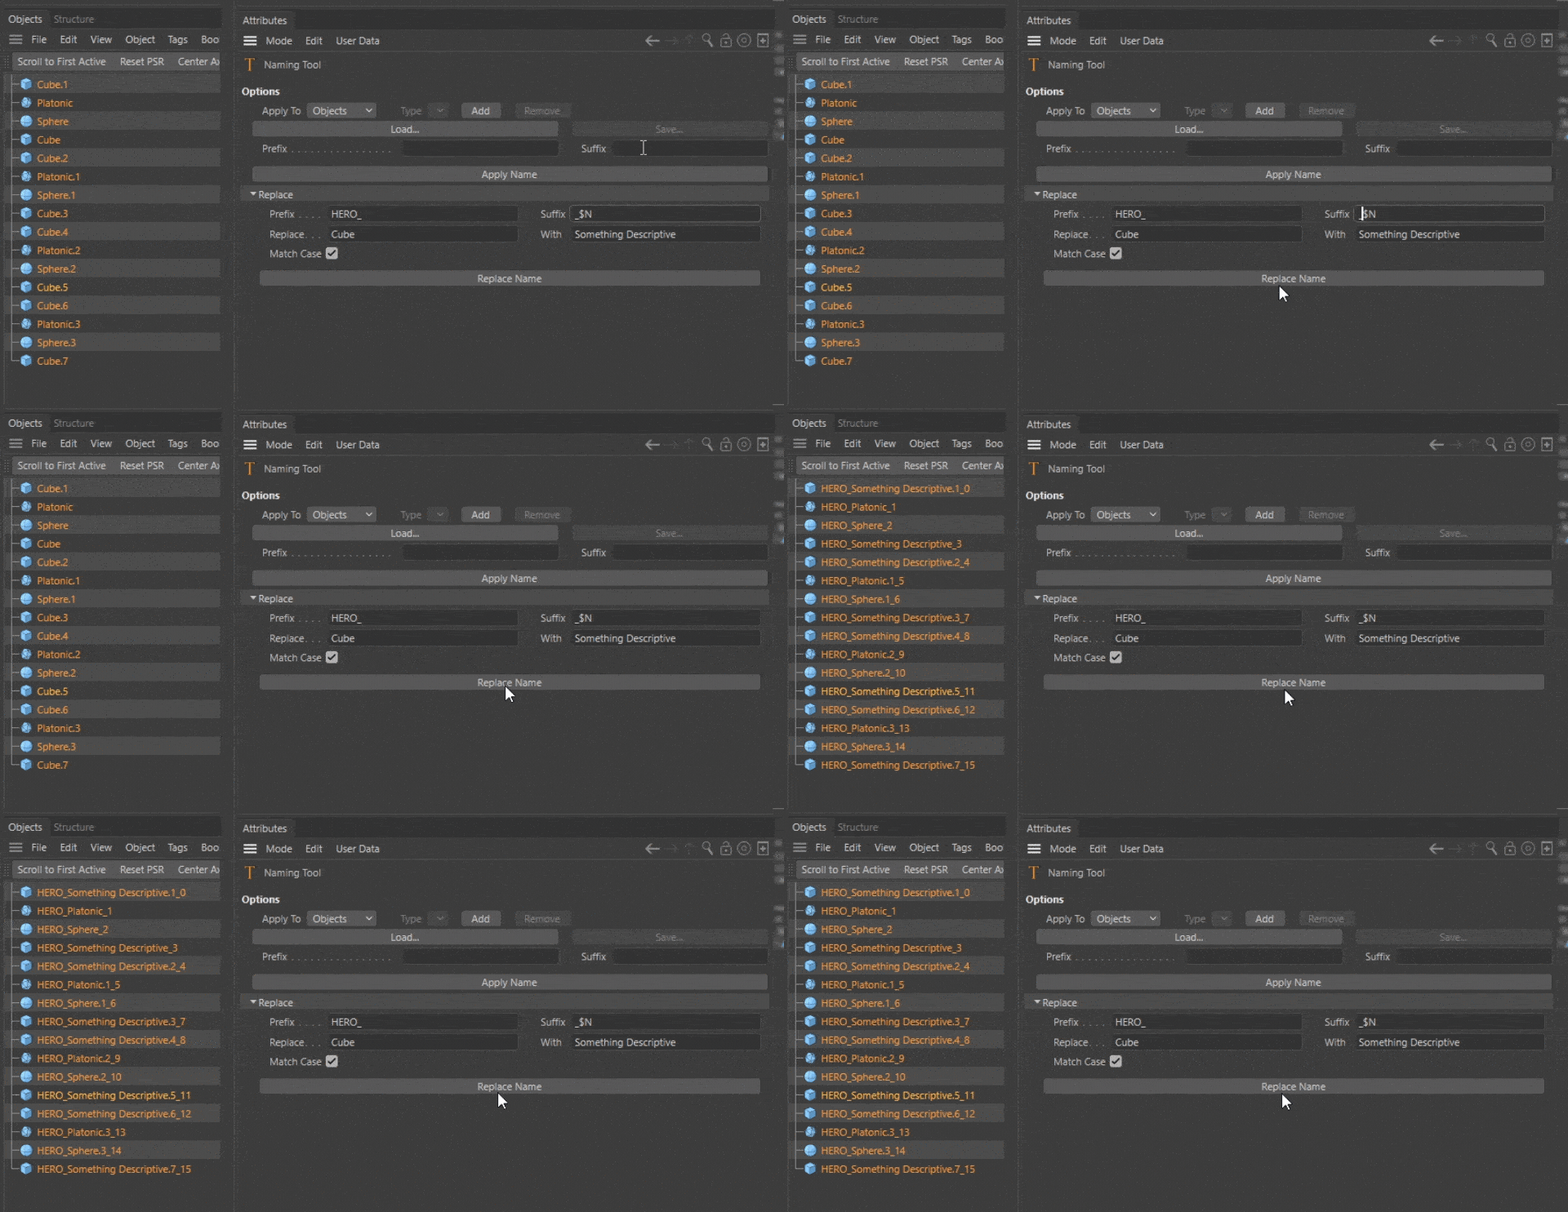
This not only works for objects, but it works for Materials, Layers, Tags, and Takes. Every possible thing that could have messy naming conventions can be fixed with this awesome tool.
Look at you!
Now that you have been introduced to these tools, make sure to add these to your utility belt.

Not only does the Commander allow you to work faster, and the Vertex Map allow you to art direct your shot like crazy, but maintaining a clean, organized, and properly named project file is a surefire way to distinguish yourself from the rest of the pack. If you want to be hired and re-hired at your favorite studios, an organized project file is one of the best ways to present yourself as a professional. Don't sleep on these tools or clients will sleep on you!
Cinema 4D Basecamp
If you're looking to get the most out of Cinema4D, maybe it's time to take a more proactive step in your professional development. That's why we put together Cinema 4D Basecamp, a course designed to get you from zero to hero in 12 weeks.
And if you think you're ready for the next level in 3D development, check out our all new course, Cinema 4D Ascent!
ENROLL NOW!
Acidbite ➔
50% off everything

ActionVFX ➔
30% off all plans and credit packs - starts 11/26

Adobe ➔
50% off all apps and plans through 11/29

aescripts ➔
25% off everything through 12/6
Affinity ➔
50% off all products

Battleaxe ➔
30% off from 11/29-12/7
Boom Library ➔
30% off Boom One, their 48,000+ file audio library
BorisFX ➔
25% off everything, 11/25-12/1

Cavalry ➔
33% off pro subscriptions (11/29 - 12/4)

FXFactory ➔
25% off with code BLACKFRIDAY until 12/3

Goodboyninja ➔
20% off everything

Happy Editing ➔
50% off with code BLACKFRIDAY

Huion ➔
Up to 50% off affordable, high-quality pen display tablets

Insydium ➔
50% off through 12/4
JangaFX ➔
30% off an indie annual license
Kitbash 3D ➔
$200 off Cargo Pro, their entire library
Knights of the Editing Table ➔
Up to 20% off Premiere Pro Extensions
Maxon ➔
25% off Maxon One, ZBrush, & Redshift - Annual Subscriptions (11/29 - 12/8)
Mode Designs ➔
Deals on premium keyboards and accessories
Motion Array ➔
10% off the Everything plan
Motion Hatch ➔
Perfect Your Pricing Toolkit - 50% off (11/29 - 12/2)

MotionVFX ➔
30% off Design/CineStudio, and PPro Resolve packs with code: BW30

Rocket Lasso ➔
50% off all plug-ins (11/29 - 12/2)

Rokoko ➔
45% off the indie creator bundle with code: RKK_SchoolOfMotion (revenue must be under $100K a year)

Shapefest ➔
80% off a Shapefest Pro annual subscription for life (11/29 - 12/2)

The Pixel Lab ➔
30% off everything
Toolfarm ➔
Various plugins and tools on sale

True Grit Texture ➔
50-70% off (starts Wednesday, runs for about a week)

Vincent Schwenk ➔
50% discount with code RENDERSALE

Wacom ➔
Up to $120 off new tablets + deals on refurbished items


All-Access Pass

Unlimited access to 50+ courses, unlimited critique, live events, and 24/7 community. Join School of Motion All-Access today.
