
All-Access Pass
Unlimited access to 50+ courses, unlimited critique, live events, and 24/7 community. Join School of Motion All-Access today.

Cinema 4D is an essential tool for any Motion Designer, but how well do you really know it?
How often do you use the top menu tabs in Cinema 4D? Chances are, you probably have a handful of tools you use, but what about those random features you haven’t tried yet? We're taking a look at the hidden gems in the top menus, and we're just getting started.

In this tutorial, we’ll be doing a deep dive on the Animate tab. We’re going to look at all the ways you can create animations, as well as some tips on reusing your animations as motion clips.
These tools work with the Timeline, which you have to access using the Window menu. Go to Window→ F Curve Editor to activate the timeline.
Let’s get animated
Here are the 3 main things you should use in the Cinema 4D Animate menu:
- Make Preview
- Record
- Add Motion Clip
Make Preview in the C4D Animate Menu
Have you ever needed to render a quick preview of your scene? Maybe you needed to show your client the animation so far. In all likelihood, you probably went into your render settings, set it to Viewport Render, then set it to fire off a preview render.
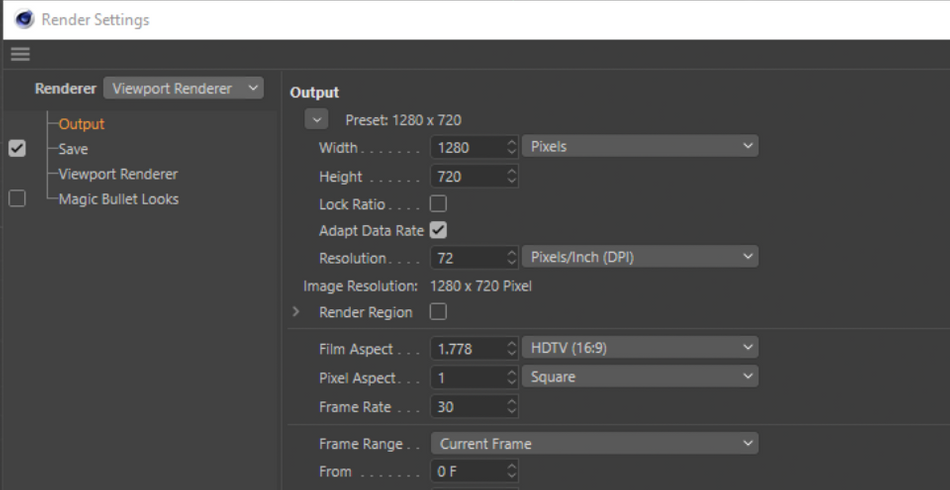
But this opens a lot of user errors. Maybe you forgot to create a new Render Setting and instead adjusted your current setting. Maybe you did create the new setting, but then you forgot to set it to active, so Cinema 4D is rendering at your final settings. Now you have to stop the render and activate the correct setting.

It can be a lot of headaches doing it this way. Thankfully, there’s a solution that requires a single button press to get it going and cuts all of the potential pitfalls without touching your render settings.
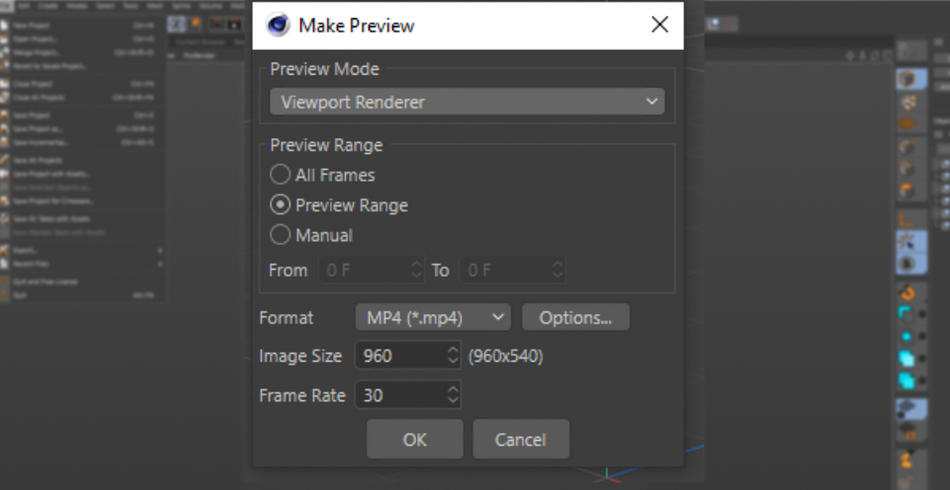
Select what preview mode you want to use, specify the frame range, format, resolution, and frame rate, and you’re off to preview heaven.

Record in the C4D Animate Menu
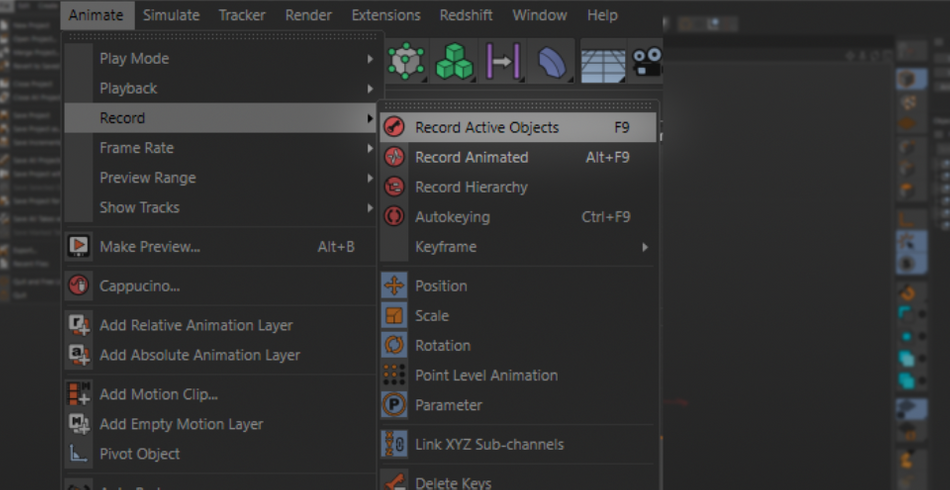
When it comes to animating, you’re going to be working with key frames. These are primarily created by the “Record Active Objects” option.
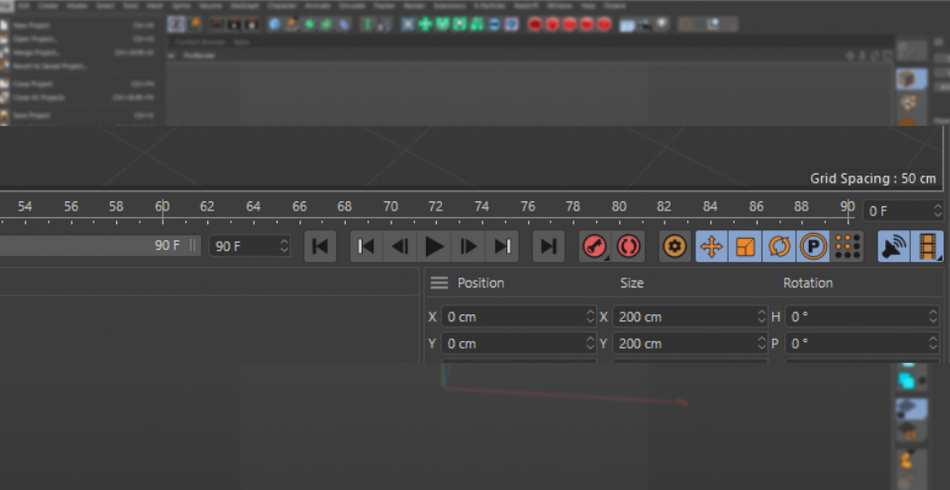
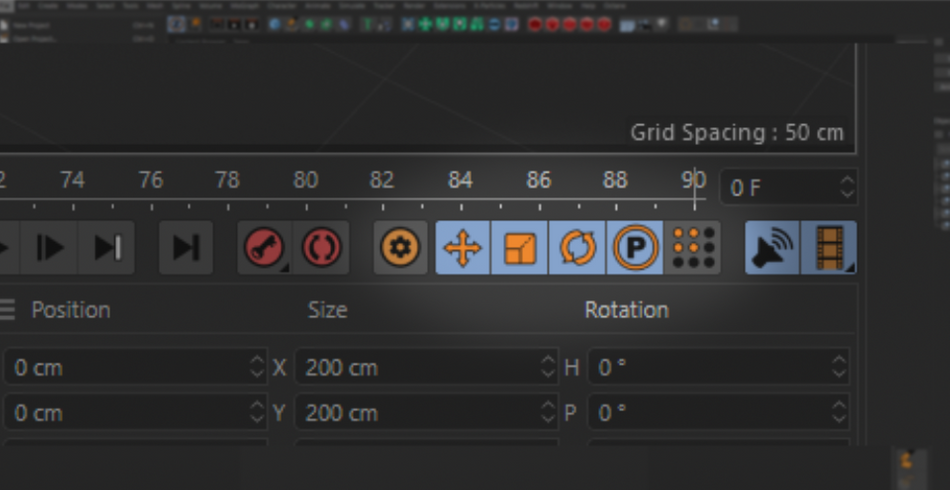
Most of these options are already in your UI by way of the animation bar at the bottom of your viewport—which, by the way, is adorably called the “Power Bar”.
So let’s cover what these do, aside from making keyframes. By default, your record option sets keyframes for your object’s Position, Rotation, and Scale. So each time you press record, it will create 3 keyframes, one for each of those parameters.
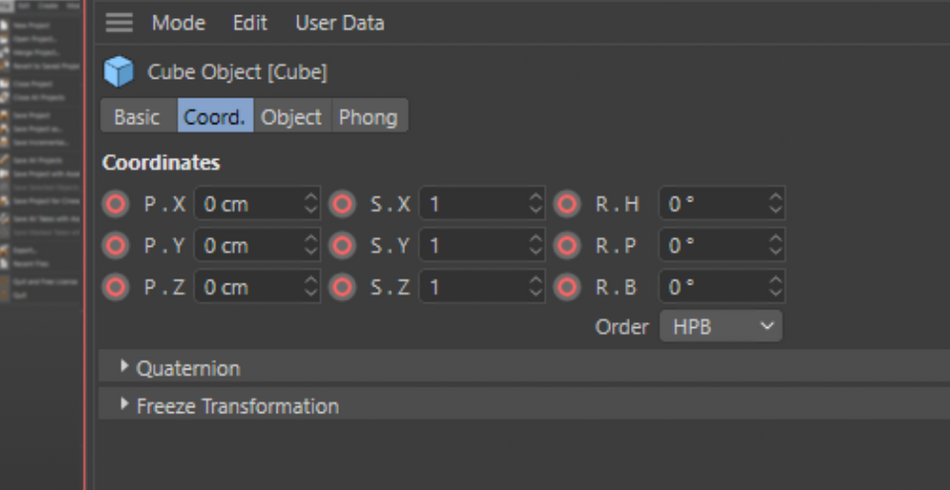
It’s a good idea to select the parameters that you need or you will spend a lot of time cleaning up the extra keyframes later. You can do this by clicking on the Position, Rotation, and Scale buttons. This will toggle them on or off.
While you are doing this, you may have noticed that there’s already one deactivated by default called Point Level Animation, or PLA. This one is very interesting because, with this active, you can actually animate individual points of your object!

Keep in mind that if you decide to use PLA, your keyframes control ALL of your points. There aren't any keyframes for individual points. So, it’s all or nothing with this one. It may not seem like a big deal, but let's say you already made 50 keyframes in PLA and now you need to adjust the animation of a completely new point. You will need to go through all 50 keyframes and adjust that point each time because it will revert to its original position in all 50 keyframes.

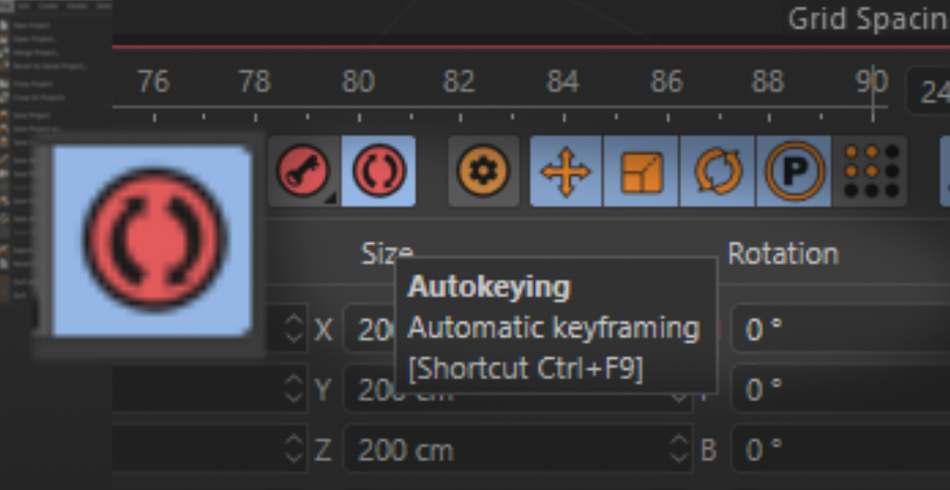
Now let's look at the Autokeying button. Activating this will automatically create keyframes whenever you adjust any of the objects. This is a great way to block in your animation before finessing the F curves in your timeline.
Add Motion Clip in the C4D Animate Menu
Do you have a cool animation and would like to reuse it for another object? Cinema 4D’s motion system allows you to do just that. Select the object you want to turn into a repeatable animation and create the motion clip.
Think of Motion Clips as footage in an editing program such as Premiere. You have a timeline and source animations. You can simply lay them down like they are footage and even “cross dissolve” between clips to combine multiple animations together.

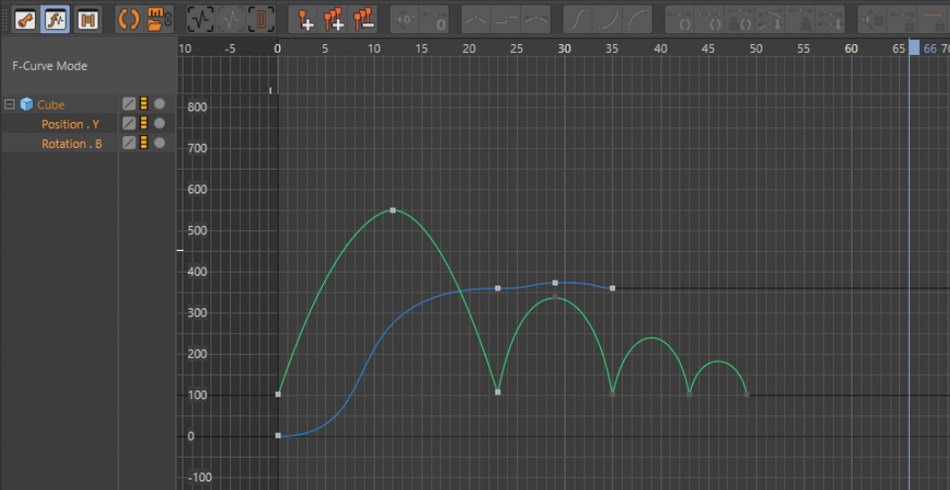
Let’s take this animated cube for example. It spins and then hops into the air before bouncing to a stop.
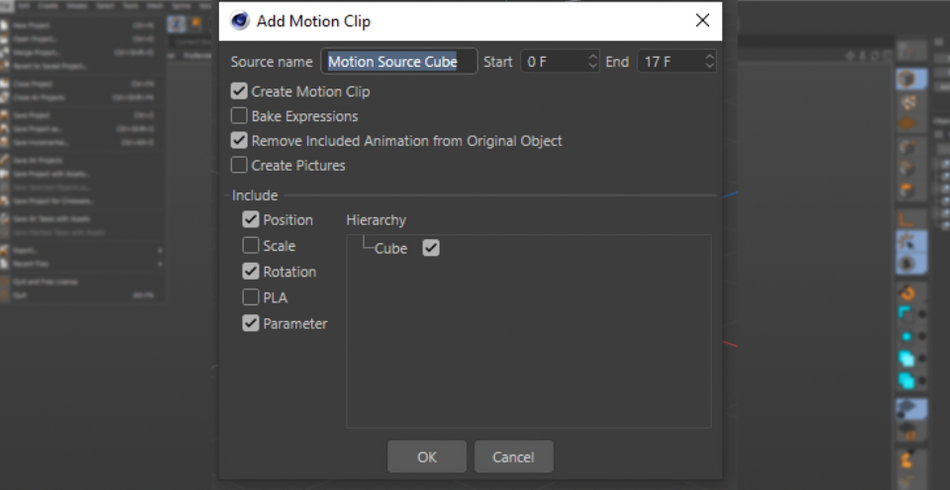
Click on the cube, go to Animate→ Add Motion Clip. A dialogue box will appear asking which of the keyframes you wish to save. Select the properties that you used and hit OK.
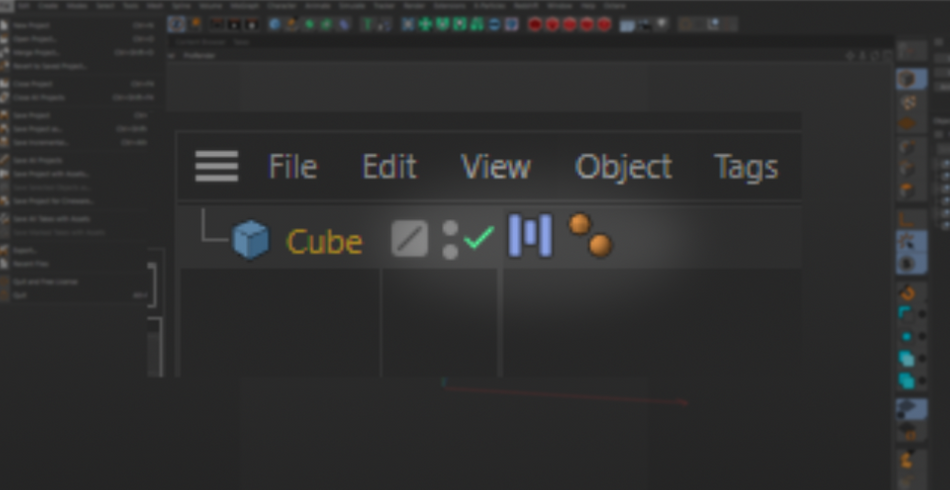
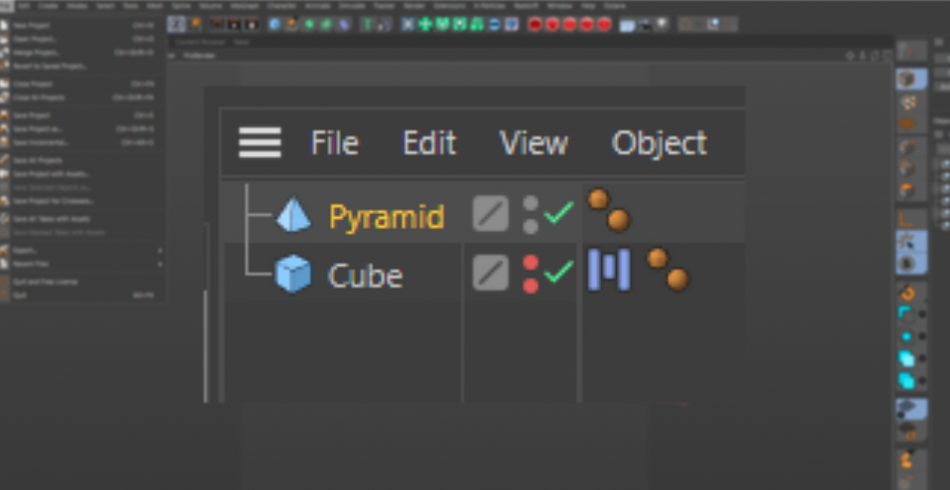
Now you’ll notice that the Cube has a tag with 3 bars. This indicates that it is being controlled by the Motion Clip timeline.
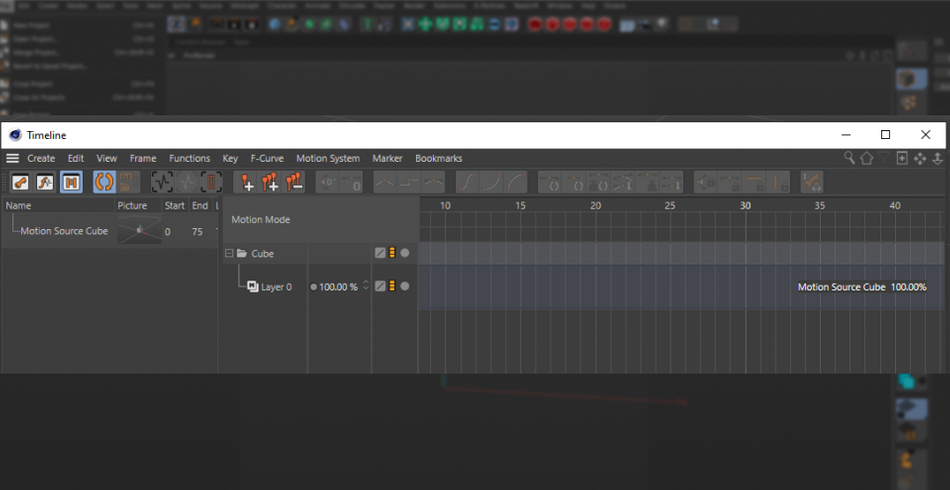
If you have your Timeline open, click on the icon that looks like the 3 bar tag on the Cube. This will open your Motion Clip editor. As you can see, the Cube is already set as the Object and there’s a clip in the timeline.
Okay, now let’s create a Pyramid. Let’s apply that same animation to it by using the Motion Clips. First, hide the Cube by holding down Alt and double clicking the “Traffic Lights” for the Cube until they are red.
Click and shift+drag the Pyramid to the Motion Clip editor where it says “Motion Mode”.

Now, let’s look at the panel to the left. This is where all of the Motion Clips are saved as “footage”. Click and drag the Motion Clip into the timeline for the Pyramid. Make sure you place it on where it says “Layer 0”.

Now that you have the Motion Clip in place, press play and see your Pyramid animate in exactly the same way as the Cube!
What’s even better about this is that if you click on the Motion Clip in the timeline, you now have the option to click and drag on the corner of the clip. Slide it to the left and you speed up the animation.
Slide it to the right and it slows down.
You’re not limited to the original speed, you can adjust as necessary without touching the keyframes!
.gif)
To take it a step further, animate another object in your scene and save that new animation as another Motion Clip.

Now, drag that new clip into the Layer 0 for the Pyramid. You now have the option to cross dissolve the animations into each other. Pretty neat.
Now, this is a pretty simple example. But this system is capable of storing animations for characters as well. It’s pretty common to see Mixamo animations used in this way. They combine to create even more complex character animations.
x
Don't overlook this feature. It’s seriously one of the most powerful animation tools in your belt!

Look at you!
Cinema 4D was built with motion designers in mind. Animation is one of our super powers, so don't forget to dive deep into this menu and learn how you can leverage its power for your own! The Motion Clip system alone allows you to create a library of animations that can be blended together with other clips. This can help boost your productivity and efficiency on every future project!
Cinema 4D Basecamp
If you're looking to get the most out of Cinema 4D, maybe it's time to take a more proactive step in your professional development. That's why we put together Cinema 4D Basecamp, a course designed to get you from zero to hero in 12 weeks.
And if you think you're ready for the next level in 3D development, check out our all new course, Cinema 4D Ascent!
ENROLL NOW!
Acidbite ➔
50% off everything

ActionVFX ➔
30% off all plans and credit packs - starts 11/26

Adobe ➔
50% off all apps and plans through 11/29

aescripts ➔
25% off everything through 12/6
Affinity ➔
50% off all products

Battleaxe ➔
30% off from 11/29-12/7
Boom Library ➔
30% off Boom One, their 48,000+ file audio library
BorisFX ➔
25% off everything, 11/25-12/1

Cavalry ➔
33% off pro subscriptions (11/29 - 12/4)

FXFactory ➔
25% off with code BLACKFRIDAY until 12/3

Goodboyninja ➔
20% off everything

Happy Editing ➔
50% off with code BLACKFRIDAY

Huion ➔
Up to 50% off affordable, high-quality pen display tablets

Insydium ➔
50% off through 12/4
JangaFX ➔
30% off an indie annual license
Kitbash 3D ➔
$200 off Cargo Pro, their entire library
Knights of the Editing Table ➔
Up to 20% off Premiere Pro Extensions
Maxon ➔
25% off Maxon One, ZBrush, & Redshift - Annual Subscriptions (11/29 - 12/8)
Mode Designs ➔
Deals on premium keyboards and accessories
Motion Array ➔
10% off the Everything plan
Motion Hatch ➔
Perfect Your Pricing Toolkit - 50% off (11/29 - 12/2)

MotionVFX ➔
30% off Design/CineStudio, and PPro Resolve packs with code: BW30

Rocket Lasso ➔
50% off all plug-ins (11/29 - 12/2)

Rokoko ➔
45% off the indie creator bundle with code: RKK_SchoolOfMotion (revenue must be under $100K a year)

Shapefest ➔
80% off a Shapefest Pro annual subscription for life (11/29 - 12/2)

The Pixel Lab ➔
30% off everything
Toolfarm ➔
Various plugins and tools on sale

True Grit Texture ➔
50-70% off (starts Wednesday, runs for about a week)

Vincent Schwenk ➔
50% discount with code RENDERSALE

Wacom ➔
Up to $120 off new tablets + deals on refurbished items


All-Access Pass
Unlimited access to 50+ courses, unlimited critique, live events, and 24/7 community. Join School of Motion All-Access today.