
All-Access Pass
Unlimited access to 50+ courses, unlimited critique, live events, and 24/7 community. Join School of Motion All-Access today.

Cinema 4D is an essential tool for any Motion Designer, but how well do you really know it?
How often do you use the top menu tabs in Cinema 4D? Chances are, you probably have a handful of tools you use, but what about those random features you haven’t tried yet? We're taking a look at the hidden gems in the top menus, and we're just getting started.
In this tutorial, we’ll be doing a deep dive on the Spline tab. We’ll look at how to best create splines and how to adjust them. There’s also some tips on making abstract splines. Let’s dig in!
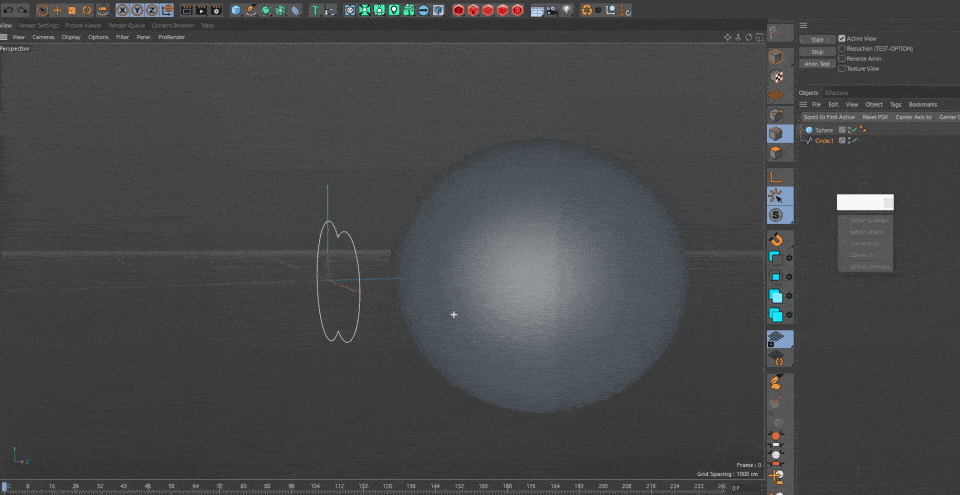
Feel that excitement running up your spline?
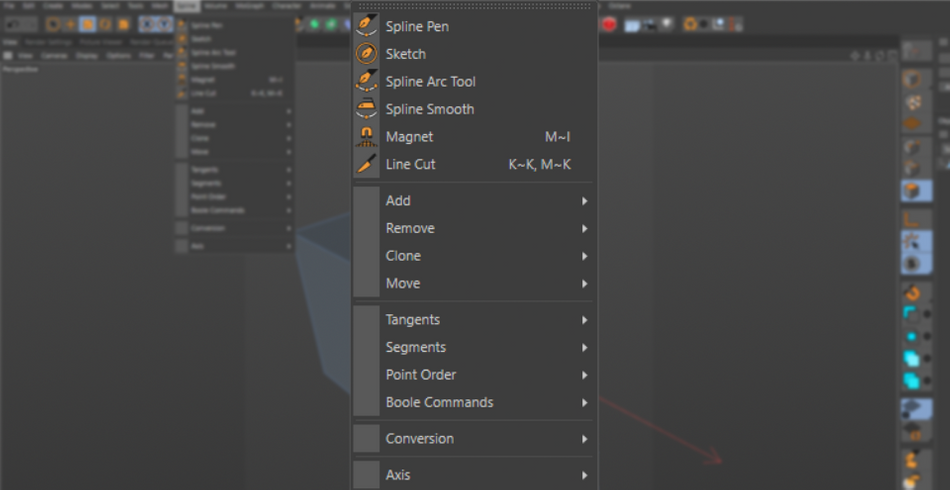
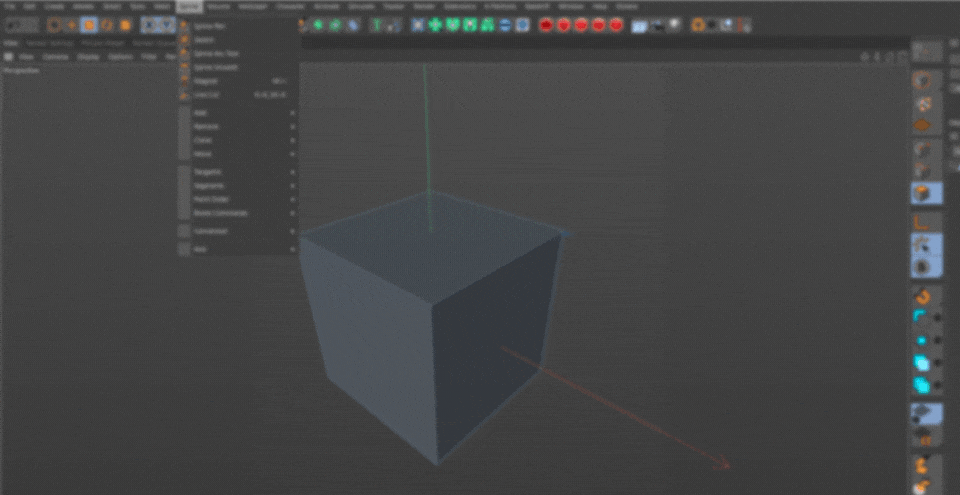
Here are the 3 main things you should use in the Cinema 4D Spline menu:
- Spline Pen
- Create Outline
- Spline Smooth
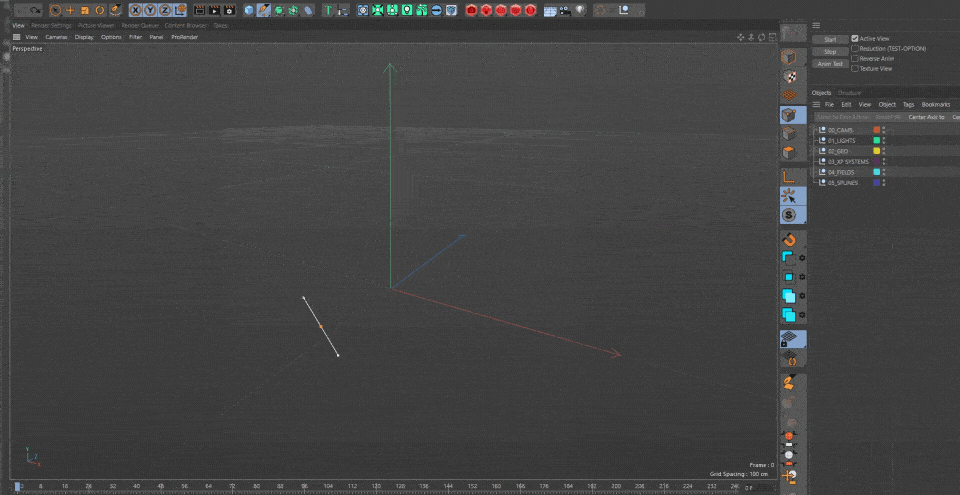
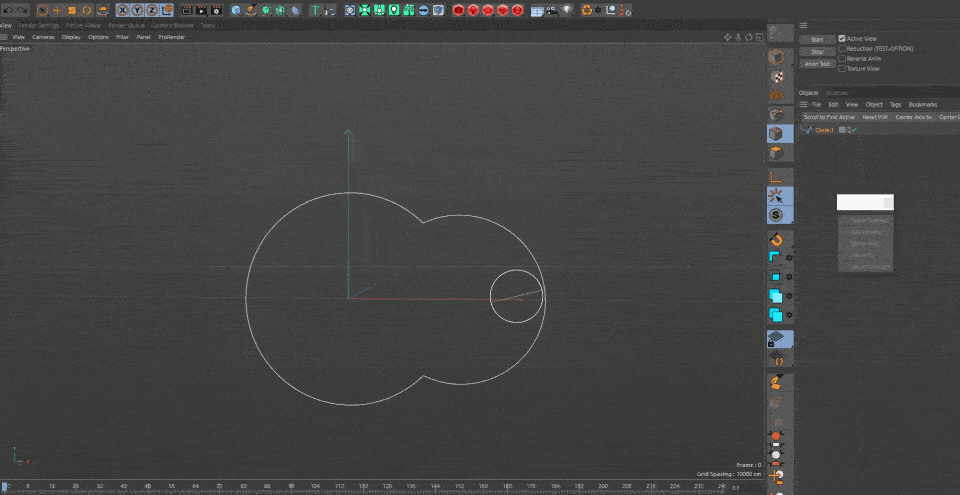
How to use the Spline Pen in Cinema 4D
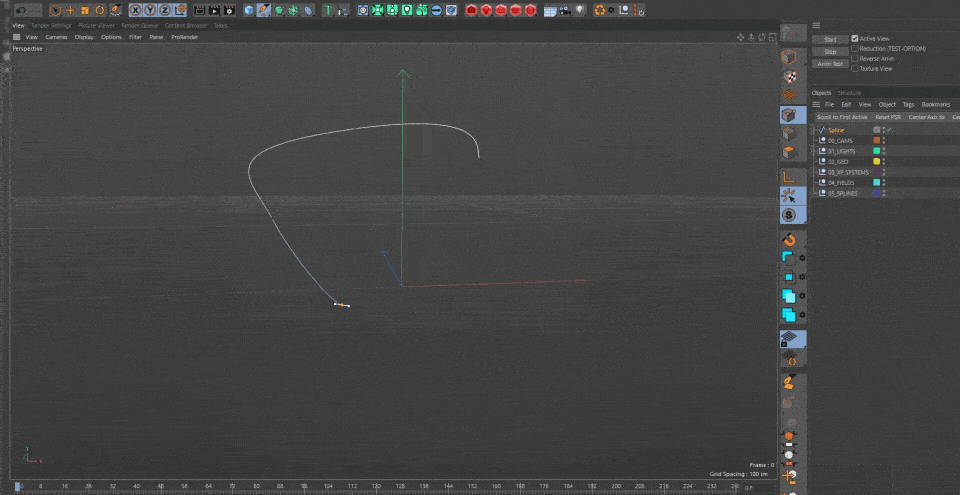
This should be your weapon of choice when making splines. Similar to Adobe Illustrator or After Effects, this pen has many of the same capabilities, with the exception that it works in 3D.
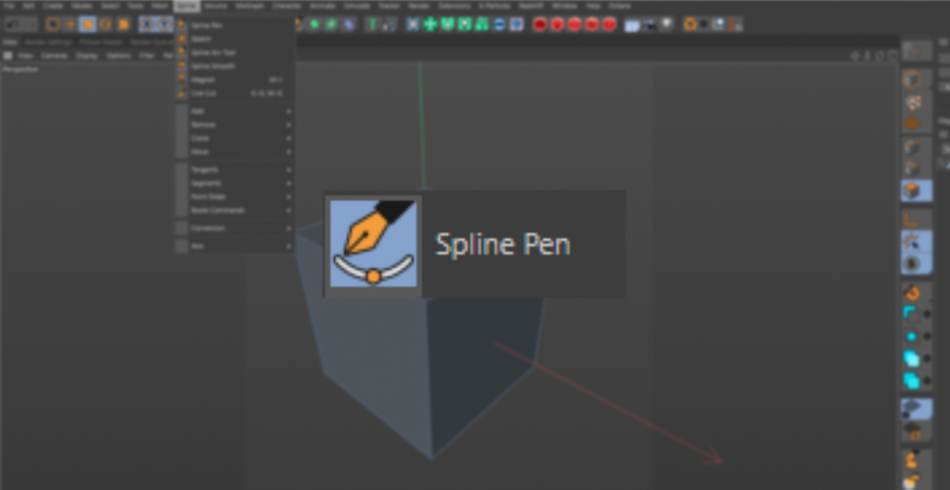
When drawing a spline, clicking and holding will allow you to adjust the tangents to adjust the curve. Make sure it’s set to any of the Spline Types aside from Linear.
Activate “Edit Tangents Mode” if you want to adjust the points of the spline while the Pen is active, otherwise you’ll want to adjust your points using the Magnet tool (also in the Spline menu)
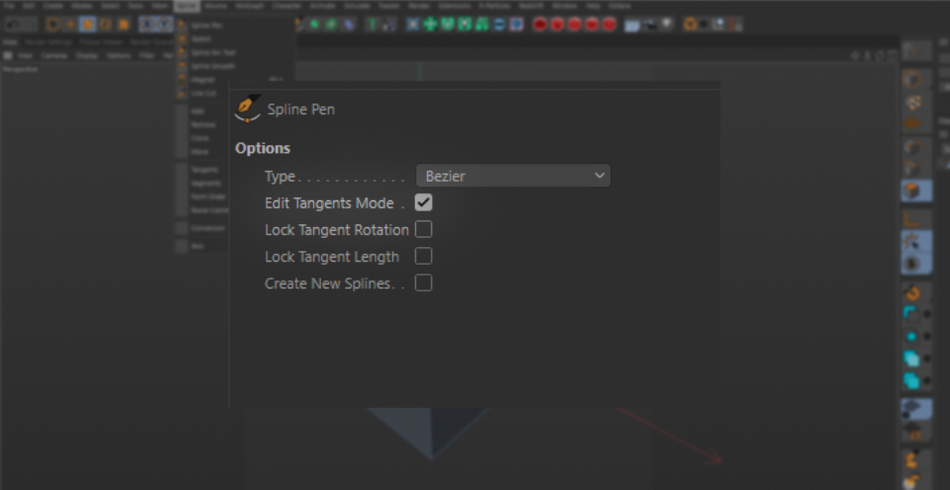
It’s highly recommended you use this tool while using your Orthographic 4-up view, otherwise you will get very strange looking splines if you draw directly in your viewport.
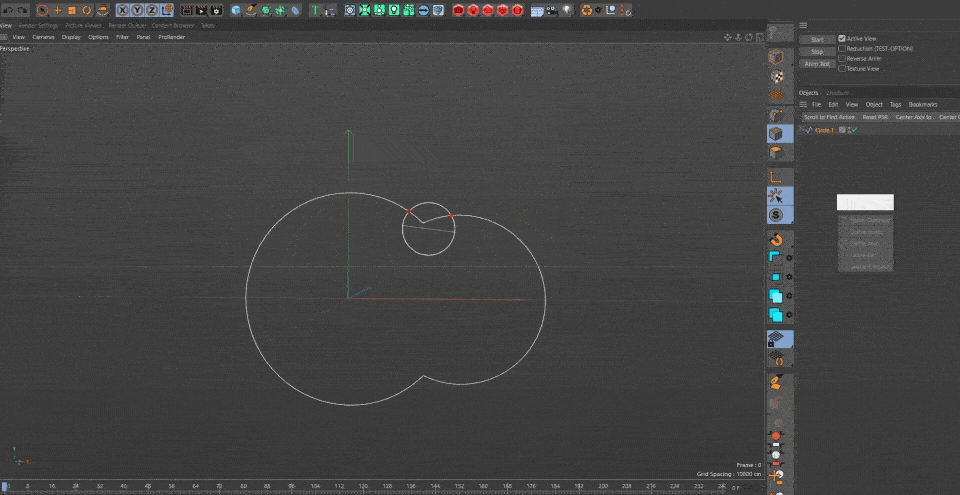
How to use the Create Outline tool with Cinema 4D
This one is pretty straight forward. Think of this as the Offset Path option in Illustrator. It makes a copy of your spline and scales it proportionately.
This is very useful for adding thickness to existing lines. Highly effective when combined with an Extrude object.
Select “create new spline” if you want to create a separate spline from the original.

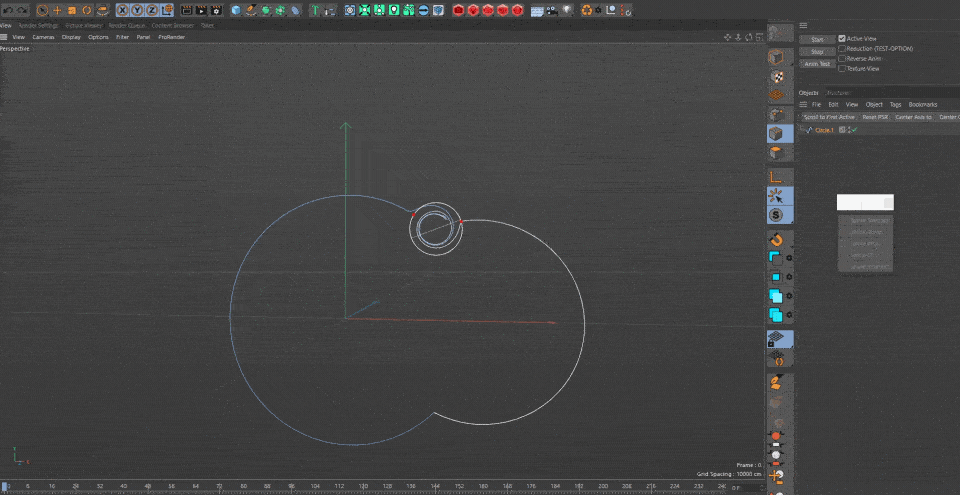
How to use the Spline Smooth tool in Cinema 4D
Have your spline drawn but need to clean them up a bit? Adjusting each point’s tangent is no fun at all.

With the Spline Smooth tool, all you have to do is activate it and run the tool over your existing spline. It’ll smooth it out pretty aggressively, so you may want to tune the settings.

And speaking of settings, there’s a whole lotta them here aside from the smoothing capabilities.
Flatten does what it’s name says: it flattens any curvy bits.
Random is really interesting. It adds turbulence to the line, creating random waves.
Pull works by “pinching” part of the spline and then pulling it. Looks very similar to the “liquify” effect in Photoshop.
Spiral is pretty self explanatory: it twists the spline in a spiral motion. A positive value rotates it to the right while a negative value rotates it to the left.
Inflate is also pretty straightforward: a positive value causes the spline to look like a balloon is inflating from it. A negative value deflates and creates interesting pinching effects. Be careful, too much deflating will cause the spline to bunch as an incomprehensible mess into a single point.
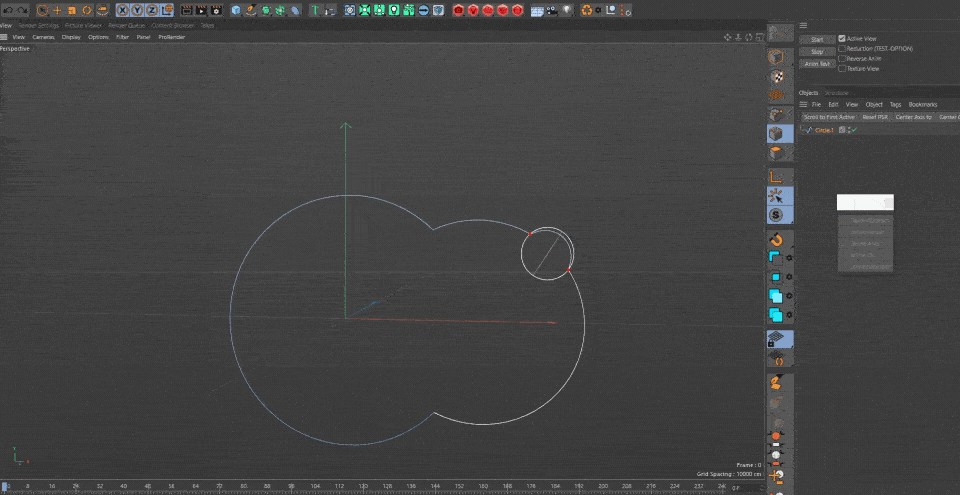
Project is very similar to Camera projection. Anything you brush over will be projected onto any object behind it. It’s based on your camera’s point of view. so move the camera around if you want to give your spline a more interesting path.
If you havent already noticed, you can set these settings to work at the same time, so play with the sliders to create your own spline smoothing setup. Be careful setting all of them to 100% as some of the settings will counteract each other. This can cause stuttering in your viewport.

Look at you!
Splines may be a little tricky at first. But once you wrangle the tools, you can create really abstract and interesting results. Also, keep in mind that Splines are not exclusively for extrudes, sweeps, and logos—splines are great for camera paths and aligning objects to them. Go wild!

Cinema 4D Basecamp
If you're looking to get the most out of Cinema 4D, maybe it's time to take a more proactive step in your professional development. That's why we put together Cinema 4D Basecamp, a course designed to get you from zero to hero in 12 weeks.
And if you think you're ready for the next level in 3D development, check out our all new course, Cinema 4D Ascent!
ENROLL NOW!
Acidbite ➔
50% off everything

ActionVFX ➔
30% off all plans and credit packs - starts 11/26

Adobe ➔
50% off all apps and plans through 11/29

aescripts ➔
25% off everything through 12/6
Affinity ➔
50% off all products

Battleaxe ➔
30% off from 11/29-12/7
Boom Library ➔
30% off Boom One, their 48,000+ file audio library
BorisFX ➔
25% off everything, 11/25-12/1

Cavalry ➔
33% off pro subscriptions (11/29 - 12/4)

FXFactory ➔
25% off with code BLACKFRIDAY until 12/3

Goodboyninja ➔
20% off everything

Happy Editing ➔
50% off with code BLACKFRIDAY

Huion ➔
Up to 50% off affordable, high-quality pen display tablets

Insydium ➔
50% off through 12/4
JangaFX ➔
30% off an indie annual license
Kitbash 3D ➔
$200 off Cargo Pro, their entire library
Knights of the Editing Table ➔
Up to 20% off Premiere Pro Extensions
Maxon ➔
25% off Maxon One, ZBrush, & Redshift - Annual Subscriptions (11/29 - 12/8)
Mode Designs ➔
Deals on premium keyboards and accessories
Motion Array ➔
10% off the Everything plan
Motion Hatch ➔
Perfect Your Pricing Toolkit - 50% off (11/29 - 12/2)

MotionVFX ➔
30% off Design/CineStudio, and PPro Resolve packs with code: BW30

Rocket Lasso ➔
50% off all plug-ins (11/29 - 12/2)

Rokoko ➔
45% off the indie creator bundle with code: RKK_SchoolOfMotion (revenue must be under $100K a year)

Shapefest ➔
80% off a Shapefest Pro annual subscription for life (11/29 - 12/2)

The Pixel Lab ➔
30% off everything
Toolfarm ➔
Various plugins and tools on sale

True Grit Texture ➔
50-70% off (starts Wednesday, runs for about a week)

Vincent Schwenk ➔
50% discount with code RENDERSALE

Wacom ➔
Up to $120 off new tablets + deals on refurbished items


All-Access Pass
Unlimited access to 50+ courses, unlimited critique, live events, and 24/7 community. Join School of Motion All-Access today.