
All-Access Pass
Unlimited access to 50+ courses, unlimited critique, live events, and 24/7 community. Join School of Motion All-Access today.

Cinema 4D is an essential tool for any Motion Designer, but how well do you really know it?
How often do you use the top menu tabs in Cinema 4D? Chances are, you probably have a handful of tools you use, but what about those random features you haven’t tried yet? We're taking a look at the hidden gems in the top menus, and we're just getting started.

In our final tutorial, we’ll be doing a deep dive on the Window tab. A lot of these windows are docked in your UI by default. They can also be called up using the nifty Commander. Depending on which layout you are using, some of these will be locked away in the Window menu until needed, as is the case with the F Curve Editor.
We’ll be focusing on windows that, if used, make your life considerably easier. Let's dive in.
Every closed door leads to an open window
Here are the 4 main things you should use in the Cinema 4D Window menu:
- Content Browser
- Save as Default Scene
- New View Panel
- Layer Manager
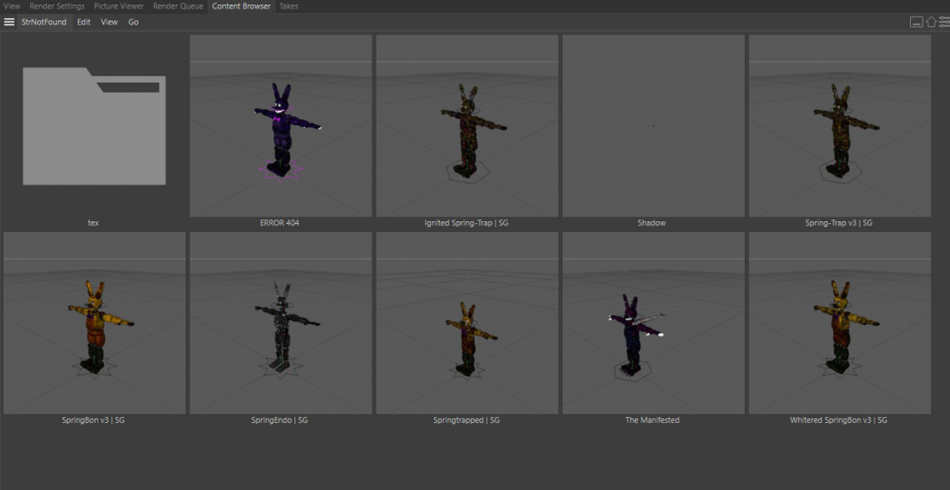
Content Browser in the Cinema 4D Window Menu
This is an integral tool in the Cinema 4D workflow. Not only does it allow you to access presets provided by Maxon, but it also allows you to create your own libraries.
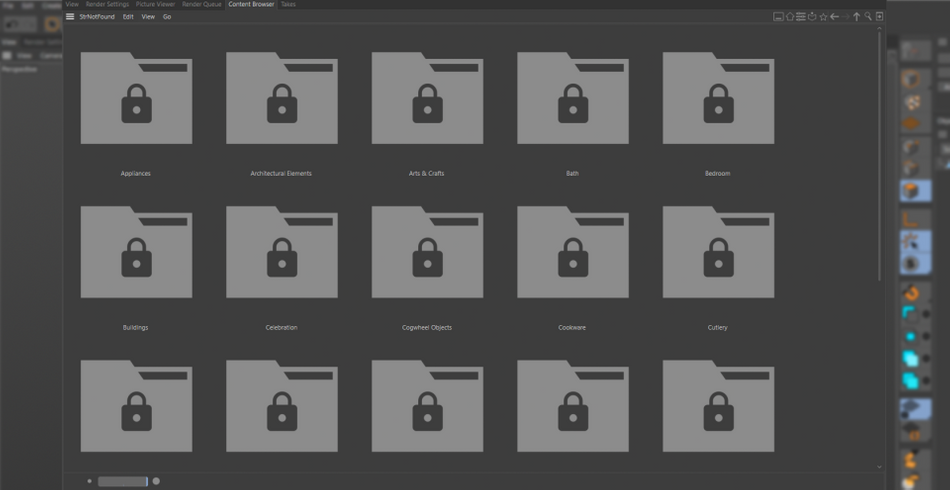
Ever made a really complex material? Drag it into your Content Browser and it’ll save it as a preset. Simply drag it into any future scene already built. You already did the work, now bear the fruits of your labor over and over!
x
This applies to models, Mograph rigs, and even render settings.
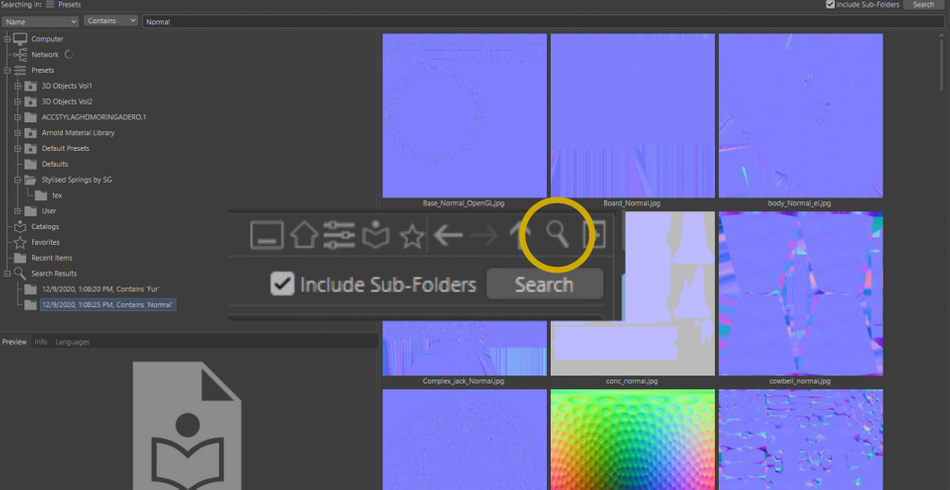
Looking for a specific item but don't know where to find it? Use the built-in search function.
Save as Default Scene in the Cinema 4D Window Menu
This is a simple, but highly useful tool that has been mentioned in the other articles in this series. To save yourself a ton of time, make use of creating a Default Scene.

This is the scene that will open every time you start Cinema 4D.
Do you find yourself having to adjust the Render Settings for every new project? Or is there an organizational structure you prefer to use and find yourself building it every time? This is where Save as Default Scene can help optimize your workflow.
Here are a couple of recommendations for creating a solid default scene:
Set up your preferred Render Settings for render engine, resolution, frame rate, and save location. Ideally, use Tokens in the Save field so Cinema 4D can do the work of creating folders and naming for you.

Create a Null structure for organizing your scenes.
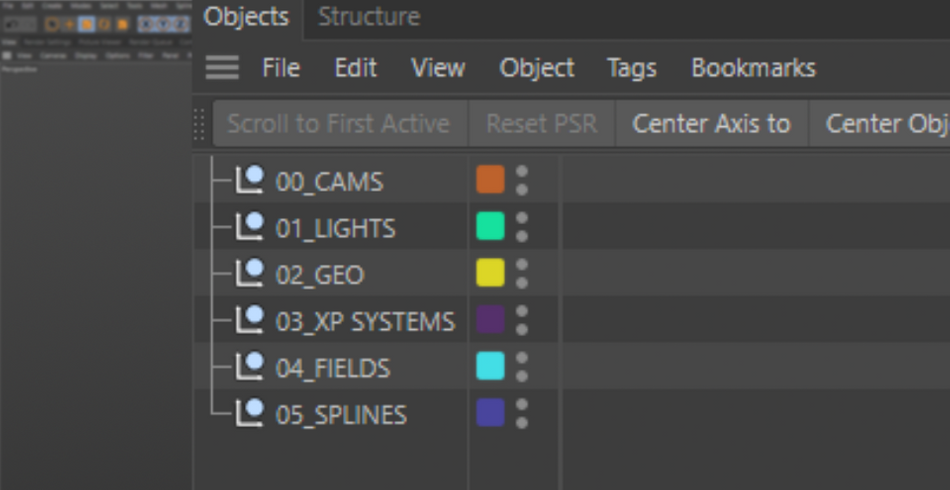
Create Layers in the Layer Manager (more on that below) to coincide with the names of the Nulls.

Take Manager in the Cinema 4D Window Menu
Before Takes were introduced to Cinema 4D, complex scenes with multiple camera angles, render settings, and animations meant that there would need to be multiple projects for those specific variations. And if there was an issue in one that needed to be fixed, it needs to be changed in all of the project files.
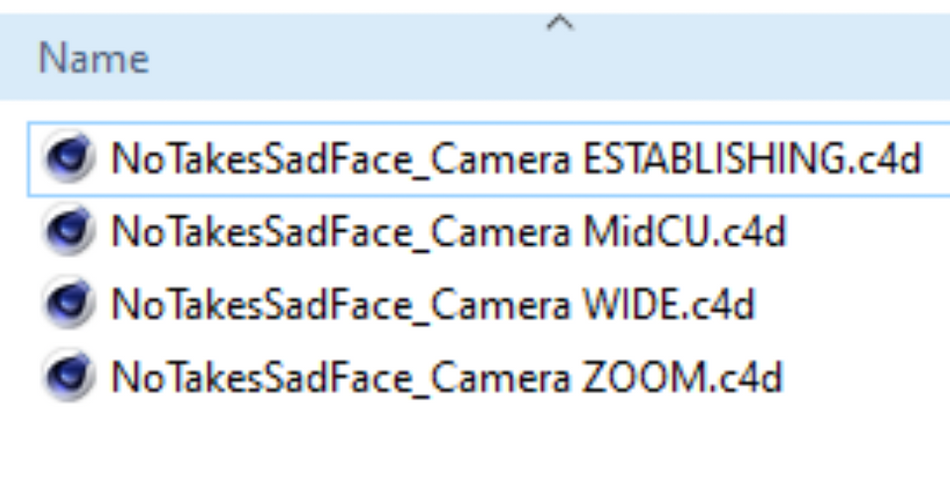
What Takes does is allow for any variations all in a single file.
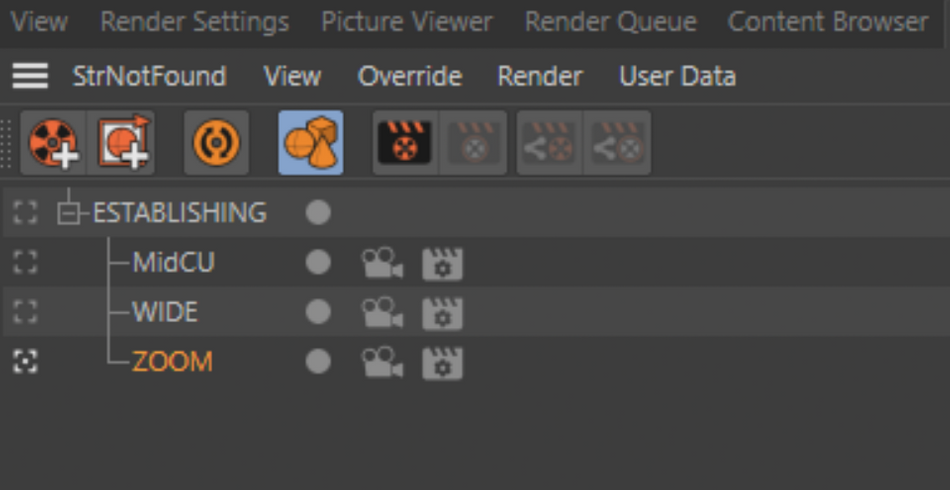
Have multiple cameras and need to render each perspective? And each perspective has a different frame range? Easy enough. Set a Take for each camera, and set the frame ranges for each individually. Then hit Render All Takes and Cinema 4D takes care of the rest for you.
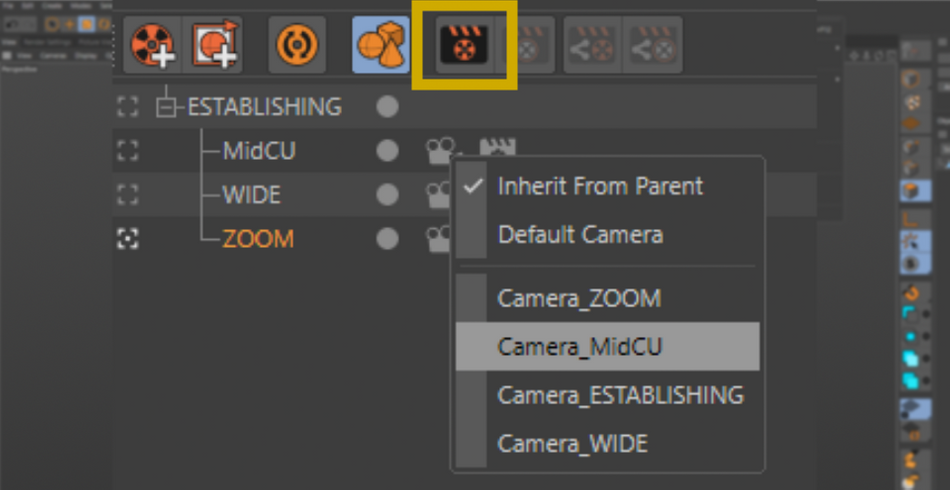
Maybe you need to render your main Beauty Pass in Octane, but you need a few passes that can only be achieved in Standard Render? Set your Main take as your Octane pass, then set your Standard passes as separate takes. Now you have all of the passes you need to make your final shot!

In After Effects terminology, think of these as PreComps and your Render Output settings all rolled into one. Any and all objects can be modified, activated, tweaked, and have their materials changed to provide all of the variations you need.
It is truly one of the most powerful tools for any complex project.
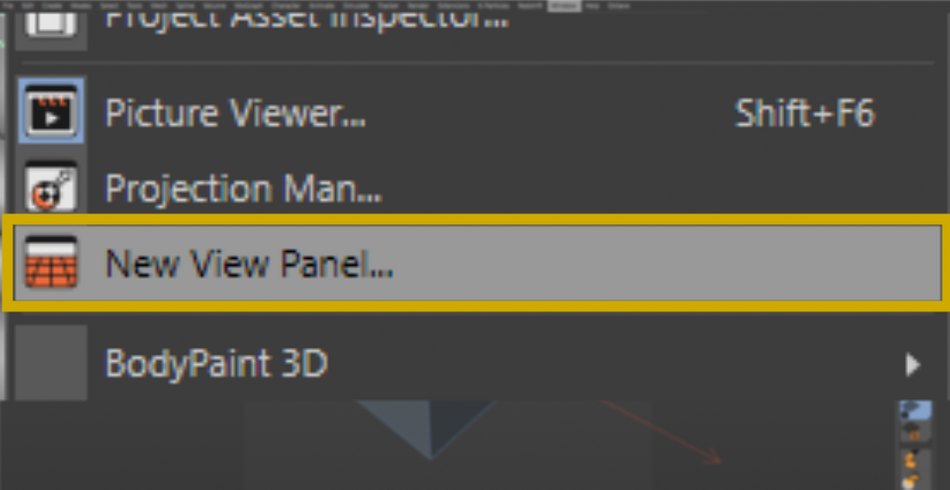
New View Panel in the Cinema 4D Window Menu
We all know of the 4-up view in Cinema 4D. You’ve probably activated it by accident by pressing the middle mouse button.
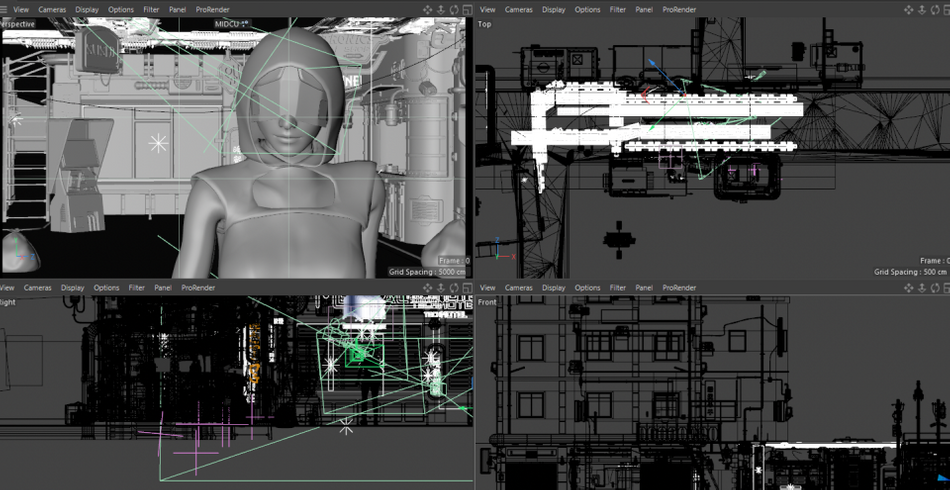
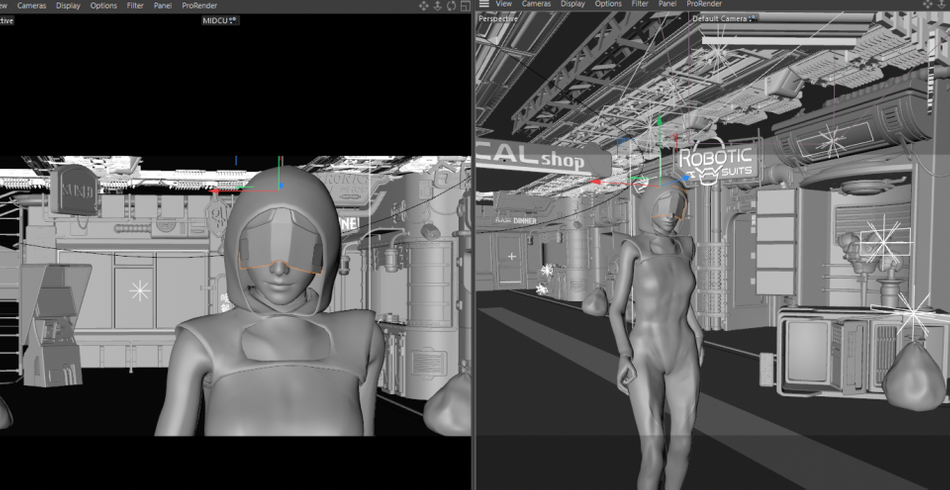
Cinema 4D offers a lot of options when it comes to setting up your views. These can be helpful in modeling, laying out environments and placing objects. However, one of the most powerful abilities is to see through your scene’s camera while navigating using the traditional Perspective view.
This is especially useful whenever doing Matte Painting or creating compositions specifically for the camera angle. This allows you to dial in the look of your composition to your exact specifications without having to hop back and forth into your cameras.
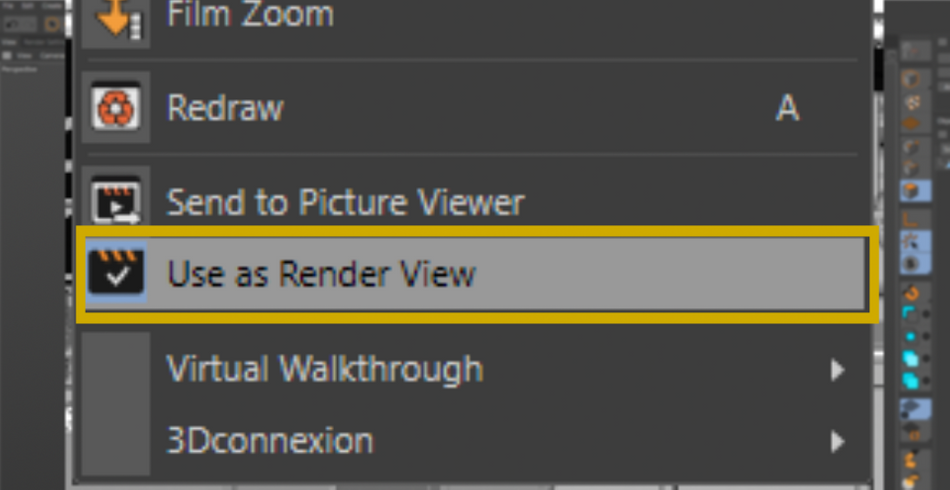
Are you a fan of the Live Viewer in 3rd party render engines such as Octane, Redshift, and Arnold? Well, you can take the View Panel one step further by turning it into a “render view”.
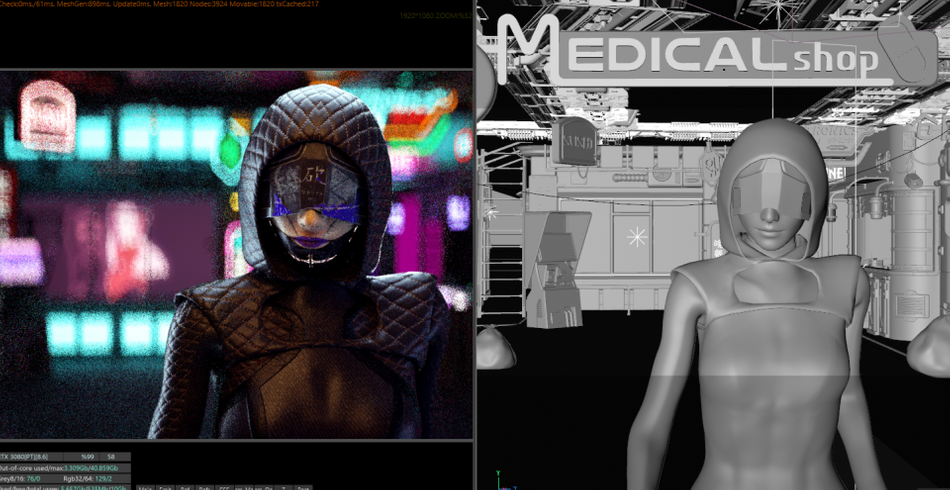
Simply go to View → Use as Render View. Then activate Interactive Render View and you are on your way in seeing your scene update within the second window.
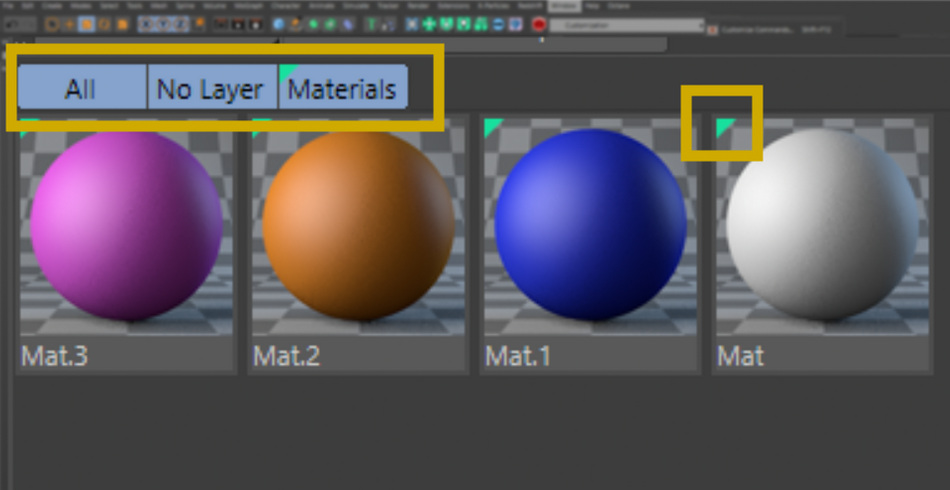
Layer Manager in the Cinema 4D Window Menu
In R17, Maxon introduced Layers into Cinema 4D. It proved to be a great way to manage complex scenes by allowing you to group objects and then be able to control each group individually.
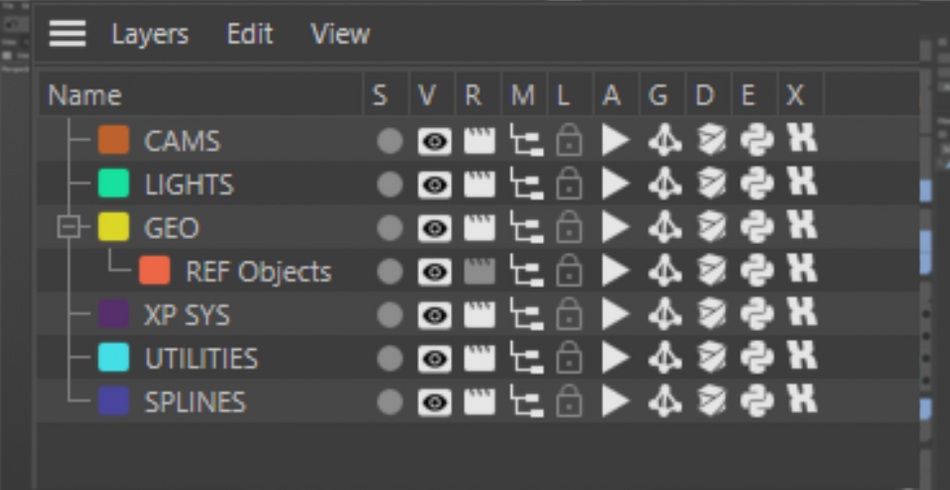
What’s great about this feature is the ability to omit layers from being rendered, appearing in the viewport and appearing in the Object Manager. Moreso, you can stop layers from Animating, calculating Generators (like cloners), Deformers (like Bend) and stop them from executing any Xpresso code. You can also Solo an entire layer.
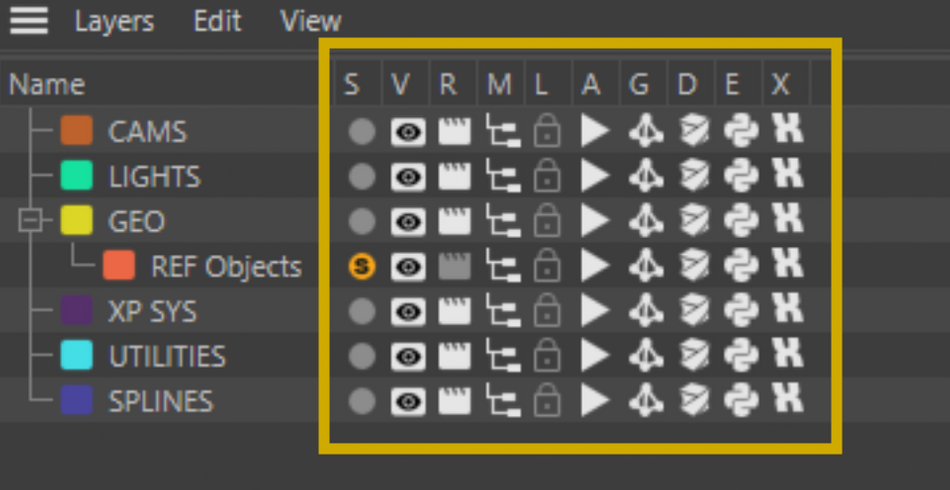
The main benefit for this is that you now have the ability to optimize your scene to pretty unprecedented levels. If your scene runs slow, simply stop layers from calculating any hardware-intensive processes.
x
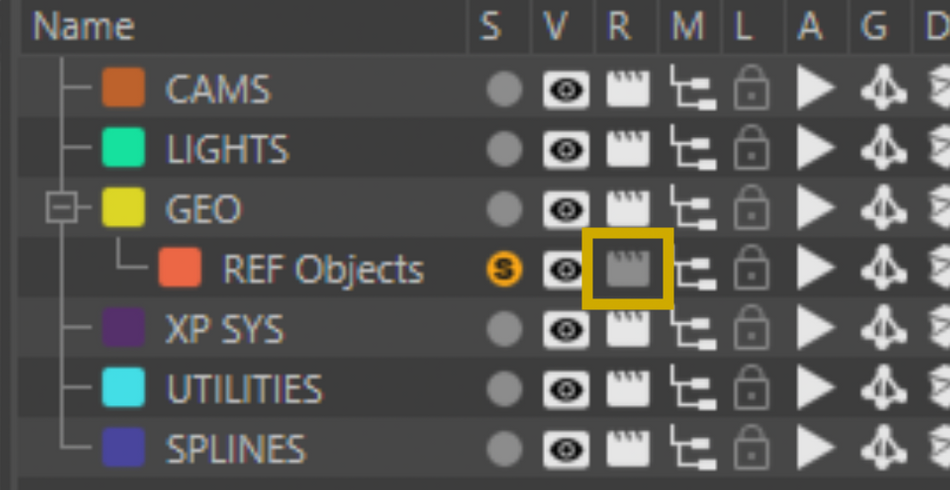
Maybe you have a ton of Reference objects in your scene that you don't need to render, deactivate the Rendering icon for that layer and they will never appear in your final export. Think of them as Guide Layers in After Effects.
To start using layers, double click in the layer manager to start. Once you have your layers made, you can drag objects from the Object Manager into the layers of your choice. If your objects have children, hold down Control to include them as well.
Keep in mind that this isn't limited to objects; you can use layers on Tags and Materials as well.
Look at you!
If you combine the tips learned from this article with the “Render Menu” article, you should have a pretty deep understanding of how to optimize your scene. I cant emphasize enough how important it is to prospective clients and studios for your work to be organized in a professional manner. These habits make you stand out and are essential for working in team-based environments. It also helps doing it for your own work, especially if you revisit an older project and forgot all of the small details.

Cinema 4D Basecamp
If you're looking to get the most out of Cinema 4D, maybe it's time to take a more proactive step in your professional development. That's why we put together Cinema 4D Basecamp, a course designed to get you from zero to hero in 12 weeks.
And if you think you're ready for the next level in 3D development, check out our all new course, Cinema 4D Ascent!
ENROLL NOW!
Acidbite ➔
50% off everything

ActionVFX ➔
30% off all plans and credit packs - starts 11/26

Adobe ➔
50% off all apps and plans through 11/29

aescripts ➔
25% off everything through 12/6
Affinity ➔
50% off all products

Battleaxe ➔
30% off from 11/29-12/7
Boom Library ➔
30% off Boom One, their 48,000+ file audio library
BorisFX ➔
25% off everything, 11/25-12/1

Cavalry ➔
33% off pro subscriptions (11/29 - 12/4)

FXFactory ➔
25% off with code BLACKFRIDAY until 12/3

Goodboyninja ➔
20% off everything

Happy Editing ➔
50% off with code BLACKFRIDAY

Huion ➔
Up to 50% off affordable, high-quality pen display tablets

Insydium ➔
50% off through 12/4
JangaFX ➔
30% off an indie annual license
Kitbash 3D ➔
$200 off Cargo Pro, their entire library
Knights of the Editing Table ➔
Up to 20% off Premiere Pro Extensions
Maxon ➔
25% off Maxon One, ZBrush, & Redshift - Annual Subscriptions (11/29 - 12/8)
Mode Designs ➔
Deals on premium keyboards and accessories
Motion Array ➔
10% off the Everything plan
Motion Hatch ➔
Perfect Your Pricing Toolkit - 50% off (11/29 - 12/2)

MotionVFX ➔
30% off Design/CineStudio, and PPro Resolve packs with code: BW30

Rocket Lasso ➔
50% off all plug-ins (11/29 - 12/2)

Rokoko ➔
45% off the indie creator bundle with code: RKK_SchoolOfMotion (revenue must be under $100K a year)

Shapefest ➔
80% off a Shapefest Pro annual subscription for life (11/29 - 12/2)

The Pixel Lab ➔
30% off everything
Toolfarm ➔
Various plugins and tools on sale

True Grit Texture ➔
50-70% off (starts Wednesday, runs for about a week)

Vincent Schwenk ➔
50% discount with code RENDERSALE

Wacom ➔
Up to $120 off new tablets + deals on refurbished items


All-Access Pass
Unlimited access to 50+ courses, unlimited critique, live events, and 24/7 community. Join School of Motion All-Access today.