All-Access Pass
Unlimited access to 50+ courses, unlimited critique, live events, and 24/7 community. Join School of Motion All-Access today.

A Walkthrough of How to Make a Pattern in Adobe Illustrator for all your Repetitive Needs.
In the following post, I'll show you step-by-step how to create a pattern in Illustrator. While there are certainly a lot of different ways to create a pattern this is probably the most practical and widely-used way to quickly create a looping pattern.
6 Steps to Create a Pattern in Illustrator
- Gather Inspiration
- Design Your Pattern
- Vectorize Your Drawing
- Decide on a Color Palette
- Create a Repeatable Square
- Use the Pattern in Your Projects
{{lead-magnet}}
I highly suggest taking a look at some inspiration first. Personally, I think Negative Space is the coolest approach to designing patterns, such as MC Escher’s tile-able lizards. The pattern is a really great example of using negative space to tell a story.
Note: I was shown this pattern by my 4th grade teacher, who really supported my art skills; so if you’re reading this, thank you!
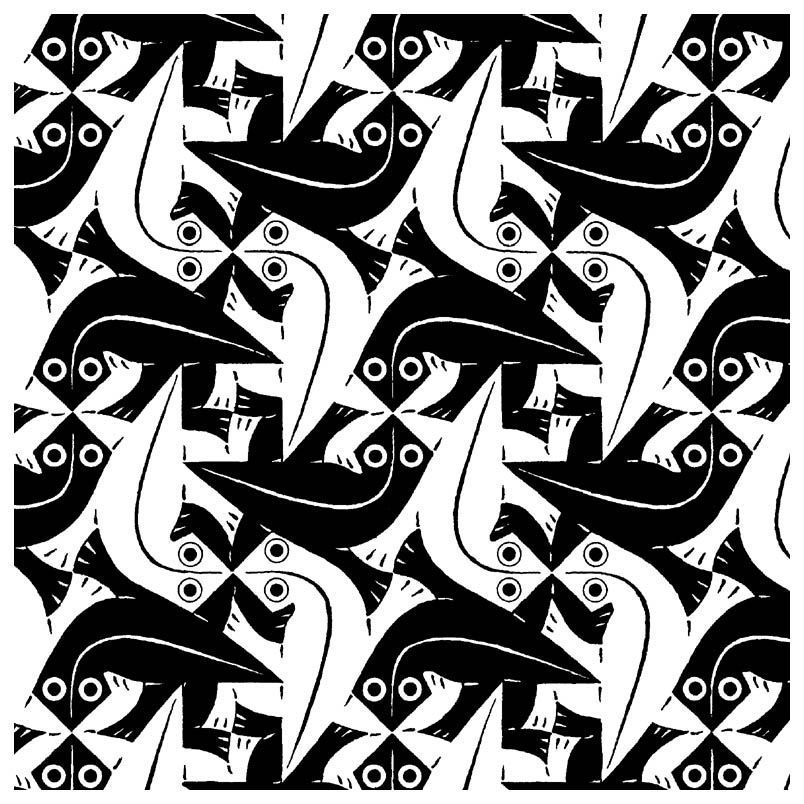
I also suggest looking at the work of Ettore Sotsass, MemphisGroup, and Keith Haring for unique shapes from the PostModern Design Era. These days, Vaporwave is a continuation of Postmodernism! Look at us using fancy-smancy art words.

Let’s say you’re not looking to do something too complex. Maybe you want to go for a more clean & easy-on-the-eye approach.
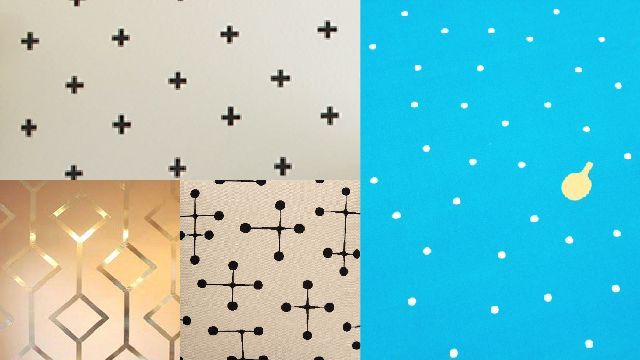
Well, creating simpler patterns like Polka-Dots and Chevrons are still super fun. For Inspiration, Herman Miller features amazing simple patterns that work perfectly displayed alongside solid colors. Most of their patterns are considered midcentury-modern. Which was the golden era of patterns in design.
In many cases, people will get into sketching out a design first. I suggest this because you’ll be able to express more and develop a lot of variety in your ideas when you work with Pen & Paper. When drawing, it’s a great idea to start-off with grid paper so you can create a few repeating illustrations to see what works best.
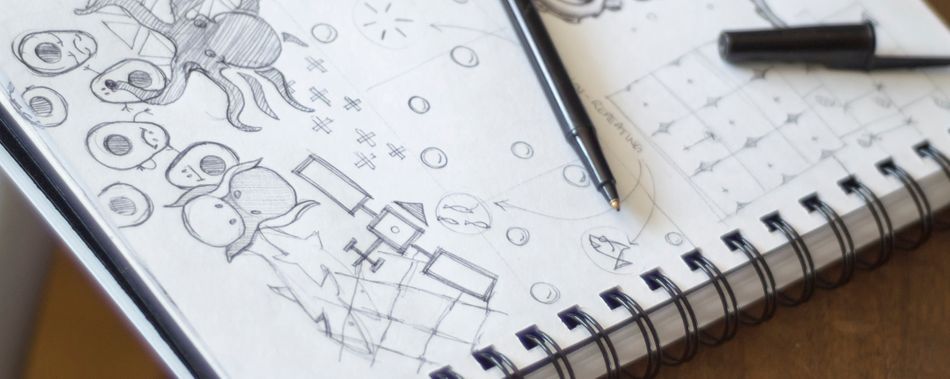
Not into all that manual labor? That’s alright; many people prefer to jump right into Illustrator and can hash-out ideas rapidly. You’ll find out which method works best for you through practice.
Now that you’ve designed a special pattern, you’ll need to turn your sketch into a Vector drawing. In Illustrator, you can use the Pen (P) or Brush (B) tools to replicate your design.
If you’re working with the Brush tool, you can also utilize the Variable Width Panel in your toolbar, which allows you to give your path some style.
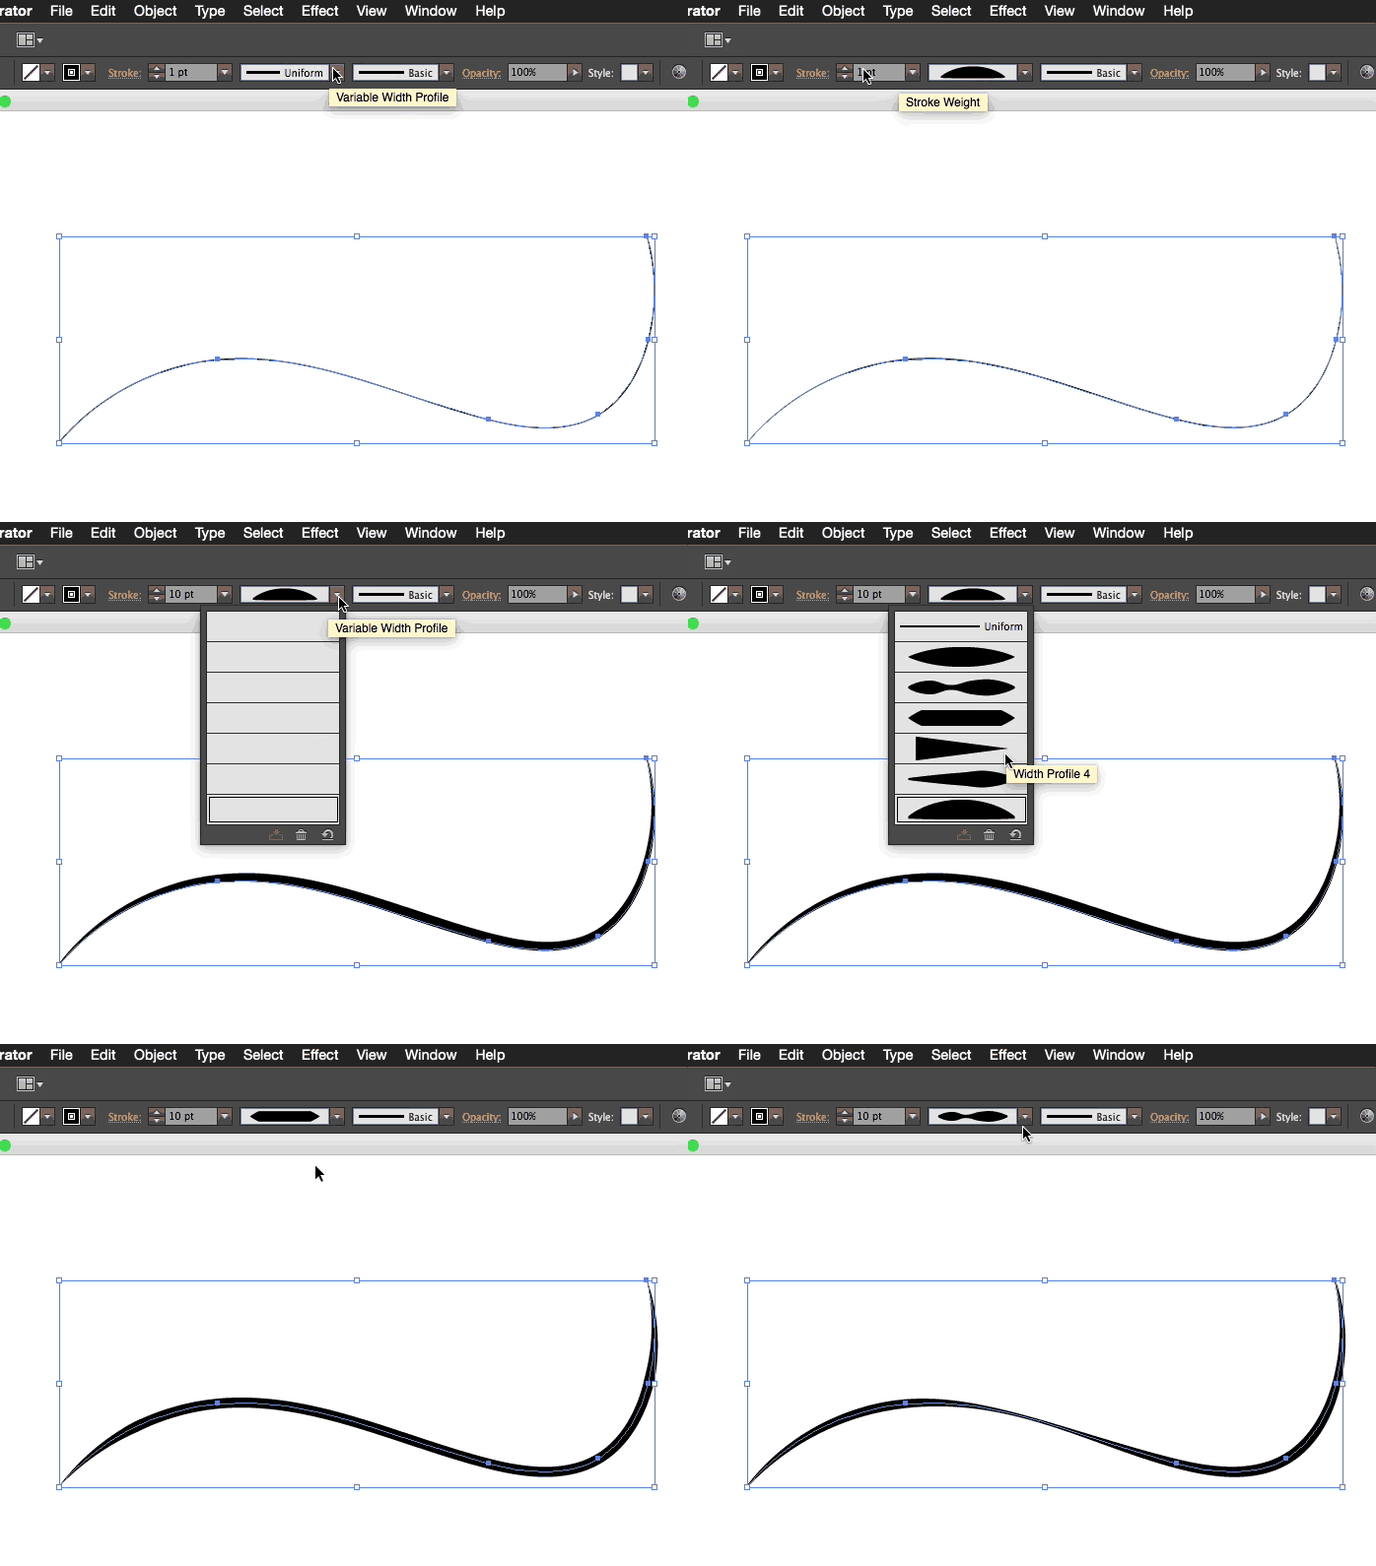
This will help give your pattern a unique style. If you want to learn more about using Illustrator check out our Photoshop and Illustrator Unleashed course here on School of Motion.
If you’ve designed your repeating asset to have one color, that’s great news because you’ll be able to pick-out an entire palette out of your one color!
In general, you can use the Hue slider to change the color of your item. In some instances, you would want to get more specific, using Hex codes (those 6 numbers you’ll see a color classified as when picking a color in Illustrator).
A site I like to use is called Paletton. On the site you can drop-in your hex number and auto-generate a whole palette of colors that work with the one you chose. It always helps to keep your colors in a palette close to what’s available on Paletton to achieve a range of shades for your drawing.
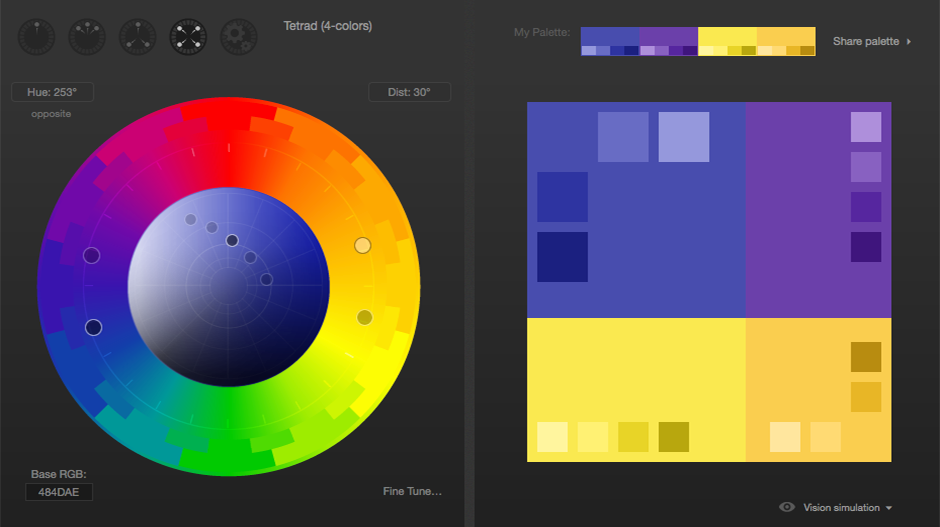
Now that you have a cool illustration ready to go, your colors picked-out and you’ve gotten a slick palette down, this is where you’ll put your assets into a block that will repeat itself.
To put your sketch into a square that doesn’t expel the bounds, create a square for your illustration to live in, and then a clipping mask using the same size square pasted in-front (Command + F). To make a clipping mask, use Command + 7 with a mask shape above everything you want masked-out.

In the the easiest way, you can put your asset in the center, and sure; that’ll make it repeat every time that square is placed next-to-another or below-another… but we don’t accept easy. Neither does your art director.

There are an incredible options for patterns in Illustrator that you may not be aware of. First thing’s first though; you need to make your square pattern into a swatch.
How to Create a Swatch in Illustrator
To create a swatch, all you need to do is open your Swatch Menu (Window > Swatches) and drag your square with everything clipped into it into an open swatch selector.
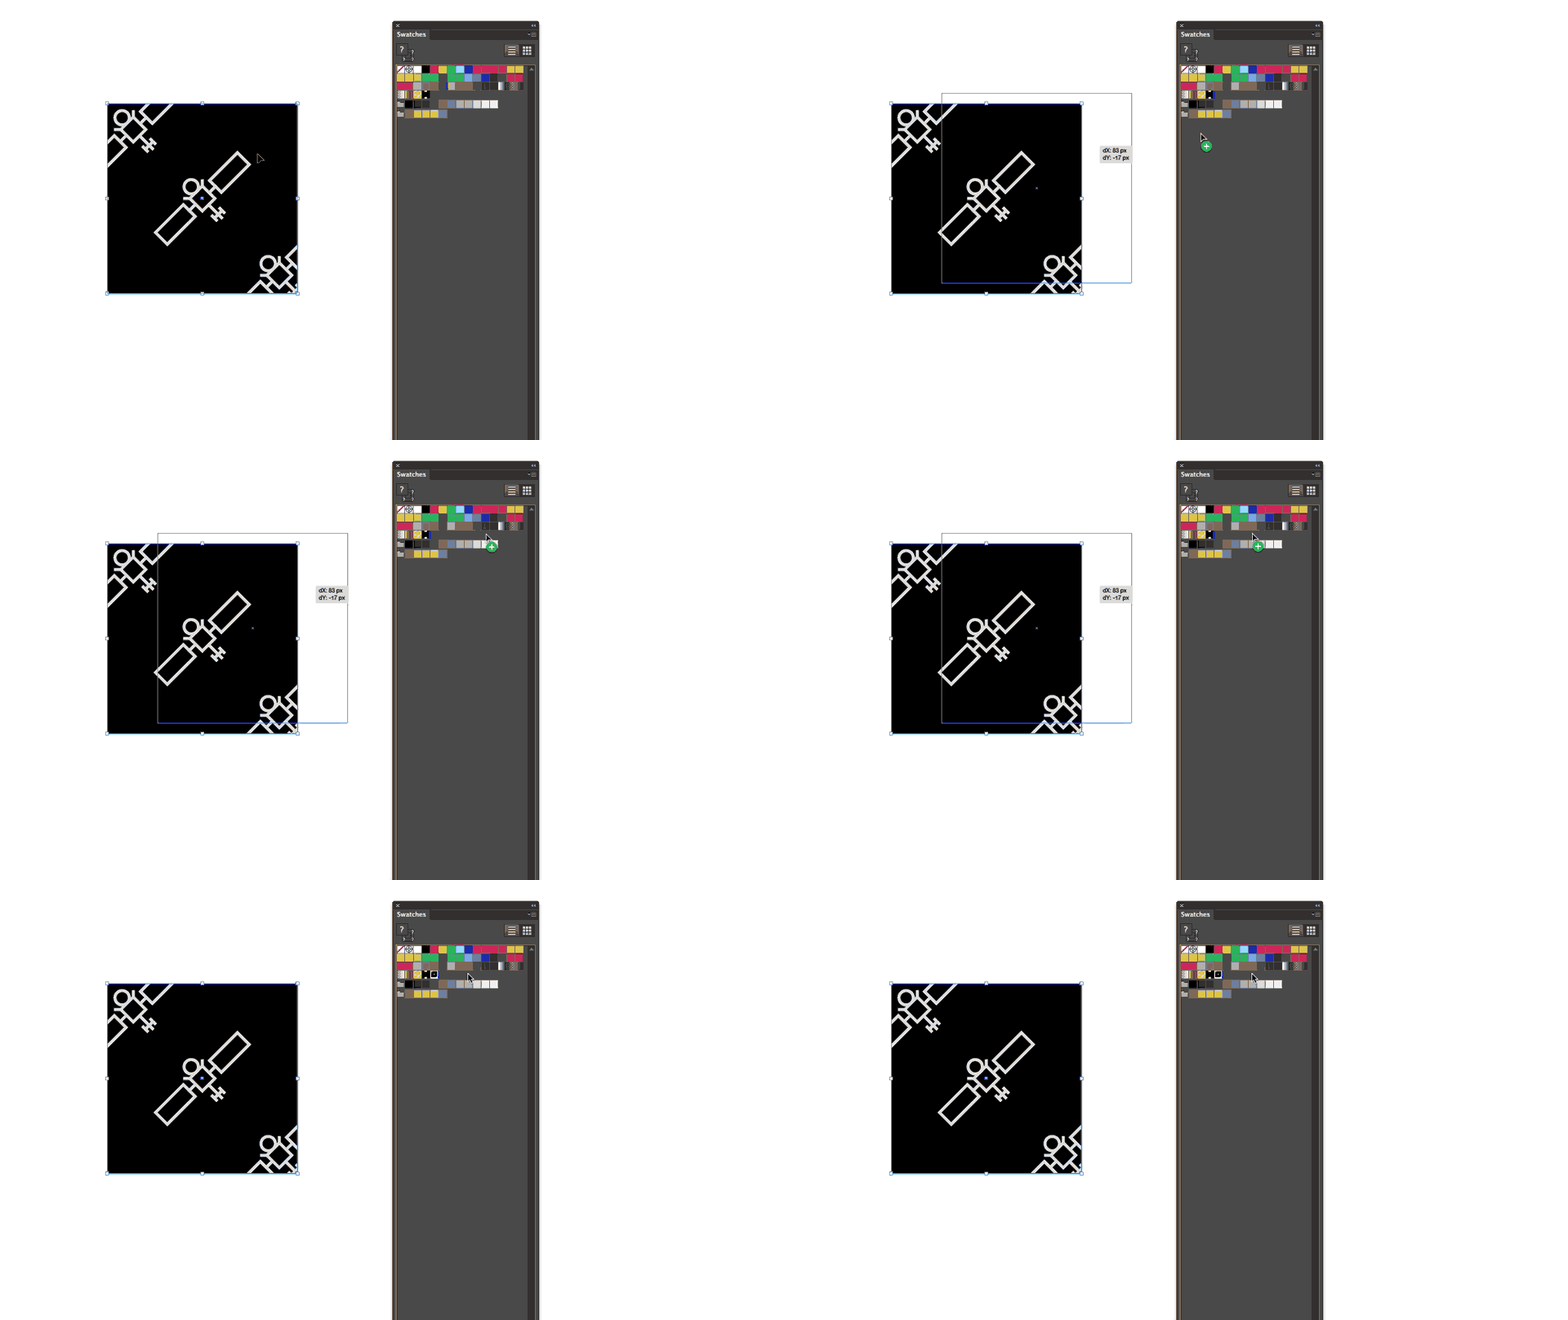
After you’ve created a swatch, you’ll need to test out your pattern to see if it passes in a Square, Brick, or Hex pattern. This all depends on how you prefer to use your illustration as a pattern and your approach to the illustration. To test your swatch, create a blank rectangle / square and click on your swatch as a fill color from the swatches menu. To refine your illustration within the clipping mask, double-click on your new swatch.
The Pattern Options menu will appear when you double-click the swatch. This is where the magic happens! You’ll notice there are a few options of how you can adjust the grid/tiling of the Illustration under the drop-down, “Pattern Type”.
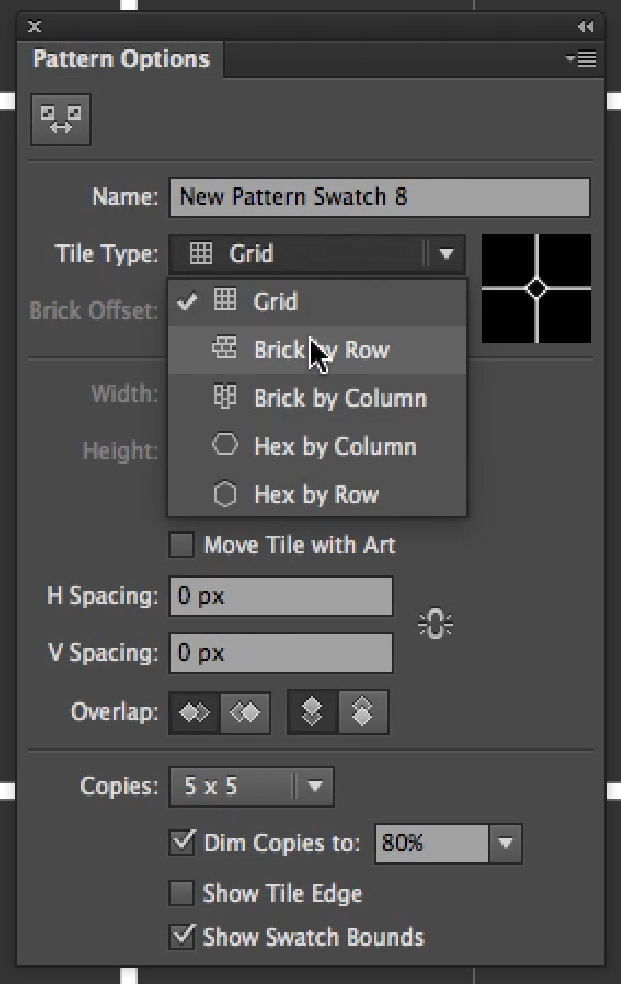
In this instance, my Satellite illustration is slightly off in the corners. To adjust an illustration, while the Pattern Options menu is still open, you can adjust the alignment of each path like you would regularly in Illustrator.
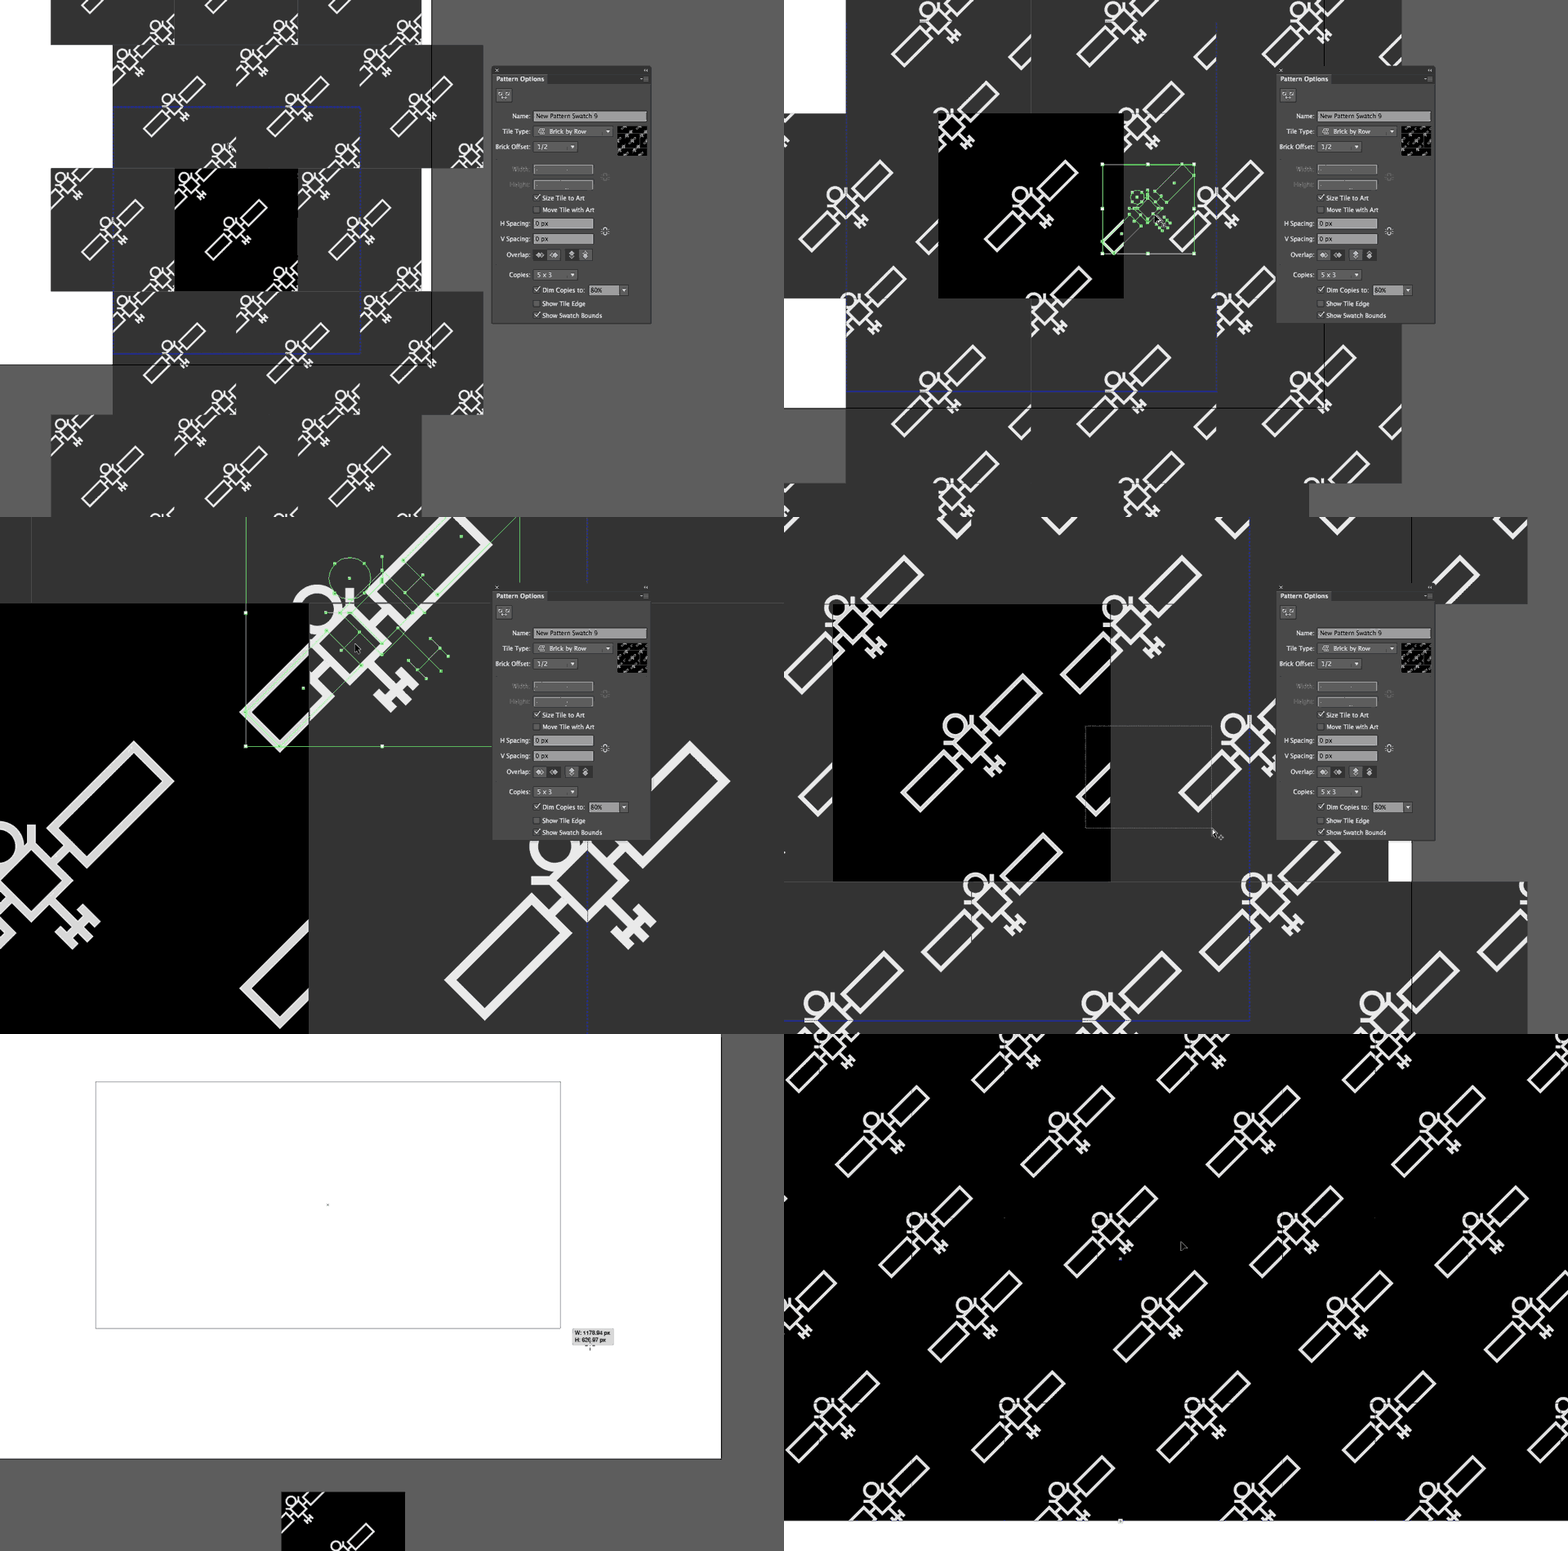
This is the best way to confirm you’ve made your pattern seamless. Now that I made you think about ordering dinner delivered to your door, you’re ready and set to create very unique patterns for your future Motion Projects! There are also ways to create patterns in After Effects alone which we’ll go over another time.
Congratulations! You’ve designed a pattern that never ends! I hope you’ll be using this technique often on your future MoGraph projects!
If you want to learn more about using Illustrator or Photoshop in Motion Design check out Photoshop and Illustrator Unleashed here at School of Motion.
ENROLL NOW!
Acidbite ➔
50% off everything

ActionVFX ➔
30% off all plans and credit packs - starts 11/26

Adobe ➔
50% off all apps and plans through 11/29

aescripts ➔
25% off everything through 12/6
Affinity ➔
50% off all products

Battleaxe ➔
30% off from 11/29-12/7
Boom Library ➔
30% off Boom One, their 48,000+ file audio library
BorisFX ➔
25% off everything, 11/25-12/1

Cavalry ➔
33% off pro subscriptions (11/29 - 12/4)

FXFactory ➔
25% off with code BLACKFRIDAY until 12/3

Goodboyninja ➔
20% off everything

Happy Editing ➔
50% off with code BLACKFRIDAY

Huion ➔
Up to 50% off affordable, high-quality pen display tablets

Insydium ➔
50% off through 12/4
JangaFX ➔
30% off an indie annual license
Kitbash 3D ➔
$200 off Cargo Pro, their entire library
Knights of the Editing Table ➔
Up to 20% off Premiere Pro Extensions
Maxon ➔
25% off Maxon One, ZBrush, & Redshift - Annual Subscriptions (11/29 - 12/8)
Mode Designs ➔
Deals on premium keyboards and accessories
Motion Array ➔
10% off the Everything plan
Motion Hatch ➔
Perfect Your Pricing Toolkit - 50% off (11/29 - 12/2)

MotionVFX ➔
30% off Design/CineStudio, and PPro Resolve packs with code: BW30

Rocket Lasso ➔
50% off all plug-ins (11/29 - 12/2)

Rokoko ➔
45% off the indie creator bundle with code: RKK_SchoolOfMotion (revenue must be under $100K a year)

Shapefest ➔
80% off a Shapefest Pro annual subscription for life (11/29 - 12/2)

The Pixel Lab ➔
30% off everything
Toolfarm ➔
Various plugins and tools on sale

True Grit Texture ➔
50-70% off (starts Wednesday, runs for about a week)

Vincent Schwenk ➔
50% discount with code RENDERSALE

Wacom ➔
Up to $120 off new tablets + deals on refurbished items


All-Access Pass

Unlimited access to 50+ courses, unlimited critique, live events, and 24/7 community. Join School of Motion All-Access today.

