

Learn After Effects the Right Way
Master the After Effects interface and build a real animation skillset. Enroll in All-Access to unlock AE Kickstart and 50+ other courses.

Here's a quick guide to Precomposing in After Effects.
As we all know when working in After Effects our timeline panel can quickly become oversaturated with dozens if not hundreds layers. This can lead to a lot of confusion, which can be frustrating when you're trying to get job out to a client. Luckily for us there's a nifty feature called pre-composing that allows you to group and organize multiple layers in After Effects. With that in-mind let’s take a look at how to precompose in After Effects.
What is Precomposing?
Precomposing is the process of packaging a series of layers into a new composition in After Effects. In a way it's the same as grouping layers in Photoshop.
By grouping these layers together you can add animation, effects, or masks that will then be applied to all of the layers within.
What is Precomposing for?
Precomps are used mainly to help organize complex compositions. But let’s take a look at some of the specific reasons to use a precomp.
- Precomps can organize your timeline by grouping certain layers together, freeing up room in the timeline and making it easier to navigate a complex composition.
- You can build an animation in one composition and then add that composition to another. This is also known as nesting.
- Precomposing allows artists to apply keyframes, effects, and other layer changes to a precomposition layer, and therefore affect all of the grouped layers within.
How to Precompose
Here's how to Precompose in After Effects:
- Highlight the Layers You Want to Precompose.
- Navigate to Layer > Precompose.
- Name Your Precomp, Select Your Options, and Click 'OK'.
Tip: To access your original layers double-click the pre-comp.
Now that you know the basic steps, let's get into a real-world case study of using precompose in After Effects
A PRECOMP CASE STUDY
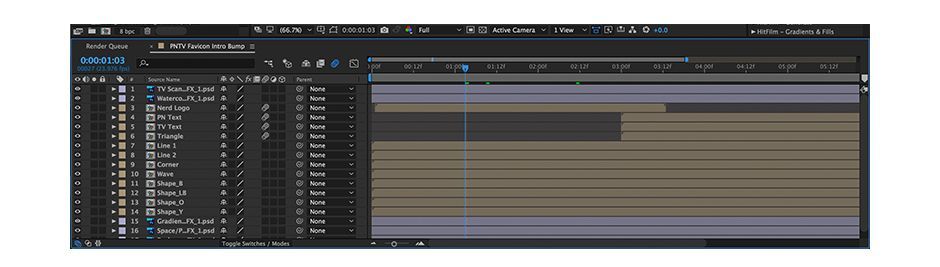
Precomposing is actually a very simple process that can be used on complex and simple animations. Let’s use a simple text animation as an example. In the image below I have three text layers that I want to animate.
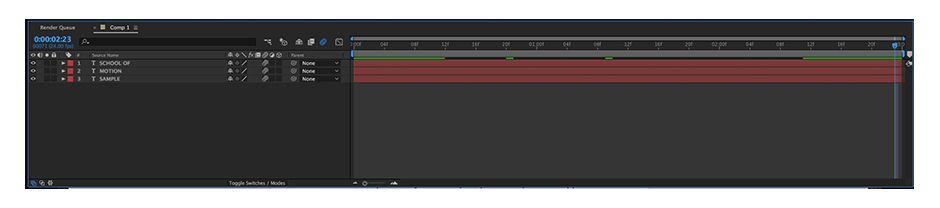
To start things off I highlight my text layers and hit the “P” key on the keyboard to access the position transform option. I then apply a few keyframes that were staggered across the timeline, which created a subtle animation. Nothing fancy, just a simple animation where the text pops in from outside the composition frame.
This animation by itself is ok, but I want the pop ins to a be a little tighter and not appear directly from the edge of the frame.
I'm going to add a mask to the layers. However, since I’ve animated the position of the text, if I apply a mask then the mask position will be animated alongside the text...
This looks like a job for a pre-comp!
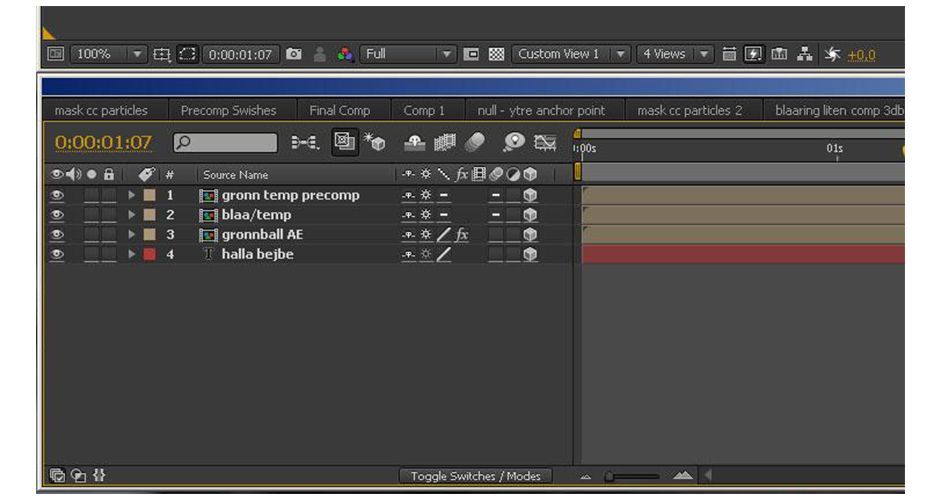
So I'll select all three layers then right-click and select “precompose. You can also hit Command+Shift+C. If you have more than one layer selected you will only be able to select the "Move all attributes" setting in the pre-comp window. This will move all of your animation keyframes and effects to the pre-composed composition.

With my layers now grouped into a new composition I’m going to select this precomposition layer and draw a large mask around where I want my text to appear. I’ll also make a quick adjustment to the feather that way it simulates a fade in.
.gif)
By adding the mask above I've just added a little more to the animation to give it a nice smooth feel. Now, if you need to go back and adjust any of the text layers don’t worry you can still easily access those by double-clicking the precomposition layer in the timeline panel. Once you do this a new tab will open and you then have access to adjust the original text layers however you want.
After accessing my original layers by double-clicking the precomp I went back in and adjust the font style and size. Any changes I made were automatically seen in the precomp, so all I had to do from there was add to the render queue. Let's take a look at what our results look like.

What's the Difference Between Precomposing and Nesting?
As you can see precomposing layers in After Effects is a pretty simple process. And it can definitely be used to great effect when working in complex compositions.
But remember that when working with these complex compositions you’ll find that it's usually beneficial to add an existing composition to another composition. This process is called nesting.
While precomposing is the process of placing a group of layers into a new composition, nesting is placing an existing composition into the timeline.
Now you have tools to conquer precomposing. You're going to use this technique all the time.
ENROLL NOW!
Acidbite ➔
50% off everything

ActionVFX ➔
30% off all plans and credit packs - starts 11/26

Adobe ➔
50% off all apps and plans through 11/29

aescripts ➔
25% off everything through 12/6
Affinity ➔
50% off all products

Battleaxe ➔
30% off from 11/29-12/7
Boom Library ➔
30% off Boom One, their 48,000+ file audio library
BorisFX ➔
25% off everything, 11/25-12/1

Cavalry ➔
33% off pro subscriptions (11/29 - 12/4)

FXFactory ➔
25% off with code BLACKFRIDAY until 12/3

Goodboyninja ➔
20% off everything

Happy Editing ➔
50% off with code BLACKFRIDAY

Huion ➔
Up to 50% off affordable, high-quality pen display tablets

Insydium ➔
50% off through 12/4
JangaFX ➔
30% off an indie annual license
Kitbash 3D ➔
$200 off Cargo Pro, their entire library
Knights of the Editing Table ➔
Up to 20% off Premiere Pro Extensions
Maxon ➔
25% off Maxon One, ZBrush, & Redshift - Annual Subscriptions (11/29 - 12/8)
Mode Designs ➔
Deals on premium keyboards and accessories
Motion Array ➔
10% off the Everything plan
Motion Hatch ➔
Perfect Your Pricing Toolkit - 50% off (11/29 - 12/2)

MotionVFX ➔
30% off Design/CineStudio, and PPro Resolve packs with code: BW30

Rocket Lasso ➔
50% off all plug-ins (11/29 - 12/2)

Rokoko ➔
45% off the indie creator bundle with code: RKK_SchoolOfMotion (revenue must be under $100K a year)

Shapefest ➔
80% off a Shapefest Pro annual subscription for life (11/29 - 12/2)

The Pixel Lab ➔
30% off everything
Toolfarm ➔
Various plugins and tools on sale

True Grit Texture ➔
50-70% off (starts Wednesday, runs for about a week)

Vincent Schwenk ➔
50% discount with code RENDERSALE

Wacom ➔
Up to $120 off new tablets + deals on refurbished items


Learn After Effects the Right Way
Master the After Effects interface and build a real animation skillset. Enroll in All-Access to unlock AE Kickstart and 50+ other courses.


