Start Your 3D Journey in Cinema 4D
Master the essentials of 3D modeling, lighting, and animation in C4D. Enroll in All-Access to unlock C4D Basecamp and 50+ other courses.

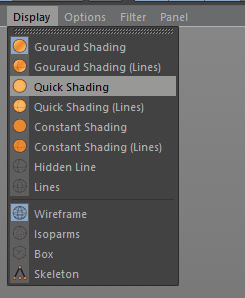
Here's how to customize your UI in Cinema 4D.
Many artists feel that burning impulse to leave their mark on all things with which they come into contact. In high-school this might have meant plastering your locker with with magazine cutouts of your favorite band. If you went to high-school in a certain decade, it may have meant bedazzling your favorite denim jacket. It’s okay, we won’t judge...
If this sounds like you, you may be delighted to know that your favorite 3D app, Cinema4D, is rife with options for customization. Modifying your User Interface isn’t all about making a statement though, a simple UI change can save you hundreds of clicks in a day, making you a faster, more efficient, and happier designer.
Customizing the Cinema 4D UI
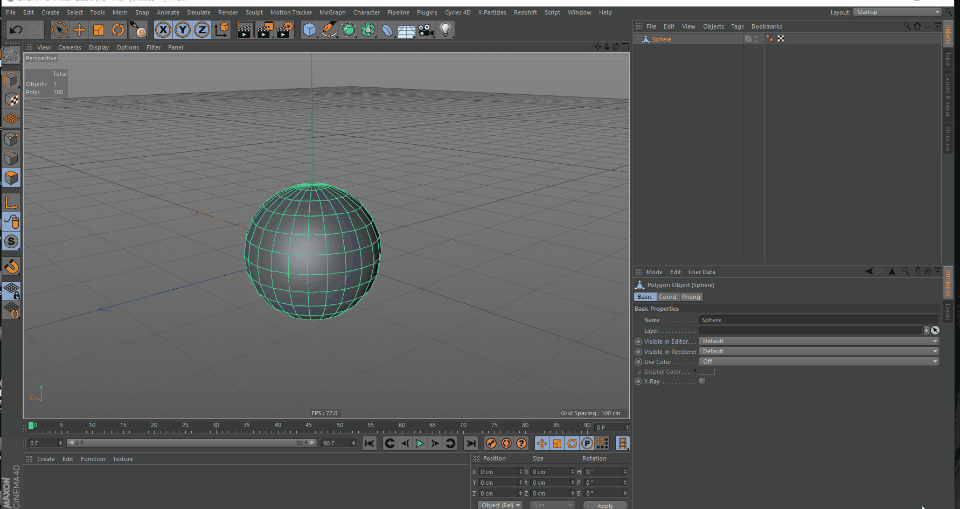
Cinema4D is a program with a vast range of applications. Some people might use it exclusively for its modeling tools, while others might only ever use it for making materials and rendering. Chances are though, you do a little bit of everything with it. That’s where switching Layouts can come in handy. Taking the time to create a good layout optimized for a specific task is a great way to speed up your workflow. Let’s have a closer look at how this is done by customizing the interface for setting up a scene for designing a complex setup.
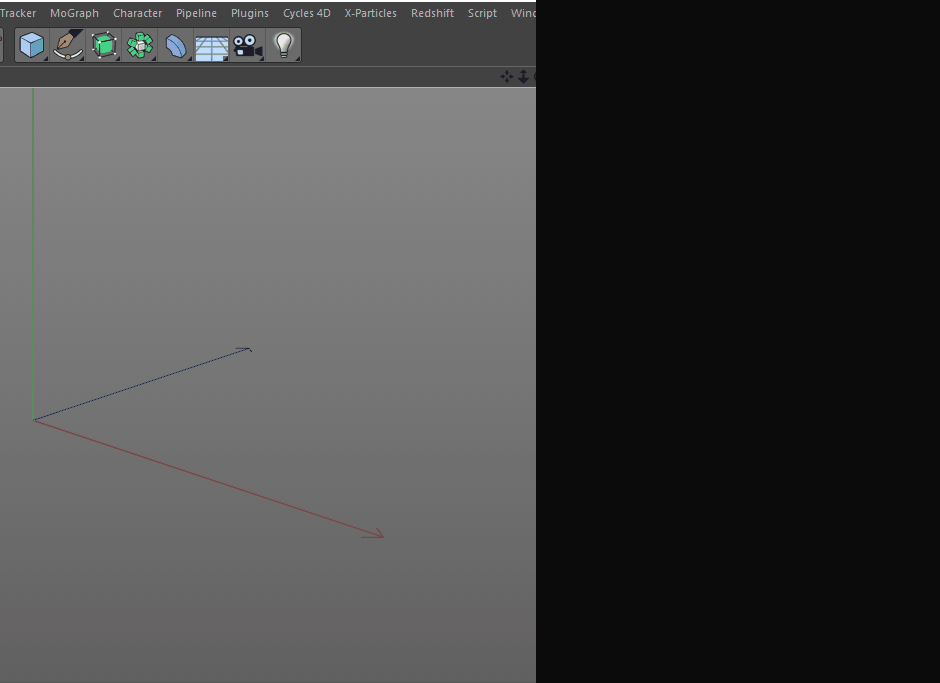
By default, the most commonly used objects can all be found within the MoGraph submenu at the top of your Cinema 4D window with effectors organized within a palette inside of this menu. Because we anticipate having to bring in many effectors into our scene, we would like easier access to this palette.
To do this, we will:
- Undock the effector palette from its current location in the submenu.
- Modify some of the display options of the palette to consolidate space.
- Dock our modified palette in our main interface for quick access.
It’s a small addition, but if you tallied up all the time spent going up to MoGraph>Effectors>Shader Effector, you’d wish you had made this change sooner. Speaking of which, when you’re happy with this new layout you can save it to be your default on launch by go to Window>Customization>Save as Startup Layout. You could alternatively choose >Save Layout and give the setup a unique name so you can come back to it whenever you’d like.
Pro-Tip: Opening the commander (Shift+C) anywhere in Cinema4D will allow you to start typing the name of any button and execute it on the spot (context-permitting). You can also drag an icon from the commander and dock it anywhere in your interface for easy, on the fly layout customization.
The layout customization process is so easy and flexible, you could quickly craft streamlined interfaces for any number of tasks you regularly perform in Cinema4D. Of course, don’t forget to browse some of the built-in defaults Maxon provides for things like sculpting, UV editing, and animating.

How to Create Custom Cinema 4D Hotkeys
Getting familiar with any software’s hotkeys is one of the best ways to start working more fluidly within it. Well Cinema4D is no exception, and is loaded with dozens of useful hotkeys by default.
To speed up the memorization of hotkeys, be sure to enable Edit > Preferences > Interface > Show Shortcuts in Menu. You will now see the hotkey combination next to most functions for which one is assigned! Slowly but surely these shortcuts will be committed to muscle memory.
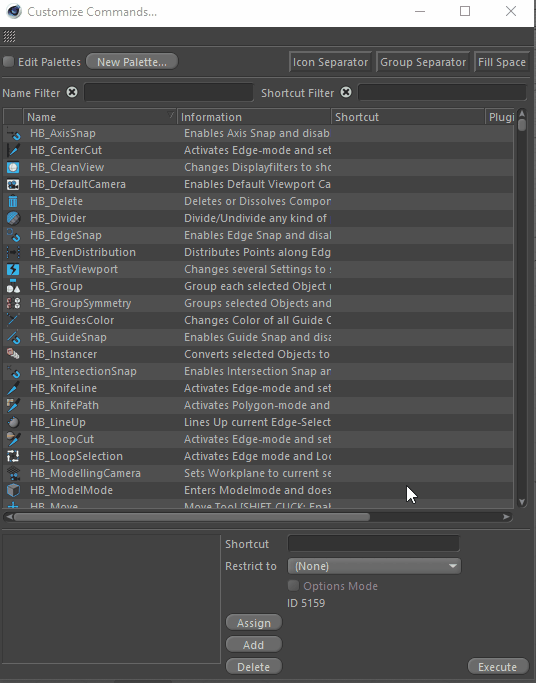
You can get a list of all the commands that exist in Cinema4D from the Customize Commands manager, found in Window>Customize>Customize Commands. This manager not only provides you with relevant information about each command, but also allows you to assign custom hotkeys to commands that lack them, or change existing ones.
To assign or modify a hotkey:
- Left-click any command from the Customize Commands manager to select it. (e.g Cube)
- Click in the Shortcut field, and press the key combination you’d like to use as a hotkey (e.g Shift+Alt+K).
- You can restrict the context in which you’d like this hotkey to work (e.g Shift+Alt+K will create a Cube if your cursor is in the viewport, but not if the cursor is in the Object Manager)
When you are happy with your hotkey, click the Assign button.
But no need to stop there. If you find yourself frequently executing a series of steps over and over, consider scripting (don't worry, it's not as hard as you might expect).
Well hopefully you've found this setup guide to be helpful. If you want to learn more about Cinema 4D check out the Cinema 4D section on the tutorials page. Or better yet, check out Cinema 4D Basecamp an in-depth Cinema 4D course taught by the legendary EJ Hassenfratz.
ENROLL NOW!
Acidbite ➔
50% off everything

ActionVFX ➔
30% off all plans and credit packs - starts 11/26

Adobe ➔
50% off all apps and plans through 11/29

aescripts ➔
25% off everything through 12/6
Affinity ➔
50% off all products

Battleaxe ➔
30% off from 11/29-12/7
Boom Library ➔
30% off Boom One, their 48,000+ file audio library
BorisFX ➔
25% off everything, 11/25-12/1

Cavalry ➔
33% off pro subscriptions (11/29 - 12/4)

FXFactory ➔
25% off with code BLACKFRIDAY until 12/3

Goodboyninja ➔
20% off everything

Happy Editing ➔
50% off with code BLACKFRIDAY

Huion ➔
Up to 50% off affordable, high-quality pen display tablets

Insydium ➔
50% off through 12/4
JangaFX ➔
30% off an indie annual license
Kitbash 3D ➔
$200 off Cargo Pro, their entire library
Knights of the Editing Table ➔
Up to 20% off Premiere Pro Extensions
Maxon ➔
25% off Maxon One, ZBrush, & Redshift - Annual Subscriptions (11/29 - 12/8)
Mode Designs ➔
Deals on premium keyboards and accessories
Motion Array ➔
10% off the Everything plan
Motion Hatch ➔
Perfect Your Pricing Toolkit - 50% off (11/29 - 12/2)

MotionVFX ➔
30% off Design/CineStudio, and PPro Resolve packs with code: BW30

Rocket Lasso ➔
50% off all plug-ins (11/29 - 12/2)

Rokoko ➔
45% off the indie creator bundle with code: RKK_SchoolOfMotion (revenue must be under $100K a year)

Shapefest ➔
80% off a Shapefest Pro annual subscription for life (11/29 - 12/2)

The Pixel Lab ➔
30% off everything
Toolfarm ➔
Various plugins and tools on sale

True Grit Texture ➔
50-70% off (starts Wednesday, runs for about a week)

Vincent Schwenk ➔
50% discount with code RENDERSALE

Wacom ➔
Up to $120 off new tablets + deals on refurbished items


Start Your 3D Journey in Cinema 4D
Master the essentials of 3D modeling, lighting, and animation in C4D. Enroll in All-Access to unlock C4D Basecamp and 50+ other courses.