
All-Access Pass
Unlimited access to 50+ courses, unlimited critique, live events, and 24/7 community. Join School of Motion All-Access today.

What's the difference between DUIK Bassel Connectors and Joysticks 'n Sliders in After Effects? Character Animation Bootcamp instructor Morgan Williams explains in this character animation tool review.
In today's Adobe After Effects tutorial, leading animator and educator Morgan Williams — instructor of our Character Animation Bootcamp and Rigging Academy — compares the main features of DUIK Bassel and Joysticks 'n Sliders.
Each tool can be used to create similar character rigs, so what are the advantages and disadvantages of using one versus the other? As an animator, when should I leverage DUIK, and when should I opt for Joysticks? Or, are there times I might work with both?
To answer these common but complex questions, we turn to Morgan due to his greater than two decades of professional experience in animation and animation direction; in addition to instructing online with School of Motion, he's also a full-time faculty member of Ringling College of Art and Design, responsible for developing and teaching curriculum in the motion design department.

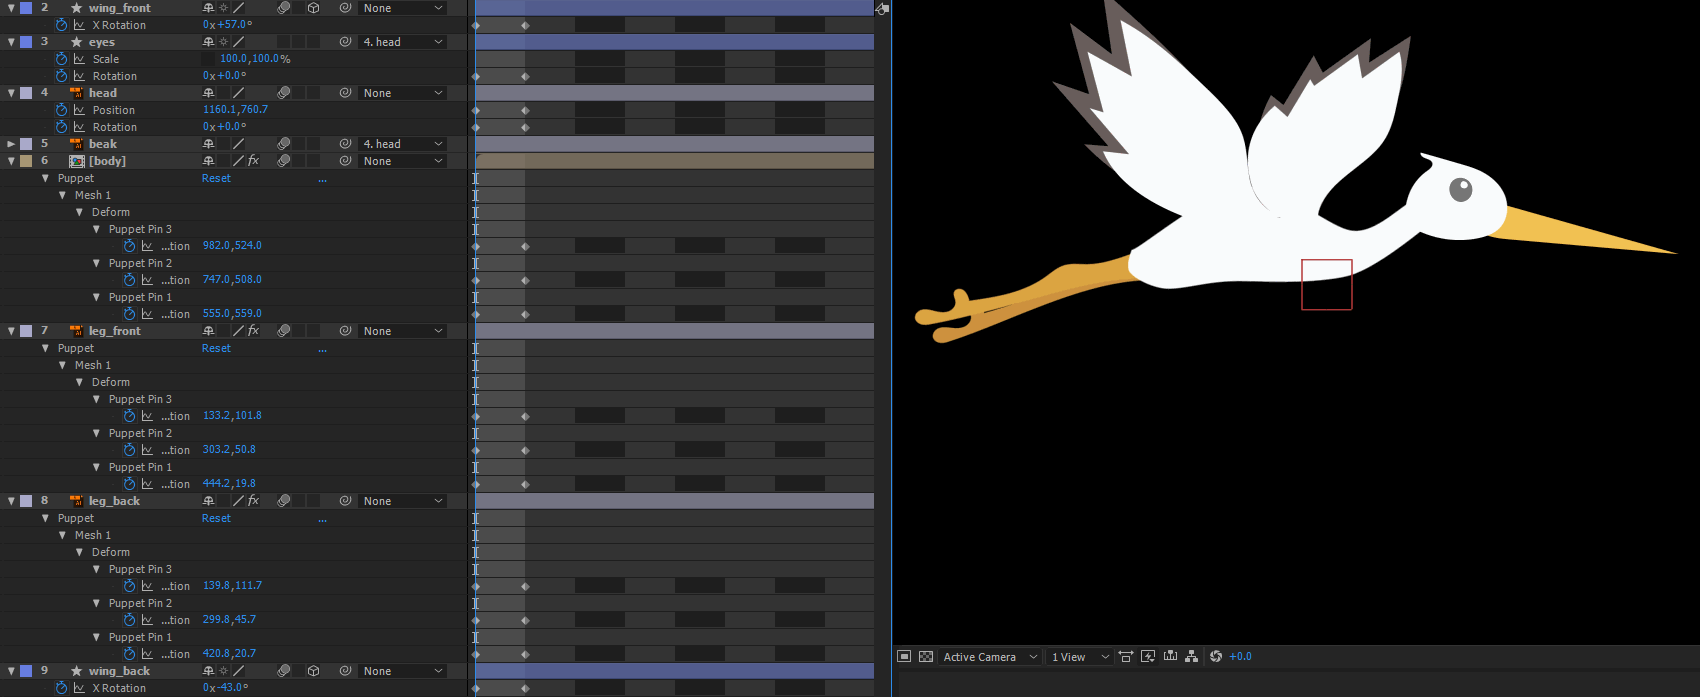
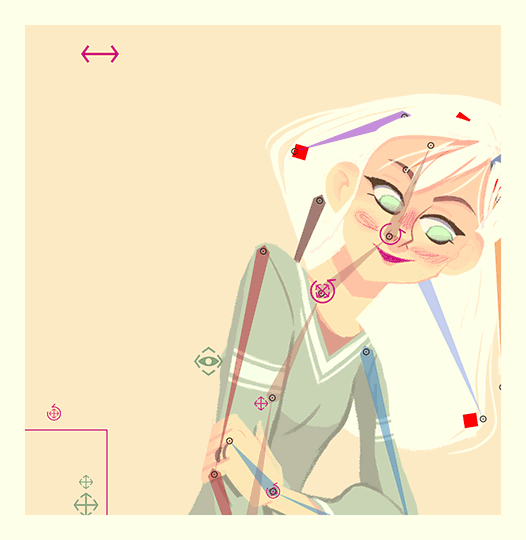
In this demonstration, Morgan uses two simple 2.5D face rigs, with a basic head turn and eye aim, smile/frown, and blinking controls.

The Joysticks 'n Sliders vs DUIK Bassel Tutorial
ABOUT JOYSTICKS 'N SLIDERS
Joysticks 'n Sliders is a pose-based rigging system for After Effects "with limitless applications."
JOYSTICKS
Developed for 3D character rigging for facial animation, the Joystick tool allows you to set five consecutive keyframes to represent your origin, right, left, top, and bottom extremes, creating a joystick controller that fills in the frames between the key frames.

SLIDERS
Similar in setup to Joysticks, Sliders are more technical, and more powerful.
The Slider controller moves along a single axis; when the Slider changes position, it produces a different value. After Effects interprets the changing values to create our character's change of state.

In contrast to Joysticks, with Sliders there is no limit to how many poses you can create with your layers; plus, you can mix them together, making this tool advantageous for rigging hands, eyes, mouths, and sets of poses for the entire body.
THREE "AWESOME" WAYS TO USE JOYSTICKS 'N SLIDERS
As Josh Alan, a Nashville-based freelance motion designer, has written for School of Motion, while Joysticks n' Sliders is most well known for taking the pain out of character animation tasks in After Effects, the rigging system also "has some pretty powerful features."
In his article for SOM, Josh highlights three ways "you can take advantage of the this script:"
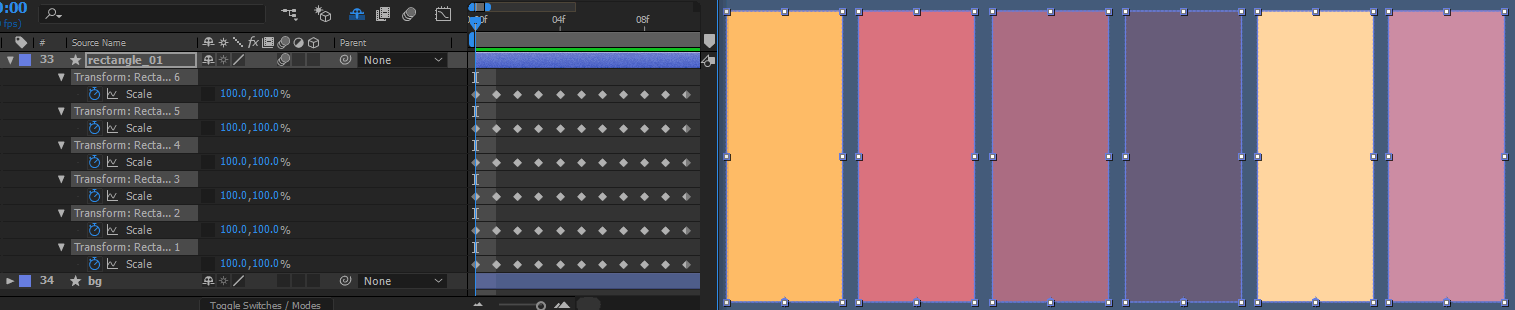
- Graphs
- Repeatable sequences of events
- Adding dimension to an object
In summary...
GRAPHS
"Using sliders, we can quickly rig graphs that can easily be adjusted and animated on the fly."
Example:
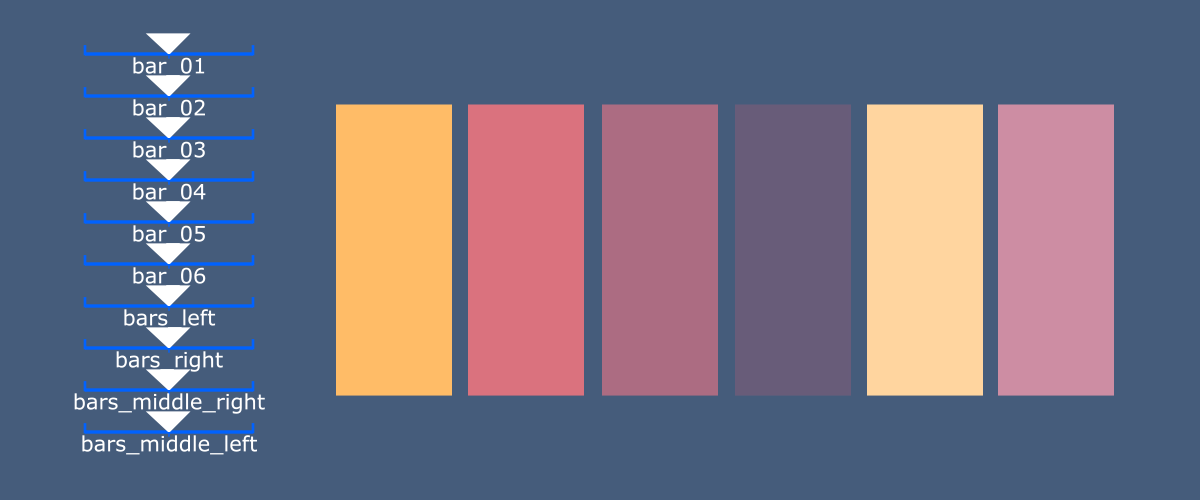
REPEATABLE SEQUENCES OF EVENTS
"If you want multiple shapes or paths to react together, you can create a slider to animate all of it at the same time."
ADDING DIMENSION TO AN OBJECT
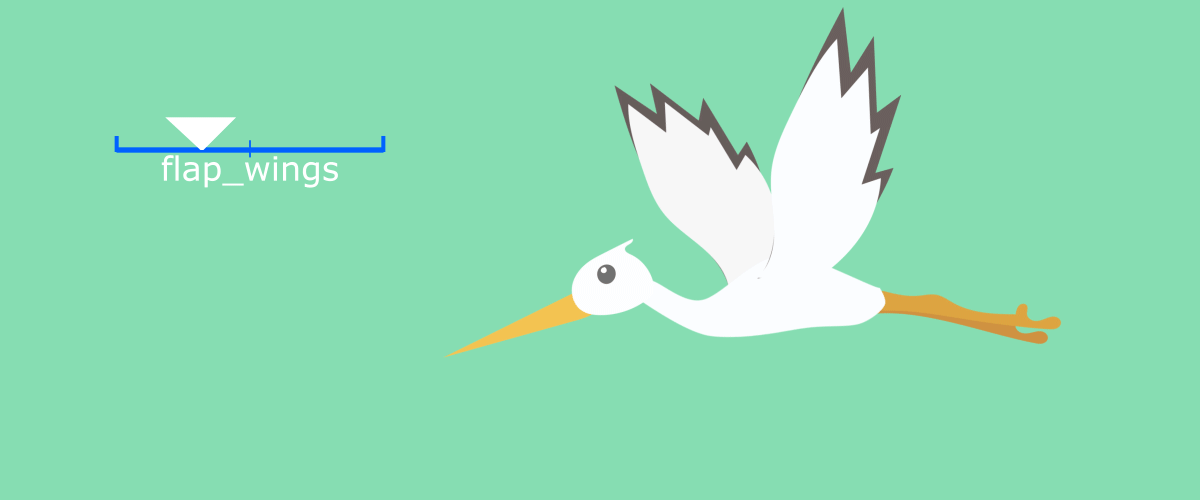
"You can create a rotational dimension to your movements and control it with one joystick."

PROS AND CONS OF JOYSTICKS 'N SLIDERS
According to Morgan, the ability to seamlessly morph between five different shapes, alone, makes Joysticks 'n Sliders well worth the purchase.
Joysticks 'n Sliders is much simpler to set up than DUIK Bassel; however, Joysticks 'n Sliders is not a replacement for DUIK, across the complete character animation process.
THE PROS
- Simple setup
- Joysticks are more robust, with five different states
- Can animate mask paths
THE CONS
- The cost (it's not a fortune; but, DUIK Bassel is free)
- Cannot place keyframes in between pose states
- Limited to Joysticks and Sliders

ABOUT DUIK BASSEL
The DUIK tool set is not only free, it was created "to make the life of animators (and riggers) easier" — with most tools accessible via a single click, without any pre-configuration.
In fact, in DUIK Bassel's latest iteration, most steps in the rigging process can be completed in only two steps.
THE STRUCTURES
To make the rigging process even easier, the DUIK developers have incorporated Structures — "very similar to bones or joints in 3D softwares" — that allow you to rig independent layers, as opposed to the design itself, keeping the rig you create independent from the design.
Once all your Structure layers are placed, you can then link them to the design layers. You can also adjust the design post-rigging, or even reuse the same rig with other designs.

THE CONTROLLERS
To add motion to your animation, use the Controllers — "the interface between the animator and the character" — with the autorig function and a defined set of constraints.
You animate the Controllers and, through the constraints, your character moves.
To make the Controllers easier to use and recognize, the developers have introduced the slider, 2D slider and angle controller shapes, as well as "visual feedback" on the controllers so you can watch them work in real time. Plus, the shapes are customizable to your visual preferences.

THE CONNECTOR
The Controllers are designed to be used with the Connector, a new tool that allows you to link almost any After Effects property to any other property.
There are three Connector types:
- The Slider
- The Joystick
- The Rotation
With these Connectors, a master property controls the so-called "slave" property or properties, automating its/their animation based on the value of the master property.
A great expediter of the workflow, useful applications include:
- Linking one property to another
- Connecting sliders and other controllers to any property

THE TOP TWO DUIK BASSEL FEATURES
There are two unique features of DUIK Bassel that help set it apart from Joysticks 'n Sliders:
- Mid-Pose Keyframes
- Master Property Control
MID-POSE KEYFRAMES
With DUIK Bassel — but not Joystick n' Sliders — you can place additional keyframes in between key poses, allowing you to finesse how your animation morphs from one state to another.
Motion design veteran and SOM instructor Jake Bartlett created a tutorial to demonstrate how useful setting transitional keyframes with DUIK Bassel can be when rigging a head, for example.
MASTER PROPERTY CONTROL
As referenced previously in this article, the master property controller is a great expediter in animation.
Our Joysticks 'n Sliders-v-DUIK expert Morgan Williams illustrates this in his tutorial, using an arm bending and a bicep lifting. In this example, the arm movement drives the animation of the bicep.
Morgan set this up by first selecting the arm's rotation property, setting it as the master property controller, and then connecting properties of another layer to be driven by the rotation property.

A DUIK BASSEL DRAWBACK
Nearly any free program is worth an experiment or two and, needless to say, DUIK Bassel is no different. In fact, DUIK Bassel is pretty exceptional — even if compared to a costly competitor.
Nevertheless, DUIK Bassel isn't perfect, as No After Effects tool or toolset ever is.
So, beware: when setting up a Joystick using DUIK, you'll have to specify which animation applies to the X value and which is tied to the Y.
In other words, you have to separate your X and Y dimensions to set up a DUIK Joystick properly — and this can be tricky when working with the scale or rotation property, or shape layer or mask path:
Splitting the scale property is not possible, and the rotation property only contains one value; shape and mask paths simply don't have a numerical value for DUIK to use.
But thankfully there's a workaround, using null layers for DUIK's Joysticks, and Morgan explains the process in his tutorial.
PROS AND CONS OF DUIK BASSEL
THE PROS
- It's free
- Full-rigging toolset
- More options than Joysticks 'n Sliders
- Can tie controllers to any property
- Can place keyframes in between main pose states
- Can use properties as controllers
THE CONS
- More complicated setup than Joysticks 'n Sliders
- The Joystick is restricted to three animation states
IN CONCLUSION
In conclusion, Morgan believes that both Joysticks 'n Sliders and DUIK Bassel can help even a zombie animator move more quickly — and the wisest choice for most would probably be to combine them in your workflow.
If you have to pick, though, Morgan recommends DUIK Bassel.
NEXT STEPS
Now that you know more about when and how to use Joysticks 'n Sliders and DUIK Bassel, it's time to download the free tool set.
Next, we recommend enrolling in either of Morgan's incredibly popular project-based, online-only courses:
The fastest and most thorough approach to mastering DUIK and building a strong foundation in rigging in After Effects.
Learn the art of creating beautiful poses using silhouette, balance, and lines of action to set up your key tests before moving on to the tweening phase... Not sure what any of that means? Don’t worry, you will when we’re finished with you.
Or, if you're not ready to invest in one of our master-led, project-based online courses, browse our tutorial catalog for helpful animation tips and tricks.
You can also get inspiration and ideas from 15 of the world's biggest studios on how to get hired in this increasingly competitive industry.

ENROLL NOW!
Acidbite ➔
50% off everything

ActionVFX ➔
30% off all plans and credit packs - starts 11/26

Adobe ➔
50% off all apps and plans through 11/29

aescripts ➔
25% off everything through 12/6
Affinity ➔
50% off all products

Battleaxe ➔
30% off from 11/29-12/7
Boom Library ➔
30% off Boom One, their 48,000+ file audio library
BorisFX ➔
25% off everything, 11/25-12/1

Cavalry ➔
33% off pro subscriptions (11/29 - 12/4)

FXFactory ➔
25% off with code BLACKFRIDAY until 12/3

Goodboyninja ➔
20% off everything

Happy Editing ➔
50% off with code BLACKFRIDAY

Huion ➔
Up to 50% off affordable, high-quality pen display tablets

Insydium ➔
50% off through 12/4
JangaFX ➔
30% off an indie annual license
Kitbash 3D ➔
$200 off Cargo Pro, their entire library
Knights of the Editing Table ➔
Up to 20% off Premiere Pro Extensions
Maxon ➔
25% off Maxon One, ZBrush, & Redshift - Annual Subscriptions (11/29 - 12/8)
Mode Designs ➔
Deals on premium keyboards and accessories
Motion Array ➔
10% off the Everything plan
Motion Hatch ➔
Perfect Your Pricing Toolkit - 50% off (11/29 - 12/2)

MotionVFX ➔
30% off Design/CineStudio, and PPro Resolve packs with code: BW30

Rocket Lasso ➔
50% off all plug-ins (11/29 - 12/2)

Rokoko ➔
45% off the indie creator bundle with code: RKK_SchoolOfMotion (revenue must be under $100K a year)

Shapefest ➔
80% off a Shapefest Pro annual subscription for life (11/29 - 12/2)

The Pixel Lab ➔
30% off everything
Toolfarm ➔
Various plugins and tools on sale

True Grit Texture ➔
50-70% off (starts Wednesday, runs for about a week)

Vincent Schwenk ➔
50% discount with code RENDERSALE

Wacom ➔
Up to $120 off new tablets + deals on refurbished items


All-Access Pass
Unlimited access to 50+ courses, unlimited critique, live events, and 24/7 community. Join School of Motion All-Access today.